Friday, May 27, 2016

Updated Dollhouse Mailbox & Swings

8-15 Dollhouse, 2

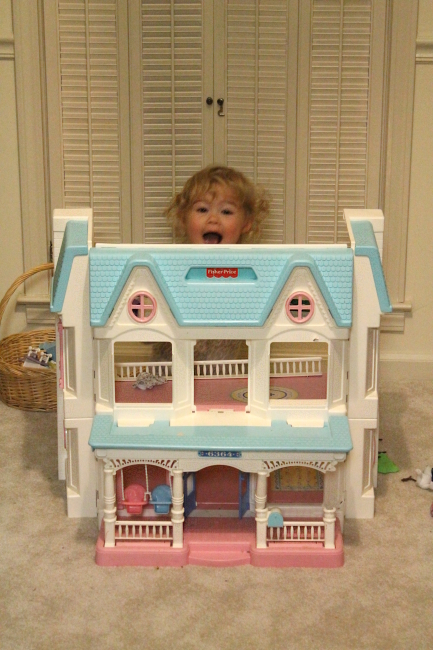
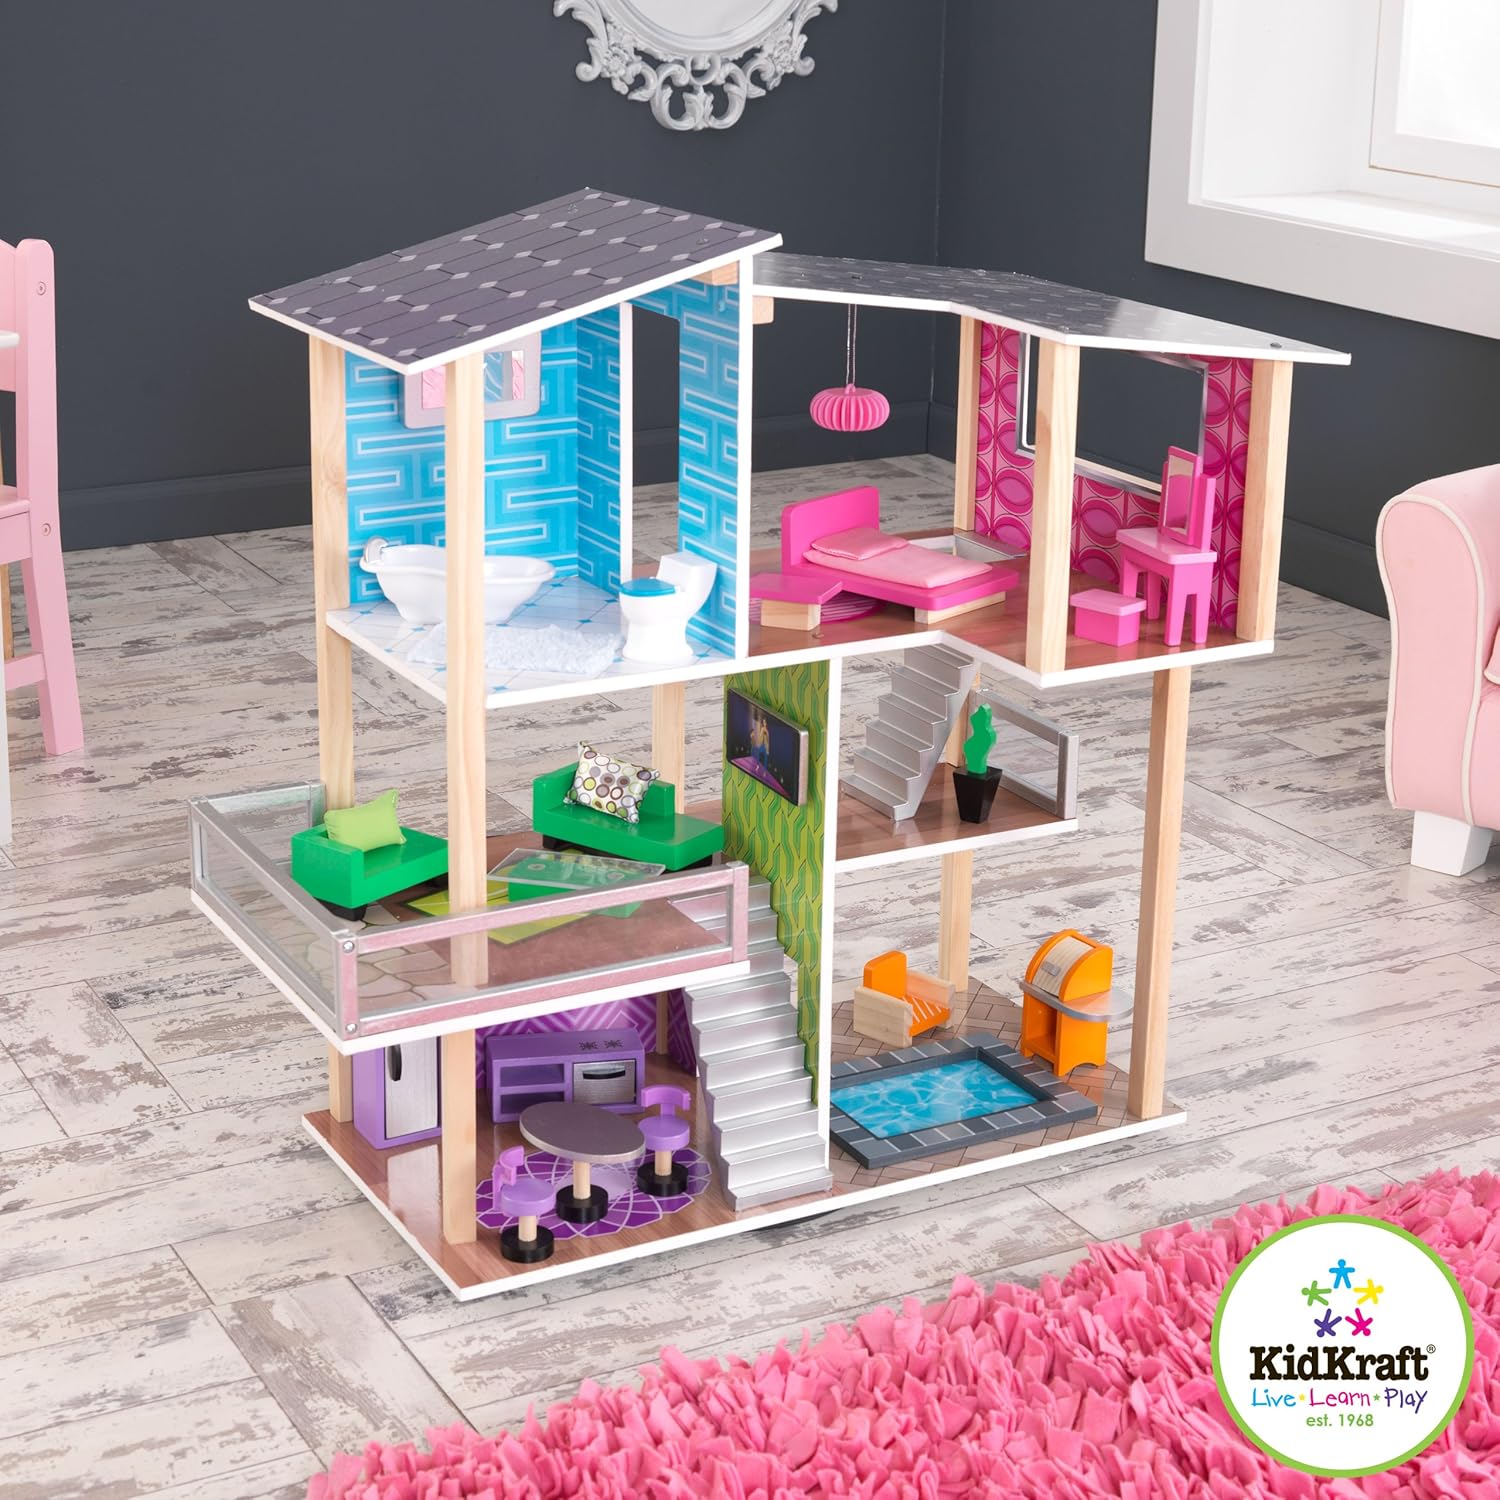
Last year we brought home a dollhouse we found out on the curb, and since then my daughter has played with it *every day*. For her 3rd birthday, we figured it was time for an upgrade, and splurged to buy this furnished modern beauty


The only problem ~ some of her favorite things from the old house were the swings and mailbox that opens and closes, and I couldn't find a good replacement for either. The old house was already broken, so we finally decided to just take them off and add them to her new house! With a little updating...

Mailbox, 1

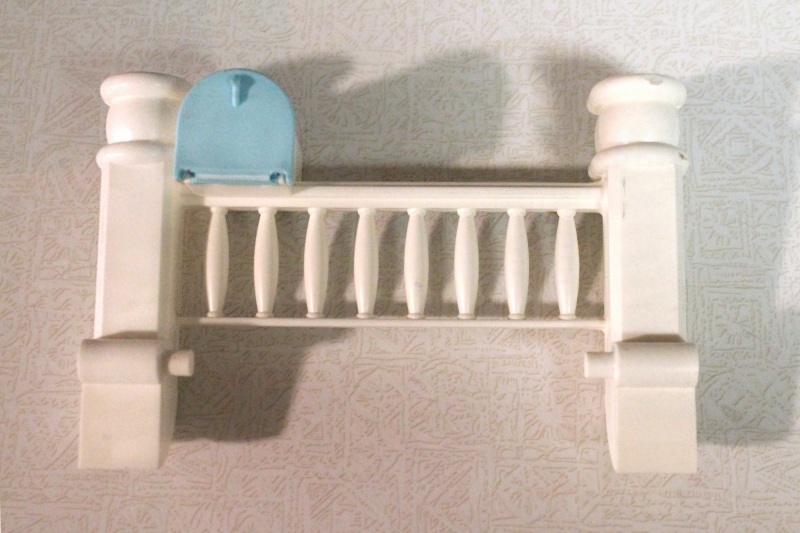
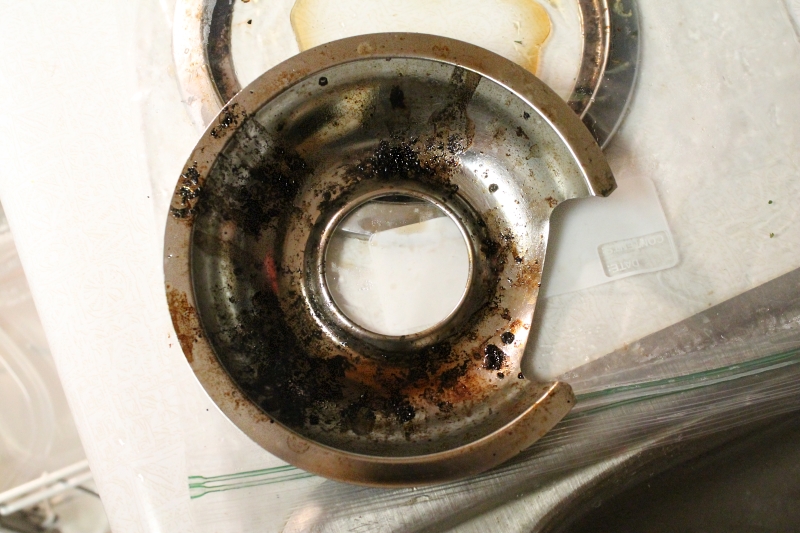
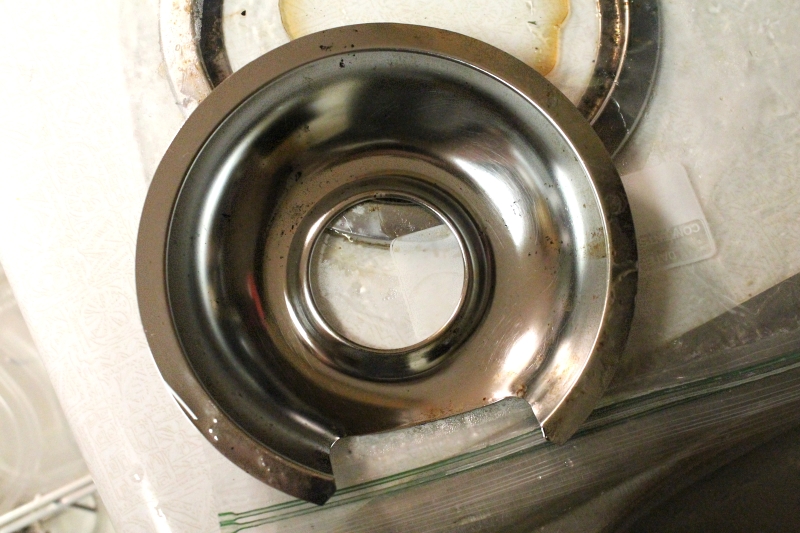
The banisters were already broken right above the mailbox, so we just pulled off this section. I decided to cut the box off and attach it to one of the posts.

Mailbox, 2

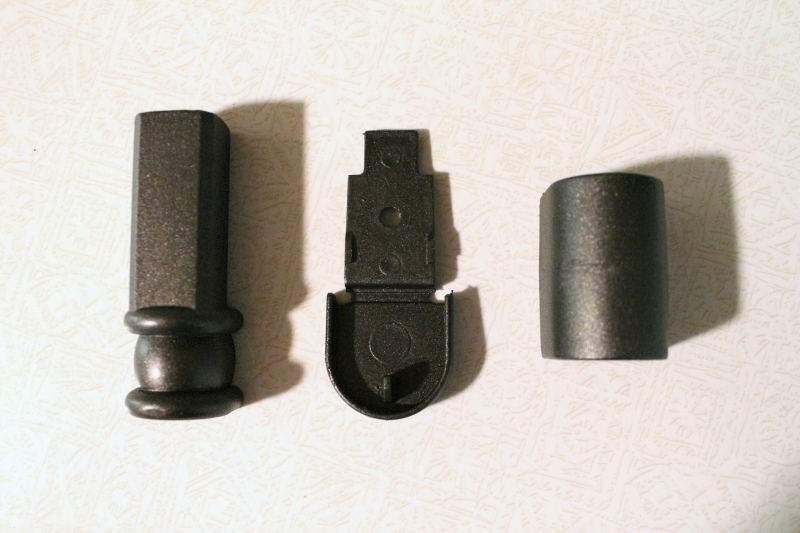
Easier said than done. The box was attached completely along the left side and bottom, and the plastic was very hard. I ended up having to use a cutting wheel on my Dremel to saw the pieces apart, then used a sanding wheel grind it down smooth (finished off with some sandpaper). The plastic was pretty crazy to work with, because it actually melted under the heat from the tools, and the sanded bits balled up instead of falling off.

After that was smoothed out, it was time for paint. I had planned on painting both the mailbox and swings part silver and part yellow, but then I realized I was out of my favorite silver spraypaint, and didn't really want to shell out another $8 right then. I did have a can of  the Oil Rubbed Bronze color though, which is a dark metallic brown-black, and perfect for a mailbox.

Mailbox, 3

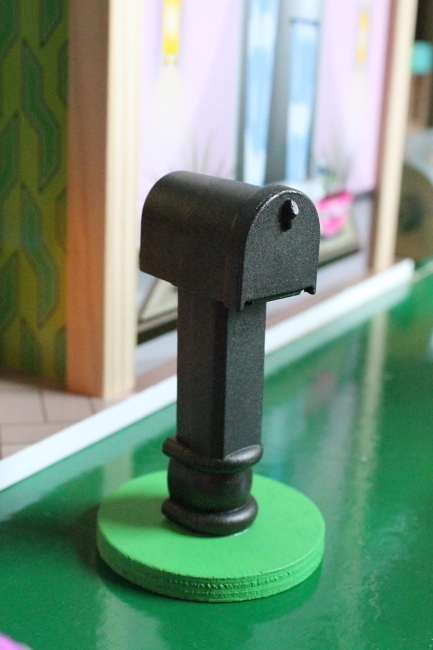
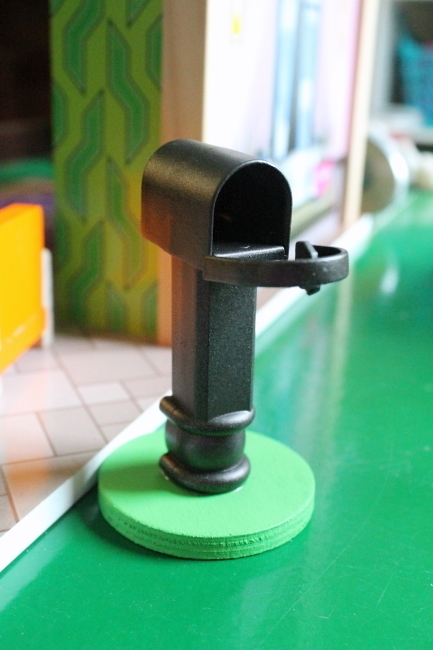
After the paint was dry, I flipped the post over and attached it with a little two-part epoxy. I also found some wooden circles at the craft store, painted one green, and used it as a base. We both love the finished mailbox!

Mailbox, 4

Mailbox, 5


The swings didn't require any sanding, but the paint sure gave me some problems! For some reason I can't find a 'before' picture of the swings, but you can maybe see from the first blog pic that one was pink and one was blue on a white chain. I started painting the seats yellow with the Rust-Oleum 2x paint (Gloss Sun Yellow) that I used on my plastic magazine files. While the yellow paint worked pretty well on the cut out areas of the files, I did have some problems with it cracking on the large, flat areas. I had the same cracking problems on the flat areas of the seats, and one time I guess I forgot to shake the can first and the paint sprayed out super-speed and pooled up in the seat with a darker orange color!

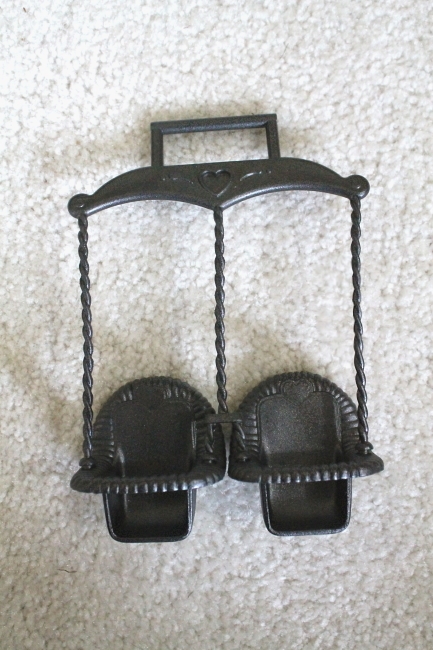
At that point the paint job was ruined, so I ditched the yellow idea and went with the trusty metallic paint. Unfortunately that meant picking off all of the yellow paint, bit by bit, out of all of those little grooves. Towards the end, I tried soaking them in water first, and the paint was much easier to peel off. The metallic paint went on like a dream!

Swings, 1

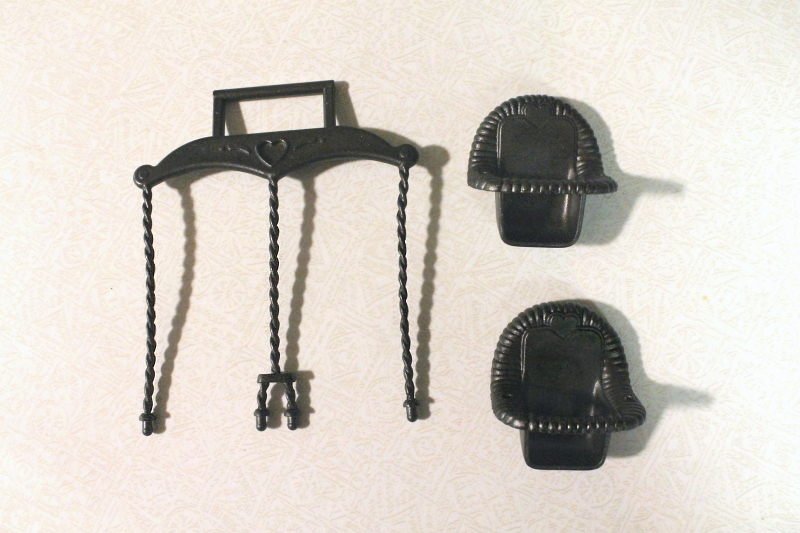
And Re-assembled. I do still think these would look better in the silver, and might end up re-coating them when I have a new bottle on hand.

Swings, 2

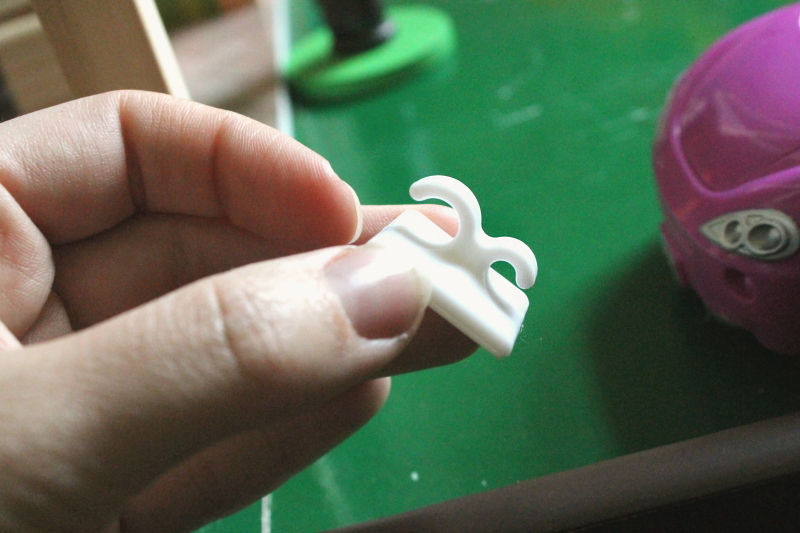
I debated about how to hang the swings, and considered cutting open a thick drinking straw to slip the bar inside. I perused the 3M adhesive hooks, but unfortunately all of the hooks pointed straight up, and I needed something that curved back in a little since I was hanging them horizontally. Luckily I found these adhesive double hooks nearby in the clearance section! I thought the small hooks were a good size, but knew I could use the bigger hooks otherwise (I needed the bigger ones, of course).

Swings, 3

The adhesive hooks were super easy to attach, and the house had the perfect ledge, right out on the patio by the pool ~

Swings, 4

Swings, 5

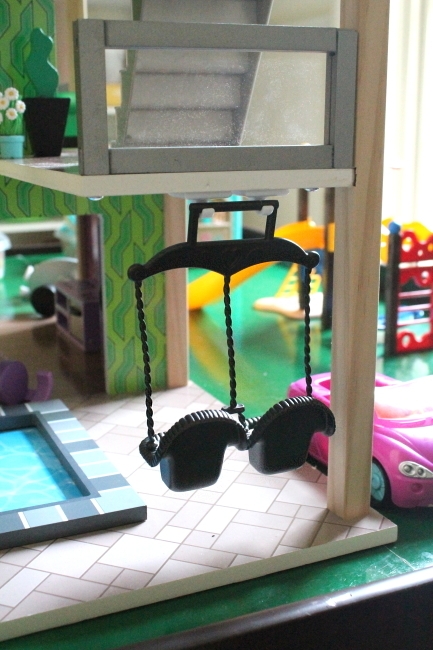
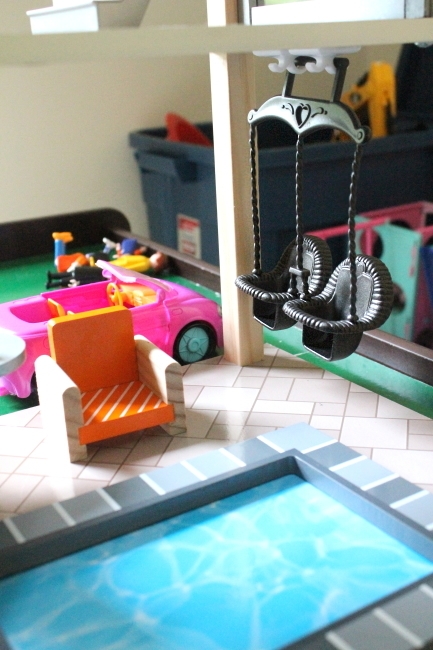
My updates ended up taking a lot of unexpected work, but I love the results. I'm so glad I transplanted these! 

Friday, May 13, 2016

Easy Drip Pan Cleaning

Drip pans ~ you know those metal plates that sit under your burners to catch all of the spills? Ours get filled with burnt gunk so quickly, and they are a big pain to clean. Not to mention that it always tears my nails up trying to get the scouring pad in the nooks!

Recently my pans were at their worst! We hadn't had company over for a while, which means we hadn't cleaned for a while, and the mostly hidden pans were pretty low on my cleaning priority list. The worse they got, the more I put it off, because I knew how tough they would be to clean. I hate throwing salvageable things away, but at that point I was about ready to just break out a new set and toss them.

Pinterest to the rescue! Most of the links recommended stuffing them in a big Ziplock with a little ammonia and letting it sit for 24 hours. I tried it out with my absolute worst drip pan, and the next day it was a beauty!!

Easily clean drip pans, before & after

For the next pan, I took some step-by-step shots to show the progress. Here is the pan at the start ~

Easily clean drip pans, before 1

And then I ran it under some water and lightly used a scrub brush just to knock out any of the large, loose bits ~ 

Easily clean drip pans, before 2

Into the baggie! I put the ring first, the pan on top, and poured a little ammonia into the pan. You can easily fit 2 sets in one bag. Let it sit for about a day ~

Easily clean drip pans, soaking in ammonia

When you pull it out, it will look about the same. But with some light scrubbing from a scouring sponge (like Scotch Brite), the burnt gunk will just fall off!

Easily clean drip pans, after soaking

I usually ended up with some small bits of black still stuck on there...

Easily clean drip pans, after scrubbing

The first time around I had one bad area, so I tried giving it another 24 our soak with ammonia, but that didn't seem to make a difference. I pulled out the metal scouring pad and easily knocked off the last spots. And in a few areas there was some light brown, sticky residue, which I removed with a magic eraser.

Behold the shiny!

Easily clean drip pans, after

I was so happy to find this easy tip! Try it out & pass it on to make someone else's life easier, and maybe save a few burner pans from ending up in the landfill!

Easily clean drip pans, before & after

Tuesday, May 3, 2016

Pepperoni Pizza Puffs

It's been so long since I posted an actual recipe! This recipe is a rare instance when I tried tweaking things a few times (like adding a layer of sauce in the muffin), but apparently I didn't write any of my changes down. So I went back & made the recipe as-is, and it was perfect! You can serve them with a side of pizza sauce for dipping, but they are so tasty on their own, we never bother! These savory little bites are a crowd pleaser, and they are so easy to make, I always let my kids help.

Pepperoni Pizza Puffs


Pepperoni Pizza Puffs

3/4 cup flour
3/4 tsp. baking powder
1 Tbsp. Italian seasoning
1/4 tsp. salt
1/8 tsp. red pepper flakes (optional)

3/4 cup skim milk
1 egg, lightly beaten
1 cup mini pepperoni (or chopped pepperoni slices)
1 cup shredded mozzarella cheese
1/4 cup Parmesan cheese

Pizza sauce or spaghetti sauce for dipping (optional)


1) Preheat your oven to 375 F.

2) In a large bowl, whisk together the flour, baking powder, Italian seasoning, salt, and red pepper flakes. Stir in the milk, egg, pepperoni, mozzarella, and Parmesan cheese. Let sit for 10 minutes, and grease/spray a 24 cup mini muffin tin.

3)  Divide the batter evenly among the mini muffin cups, about 3/4th full. Bake until puffed and golden, about 20-25 minutes. While they are still warm, use a table knife to gently push them away from the sides of the tin until loose (they will stick if you let them cool.)