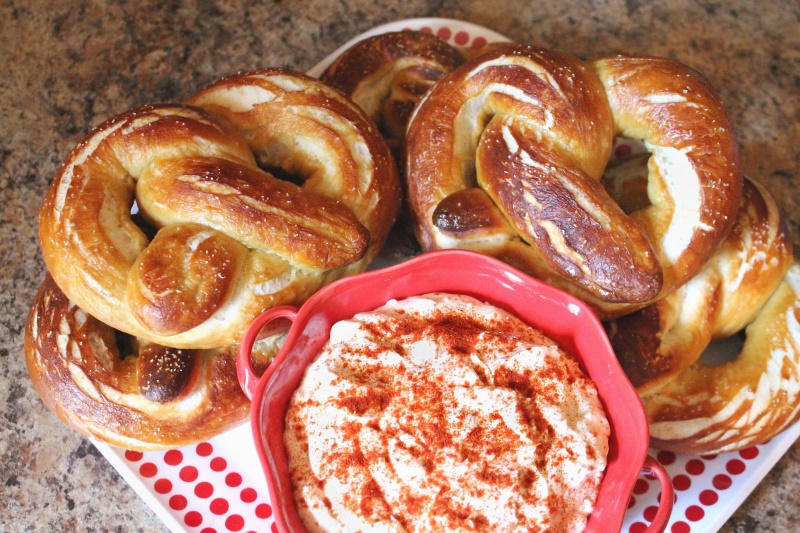
I came across this recipe for "Obatzer", a German dip for pretzels ("offered in every real Bavarian beer garden"). My husband is a big pretzel fan, but I'd never heard of a pretzel dip before & had to try it right away!
We've made soft pretzels in the past, but were not in love with our old recipe, so I decided to try the Alton Brown recipe that she used. It was a real winner! The dough definitely rolled & stretched out much easier than our previous tries & they actually seemed simple to make. I find it odd that mine ended up covered in white stripes, but that is a minor complaint.
My husband liked the dip, but I was not a huge fan. I wasn't sure if it would be savory, sweet, or a blend of the two, but the main flavor seemed to come from the spicy onion. I do like the idea of a dip though, so maybe I'll have to experiment with my own!
By the way, this week I finally cracked open my copy of Animal Cross: New Leaf. Any players out there? We were pretty obsessed with Wild World, and this one is no different! If I get a little scarce around here you'll know that I'm probably out shaking trees or hunting giant island beetles. ;)
Thursday, September 25, 2014
Thursday, September 18, 2014
Pad See Ew
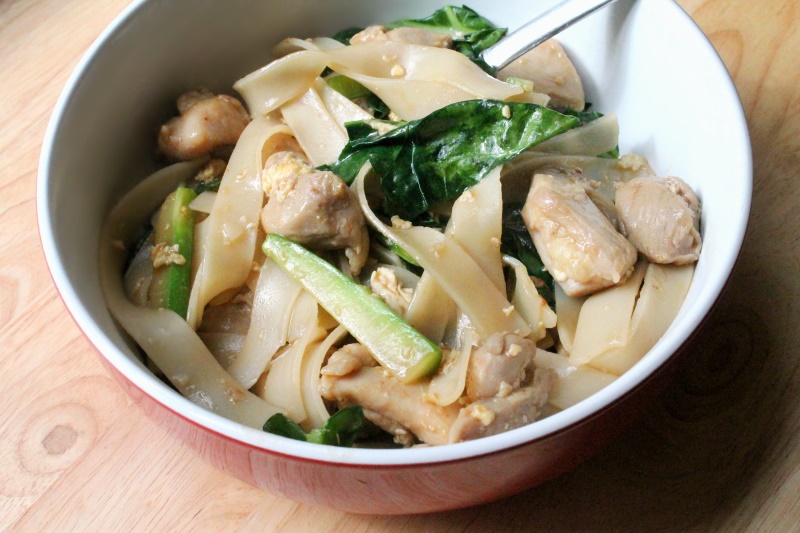
At Thai restaurants I normally order Pad Thai, and I can make a tasty version at home, but I have a friend who swears by Pad See Ew. I did order it once, but the restaurant ended up being a dud & both of our meals were very bland, so I wanted to give it another try some day.
This recipe looked very tempting, so I decided to make it for lunches this week. (Looks like she has lots of other tasty & quick Asian recipes!) Thankfully our new house is less than 5 minutes from an Asian market (angel chorus), so I knew I'd have no trouble with the ingredients.
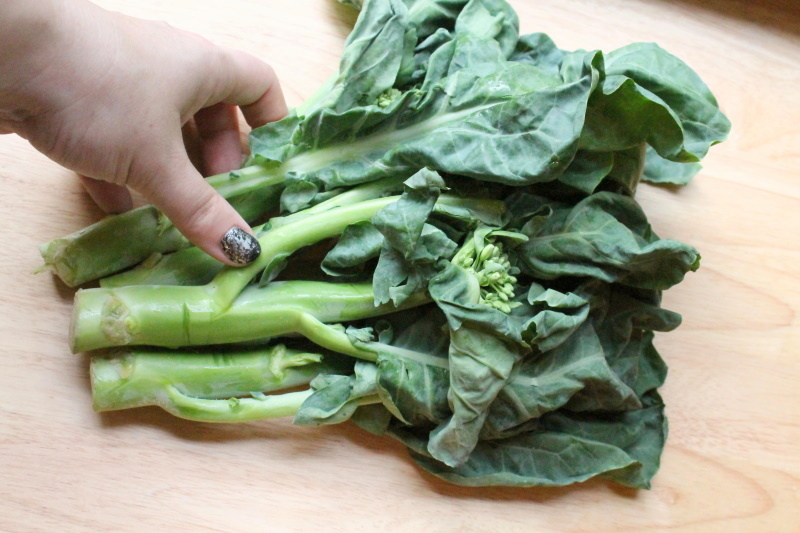
The Chinese broccoli was a new one for me! For the recipe she separated the leaves from the stem & then sliced the stem into thin sticks. The leaves were huge, so I ended up chopping them down a bit too. For 4 cups I needed about 3 stalks ~ but keep the leaves & stems separate, because she adds them at different parts of the recipe! The taste was similar to kale leaves and broccoli stems, but with a slight bitterness.
I had previously bought a bottle of "black/dark soy sauce" for Pad See Ew, based on a different recipe. But this one called for "dark sweet soy sauce", so I begrudgingly headed back to the store. I didn't find "dark sweet", but saw several "sweet" & am about 95% sure it is the same thing. I'm glad I ended up buying it, because that stuff is tasty!
The recipe turned out great! I didn't really make any changes, other than cooking the chicken longer because I forgot & cut it into bite sized pieces rather than thin slices. Next time I would add 1-2 extra Tbsp. of the sweet soy sauce for a stronger flavor (and darker color). Yummy!
Tuesday, September 16, 2014
Spray Bottle Manicure
One of my favorite nail art blogs, The Nailasaurus recently linked to this awesome tutorial video for creating a manicure that looks like a turquoise stone. You drip polish on the surface of water (similar to a water marble manicure), and then spray the polish to create a fun texture. In the video she used spray hand sanitizer, but I had a similar tutorial pinned where they used rubbing alcohol (Check out that link for a quick photo step-by-step). And for my very favorite version, she got an amazing spotty texture by spraying nail polish remover, but I think the change in texture had more to do with the sprayer.
I've had some terrible luck with water marbling in the past, but after that recent video I couldn't get this technique off my mind. All the recent moving, unpacking, and cleaning kept me from painting my nails for a while, but I had to give this a try! I decided to use silver as a base color, black for the details, and sprayed with nail polish remover.
My first attempt was not the best. The only nail I liked was the pinky ~
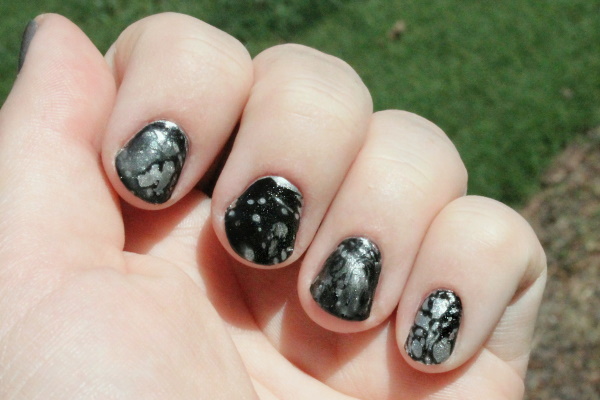
I wiped off everything but that one nail and gave it another go (topcoat over your basecolor helps it come off easy). This time I aimed my nails at the more intricate textures and they turned out great!
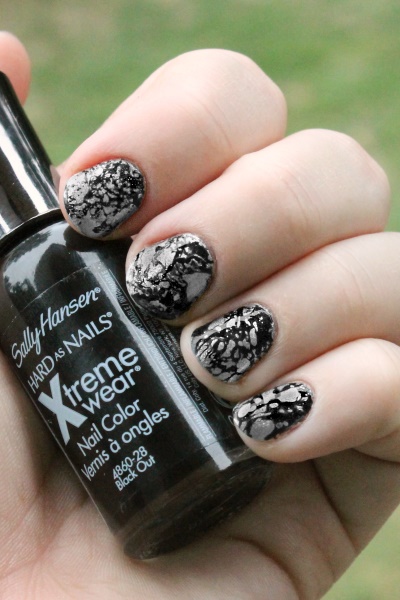
Wow! My favorite nail ended up being the middle finger on my right hand, so I had to include a picture of that. It was not easy to reach the button for this shot!
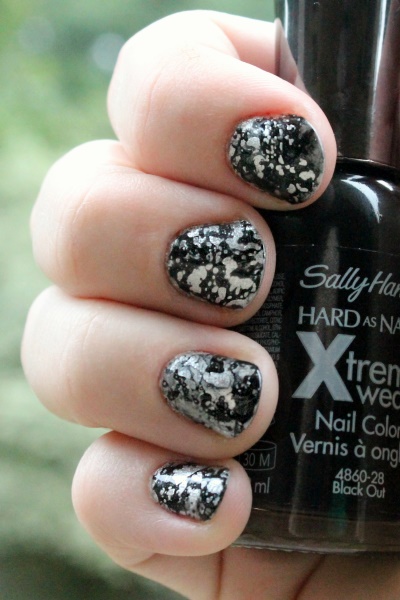
Sometimes I ended up getting a very faint gray marbling rather than black, so I just sprayed some more polish & dipped it again. You can see the traces of gray on the ring finger here.
By the way, I tried painting my fingers around the nail with glue like the video, but only had clear Elmer's glue on hand. It didn't peel off quite as nice as she showed, but I was able to rub it off. For the right hand I just taped around the nail ~ much quicker, but more clean up at the end!
I was shocked that these were so easy to do, and they turned out *awesome*. Many times I'll spend forever creating some intricate nail art, and by the time I'm done I just feel "meh" about it. It looks good, but I just don't care anymore! It's been a long time since I've done anything that wowed me like these.
Saturday, September 13, 2014
Ruffly Purple Bed Sets
For the guest room I'm planning an orange, red-violet, purple sort of color theme. It sounds a little crazy, but trust me!
I've been looking at purple bed sets lately and am kind of loving all of the ruffly textures! I correctly guessed that Justin would veto the idea, so I'll just share some pretties here.
Comforters like these are often photographed dramatically draped on the bed. Which is kind of awesome for those people like me who hate making beds!
Two of my favorites are from Anthropologie, and definitely out of the price range!
I thought things might be getting a little too crazy, but then I saw the most ridiculous bed set in the world...
Oh my, haha! Can you imagine? You've got to take a running leap to get on that bed.
Tuesday, September 9, 2014
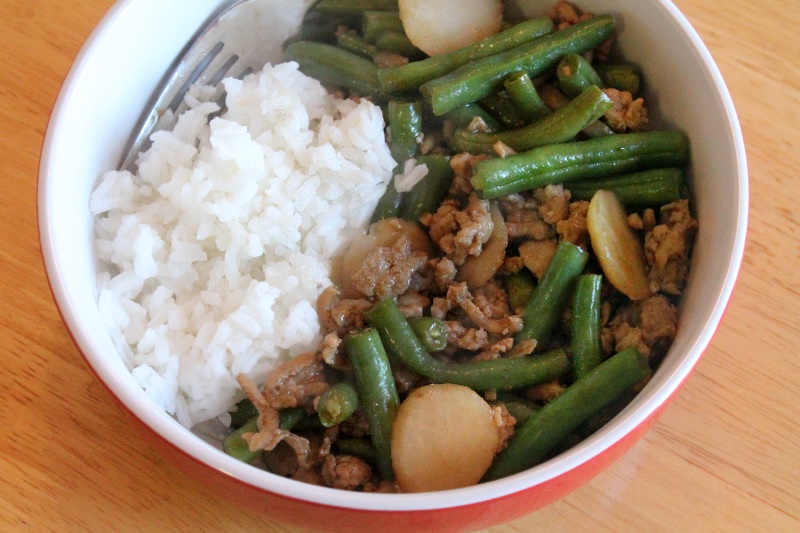
Stir-fry with Ground Chicken & Green Beans
I had never stir-fried with ground meat before, so I was intrigued by this recipe using ground chicken. I gave it a try for lunch a while back & it was so good that I made it again & again!
In the directions she mentions Hoisin sauce, but it's not on the ingredients list. I followed her recipe link & saw the original called for 1 Tbsp. ~ she left it out because she didn't like it, but I think it adds a nice flavor to this dish. Otherwise I follow this one as written!
Wednesday, September 3, 2014
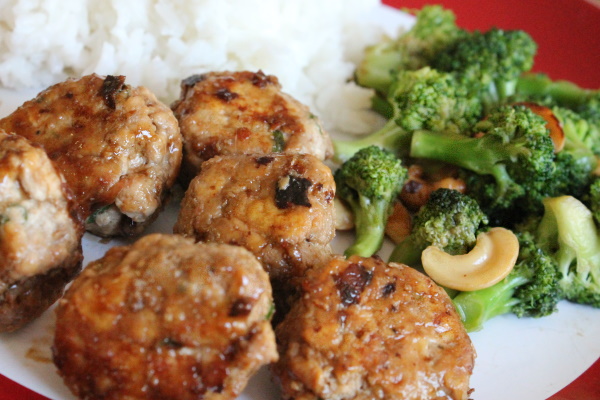
Chicken & Tofu Teriyaki Meatballs (with Stir-fried Broccoli & Cashews)
This week I was combing through old recipes & Pinterest for dinner ideas when I came across these tasty meatballs we made a few months ago. The meatballs are made with a mix of ground chicken & tofu, making them soft & moist, and then glazed with a wonderful teriyaki sauce. The recipe was from Just One Cookbook, but I used 1 lb. ground chicken, 1 pack of tofu (14 oz?), and doubled everything else.
They turned out great, but cooking them in the pan was a little tedious, and it left a few black bits stuck on the meatballs. We made this meal again last night and this time I tried baking them in the oven & then tossing them with the sauce afterward. I definitely need to tweak my technique before I share, but I think it will work well. And we won't mind trying this one again ~ even the baby who has barely eaten in a month gobbled everything up & wanted more!
On the side we had rice and stir-fried broccoli with cashews & oyster sauce, recipe here. The broccoli is stir-fried for a few minutes with oil, and then you add a bit of water and cover the wok to steam it. It turns out nice and crisp, and It's amazing how much flavor you get using only the oyster sauce. Unfortunately it does take a little while to cut up all of the broccoli, so it was probably not the best side to make when I'm already spending a ton of time forming all of those meatballs! Next time I'll pair the meatballs with a super simple side, or at least do a little bit of prep work earlier in the day.
Subscribe to:
Posts (Atom)