Showing posts with label paint. Show all posts

Thursday, December 13, 2018

Poetry, Paper Art, and Publishing


For years my husband has been suggesting that I write & illustrate a children's book. I played around with a few plots & characters, but coming up with the story was daunting. Should it have a moral? Or just be silly? With all of the possibilities out there, how do you narrow it down to one story? 

Sunset with a Friend - Cut paper art

And then one night (early this year) he mentioned that we should write a book of children's poetry, Shel Silverstein style. My mind was immediately flooded with story ideas and rhyming lines of verse. I started writing the next day, and continued for months. My husband and I worked through countless edits, and I relentlessly researched the world of children's books and publishing.

Lake Dragon - Cut paper art

I also did a lot of drawing. For an illustrated book, you have to create a complete mock-up with sketches, and about 2-3 'finished' pieces. I've worked with a lot of art mediums over the years, and decided to use cut paper artwork with painted details for the book.

Woman in White - Cut paper art

While I can't share the poetry or artwork I created for the book (yet), after I finished my mock-up, I started creating other pieces of cut paper art which you'll find in this post. These samples will help me put together a gallery of my work to share with potential agents and publishers.

Flamingo Friend - Cut paper art

Most of these pieces are also available as prints and/or originals in my Etsy shop, and I'll continue to add to the collection next year.

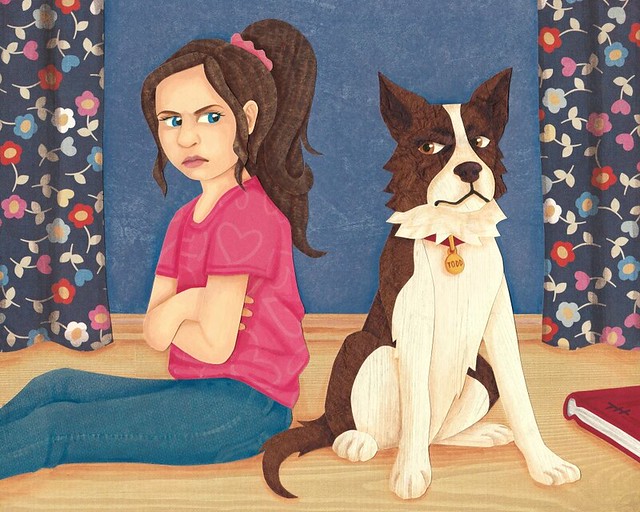
Feud - Cut paper art

This year I discovered that the publishing world is much more complicated than you'd expect, and pretty hard to get started in (especially for a poetry collection!). But I have also found that publishing a children's book is something I really want to do now, and I'll continue to chase hard after that dream in the coming year. 

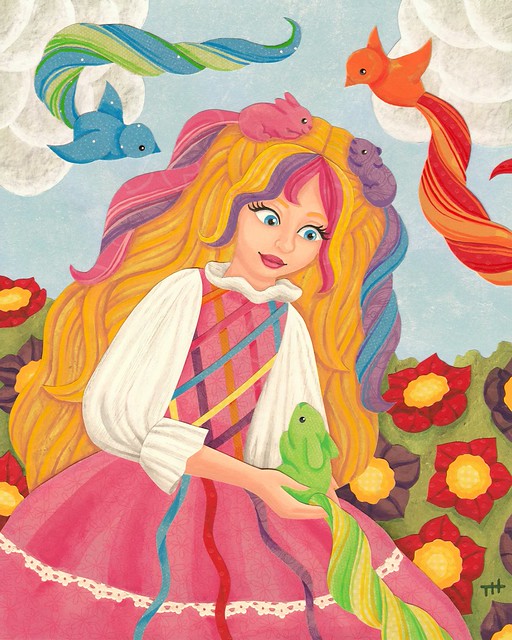
Lovely Lady Locks - Cut paper art

Monday, June 6, 2016

The Painted Couch Project

Painting couches?! I know it sounds a little crazy, but it is possible. Painting our couch showed me that you can get a good result, but unfortunately ours was not a very good candidate for painting (I'll explain why below). The finished couch looks decent in the living room, but if you get up close, it has some flaws. I actually finished this project a long time ago, but was too bummed with the finished job to take pics.

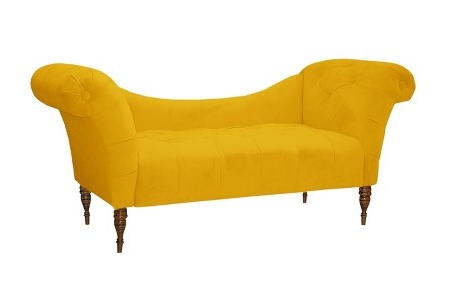
And Target is pretty much to blame for the whole thing! It all started with this lovely settee that we ordered from Target's website ~ 

Target pic - Velvet Canary Settee

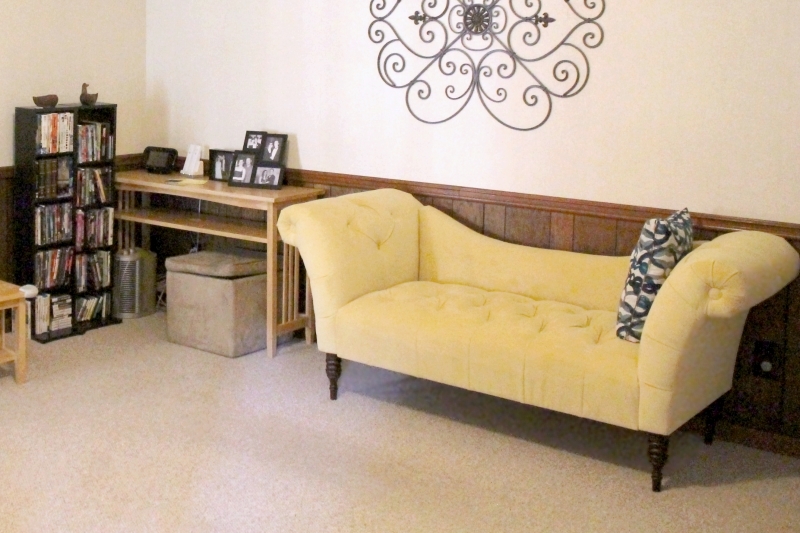
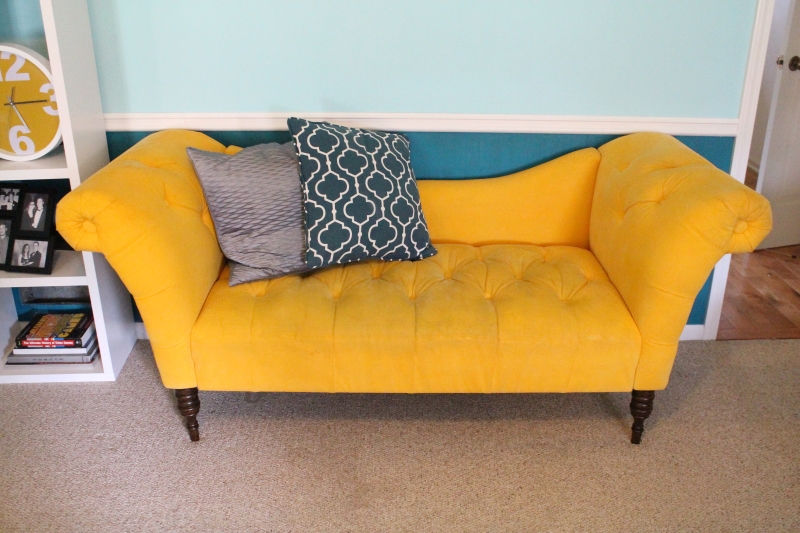
Now, I know color varies a little bit on your computer screen, but that picture was so far off the mark! Instead of a bright, vibrant yellow, we ended up with a pale, pastel color. See below. It's not a terrible color, but definitely not what I had in mind for the room.

Couch, pale yellow, before

I hadn't really found any similar couches to replace it with, and I didn't want to deal with trying to ship such a huge thing back to return it, so I dealt with it. I thought maybe the color would grow on me, but weeks later I was still grumbling every time I walked past it. Finally I started doing a little research on painting furniture, and decided I needed to give it a try. It was a little nerve-wracking to test it out on a brand new couch (that we just paid hundreds for), but my research had me pretty confident about the whole project, especially since we just needed to change the color a little!

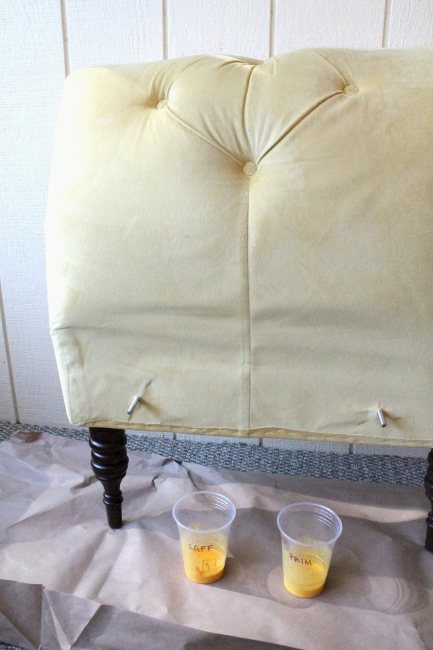
Painting couch, 1

First I perused the craft paints and picked out my favorite two yellows. I took apart the couch, tried them out on a hidden area, and was getting pretty excited. 

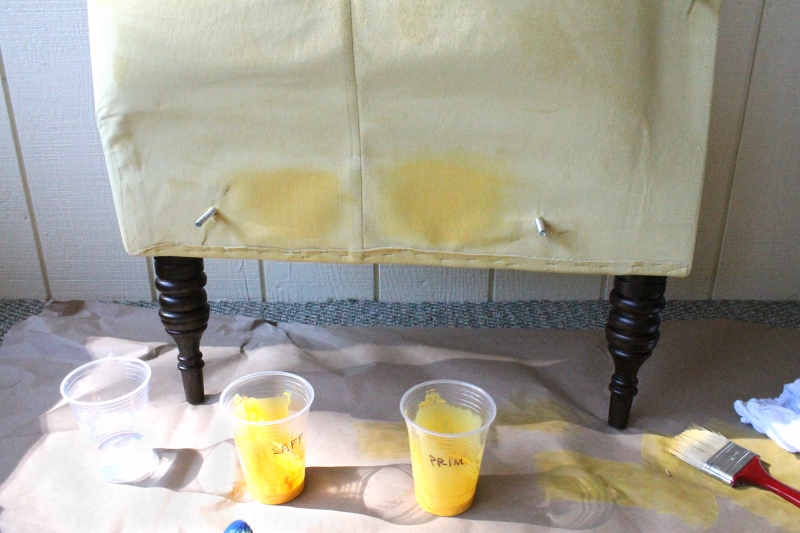
Painting couch, 2

From all of the tutorials I read, for each coat you want to mix 1 part paint, 1 part textile medium, and 1 part water. The textile medium makes the paint a little more flexible, and it will adhere to the fabric a little better. For the first coat, you may want to spray the fabric with water first, or use more water in your mixture. I didn't notice much of a difference at the time, so I skipped that step.

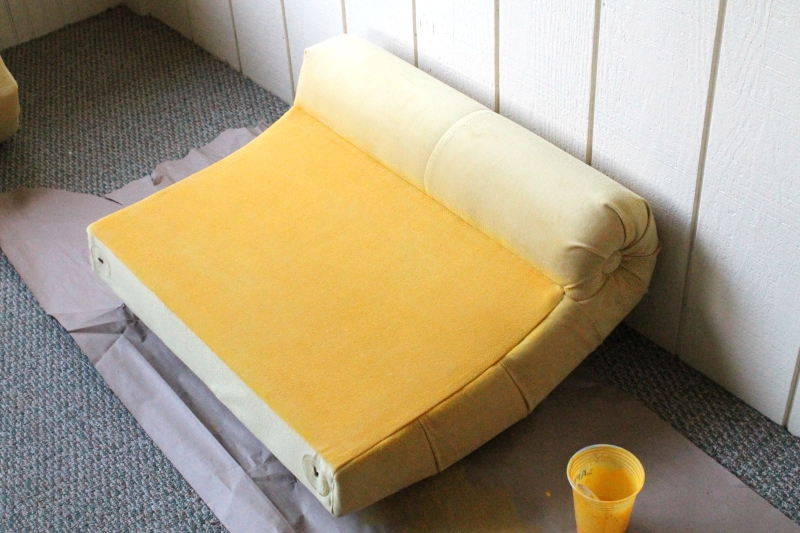
Painting couch, 3

Once the paint dries, you rub everything down with sandpaper to soften it up a bit, then do another coat or two until opaque. Simple enough? Naturally I had a few unexpected problems!

1) Hobby Lobby only stocked about 3-4 bottles of the yellow craft paint at a time, and it didn't take me long to get through those. The store wouldn't re-stock for a week, and sometimes missed a week (maybe I bought it after they'd sent in the order for the week). I checked the other craft stores in town, and didn't have luck with those, so then I started driving to every Hobby Lobby in nearby towns. I was having to hit store after store for weeks, and the project dragged on. I probably should have just asked the employees to order a big batch for me, but I kept thinking I only needed 4 more bottles & I'd be done (I was wrong again and again). In the end I needed about 20 bottles of paint, though I wouldn't have needed quite so much if I hadn't made a mistake (see #4).

2) Apparently velvet is not a great fabric to paint, with its longer, fuzzy fibers. This might not have even been a problem if the couch was mostly large, flat areas, because the flat back & sides of the couch turned out pretty nice & soft. But everywhere there was a pleat or tuft, I ended up with rough edges that would just not sand down to get soft. :( And with a tufted, velvet couch, I was pretty much doomed from the start!

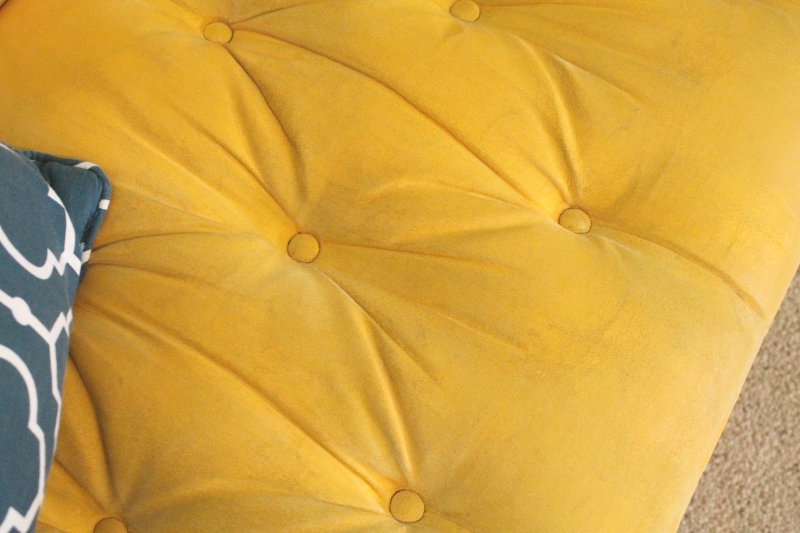
Painted couch close-up (dingy)

3) Since the tufted seat of the couch still had a lot of rough spots, I pulled out a coarser sanding block to see if that would help. Unfortunately all it did was leave a gray color on the fabric that I couldn't remove, making the seat area look pretty dingy.

4) After I'd done about 2 or 3 coats on the whole couch, and was ready to be finished, I realized that the paint had not gotten down to the bottom of the fibers, and the pale yellow was peeking through in some spots (especially in cracks along the pleats). Remember how I skipped that extra watery coat for the first step? Yeah, that probably would have helped it really sink down there. I ended up having to buy even more paint for another coat and really soaking the thing. 

Painted couch

In the end, I love the color, and we do get lots of compliments on the couch. Just don't look at it too close! While the paint job is a little rougher & more uneven than I would like, I suppose I would be even grumpier with the couch if it were still that pale yellow color. But I don't know that I would recommend furniture painting unless it is a very flat, and not a plush fabric!


Saturday, April 26, 2014

Alphabet Puzzle Fix

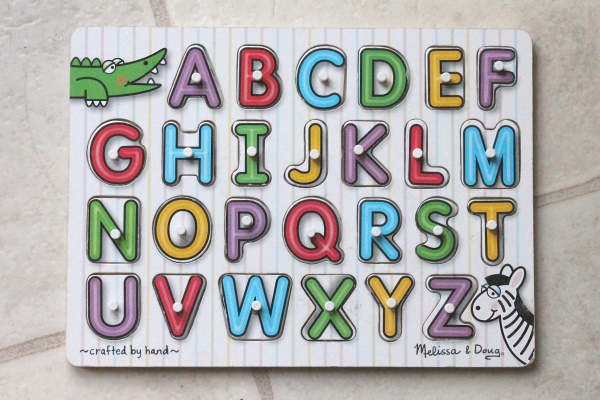
With the two little ones to take care of, it seems like the only time I 'craft' is when something is broken. One of the letters from Orson's alphabet puzzle was missing for months before we discovered it in one of his pants cargo pockets! It had run through the wash several times and the paper had completely come off, leaving the letter blank.

I pulled out my paints and meticulously worked to match the other lettering. I spent way too much time tweaking colors and shading, but it was a fun little project. Can you tell which one is the re-painted letter?

ABC Puzzle Fix, far

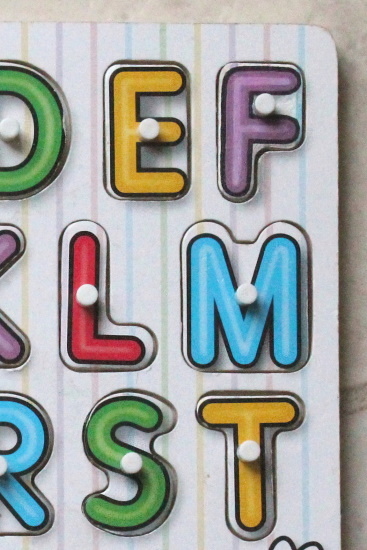
Here's a close-up...

ABC Puzzle Fix, close

It was the letter F! In person the paint job doesn't match the glossy smoothness of the other letters up close, but you'd have to investigate it pretty closely to notice any difference. Maybe this summer I'll get around to bigger things, like making a painting for each kid's room, but for now I'll celebrate the little victories!

Thursday, June 13, 2013

Tree Wall-Art Tweaks

Justin's generous mother-in-law took us to Hobby Lobby to pick out some wall-art for Pandora's room shortly after she arrived. We found lots that we liked, but had trouble finding things that worked well together. Unfortunately the trip was a little too soon for me ~ I was not doing too well after walking around that giant store, so we had to cut the search short and head home. We did grab one of our favorite pieces on the way out though, and it was even on clearance for super cheap. Score!

Tree Before

I really liked the tree, but something kept nagging at me. I realized that the colors were *slightly* off ~ My artist-eye can be a little to picky sometimes! The flowers were a light, neon pink, which I thought would look better darker and not one solid color. The background was a little too baby blue as well, and I thought teal would suit a little girl's room better. So I pulled out the paints and went to work, happy to have a crafty project to work on. Here is the result ~


Tree After

The biggest change being the flowers ~


Tree - Flower shot

I'm loving the changes, even if it did end up taking longer than I expected. And it feels nice to add a little personal touch to the nursery decorations! Now I'm considering doing a painting for Orson's room (from scratch this time) ~ we have plenty of canvases in the basement!