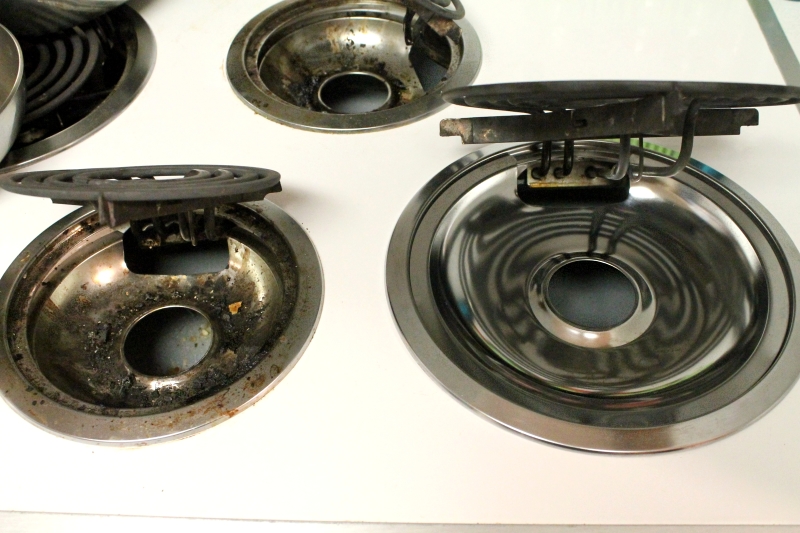
Drip pans ~ you know those metal plates that sit under your burners to catch all of the spills? Ours get filled with burnt gunk so quickly, and they are a big pain to clean. Not to mention that it always tears my nails up trying to get the scouring pad in the nooks!
Recently my pans were at their worst! We hadn't had company over for a while, which means we hadn't cleaned for a while, and the mostly hidden pans were pretty low on my cleaning priority list. The worse they got, the more I put it off, because I knew how tough they would be to clean. I hate throwing salvageable things away, but at that point I was about ready to just break out a new set and toss them.
Pinterest to the rescue! Most of the links recommended stuffing them in a big Ziplock with a little ammonia and letting it sit for 24 hours. I tried it out with my absolute worst drip pan, and the next day it was a beauty!!
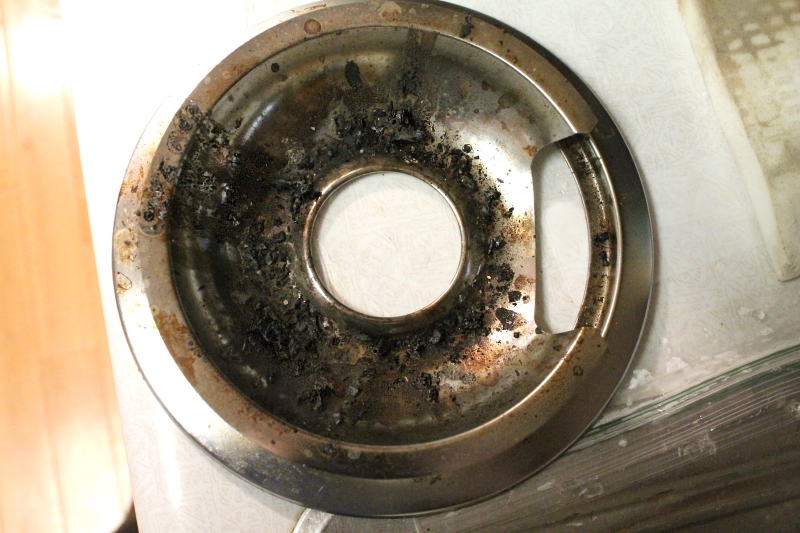
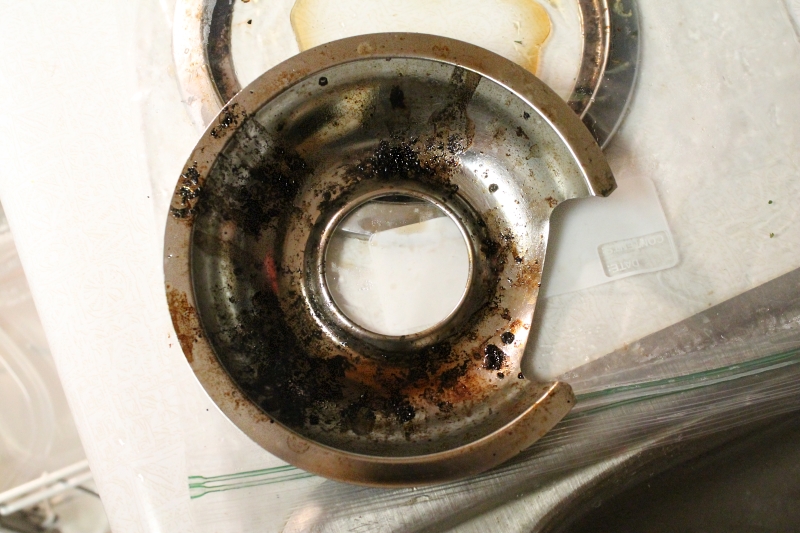
For the next pan, I took some step-by-step shots to show the progress. Here is the pan at the start ~
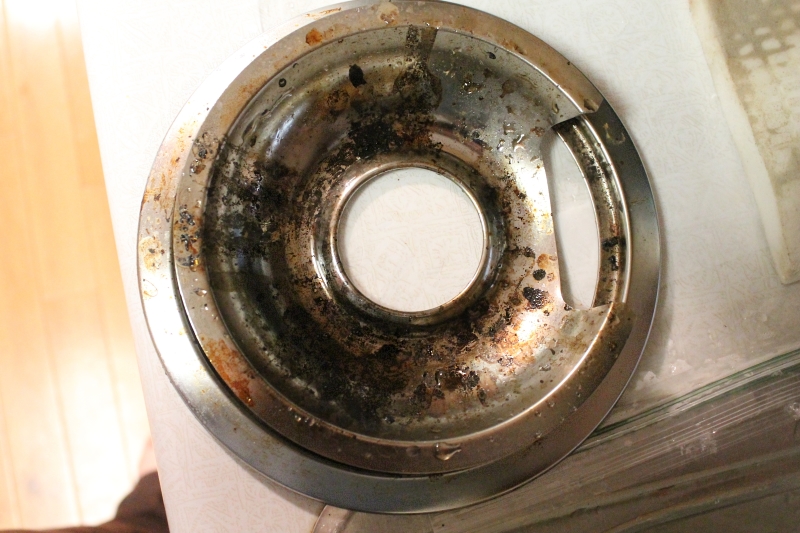
And then I ran it under some water and lightly used a scrub brush just to knock out any of the large, loose bits ~
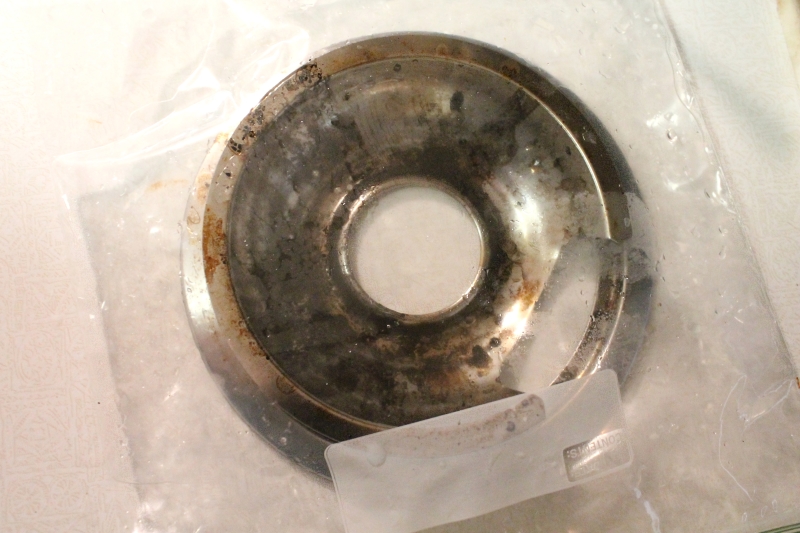
Into the baggie! I put the ring first, the pan on top, and poured a little ammonia into the pan. You can easily fit 2 sets in one bag. Let it sit for about a day ~
When you pull it out, it will look about the same. But with some light scrubbing from a scouring sponge (like Scotch Brite), the burnt gunk will just fall off!
I usually ended up with some small bits of black still stuck on there...
The first time around I had one bad area, so I tried giving it another 24 our soak with ammonia, but that didn't seem to make a difference. I pulled out the metal scouring pad and easily knocked off the last spots. And in a few areas there was some light brown, sticky residue, which I removed with a magic eraser.
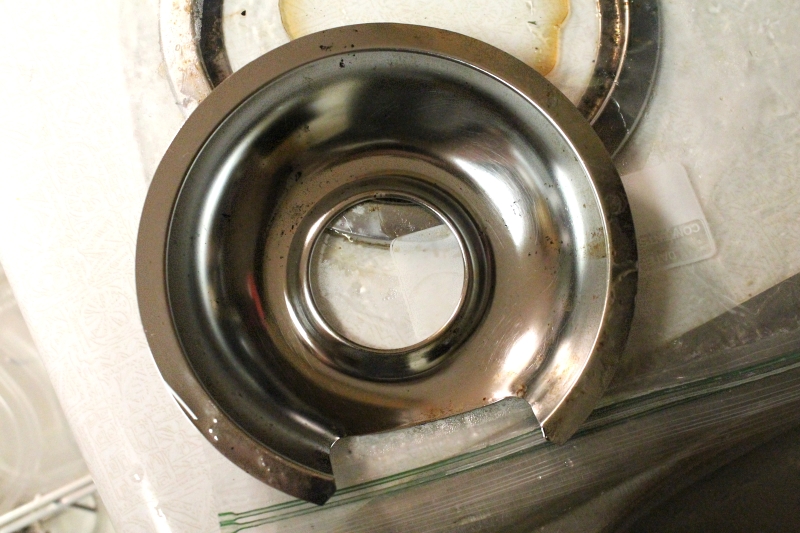
Behold the shiny!
I was so happy to find this easy tip! Try it out & pass it on to make someone else's life easier, and maybe save a few burner pans from ending up in the landfill!


No comments:
Post a Comment