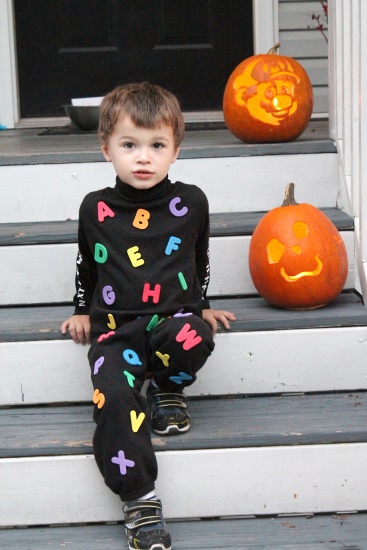
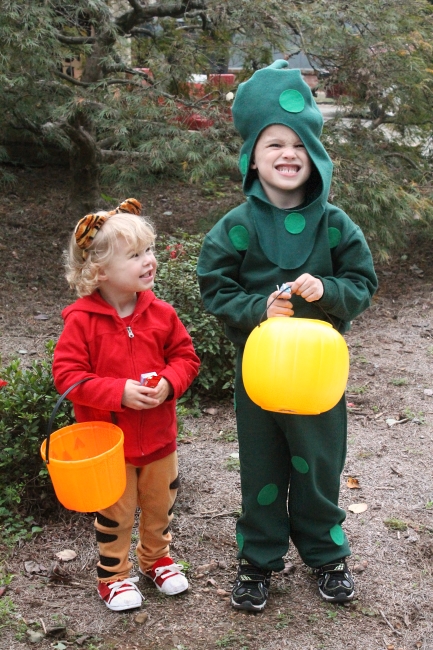
For Halloweens past, Orson has picked some crazy costume ideas - like 'the alphabet', or a pickle.
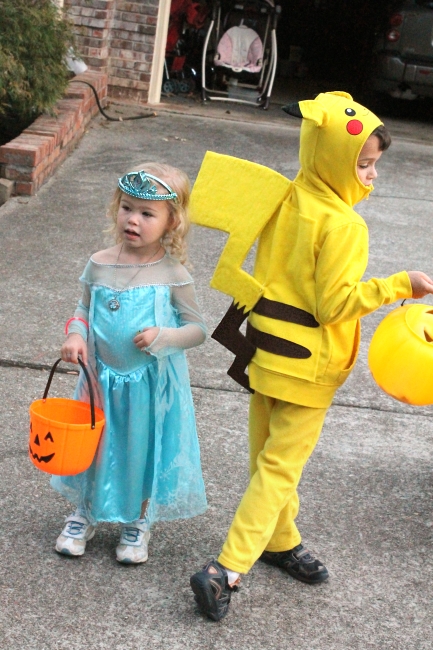
But this year he is Pokemon crazy, and wanted to be Pikachu!
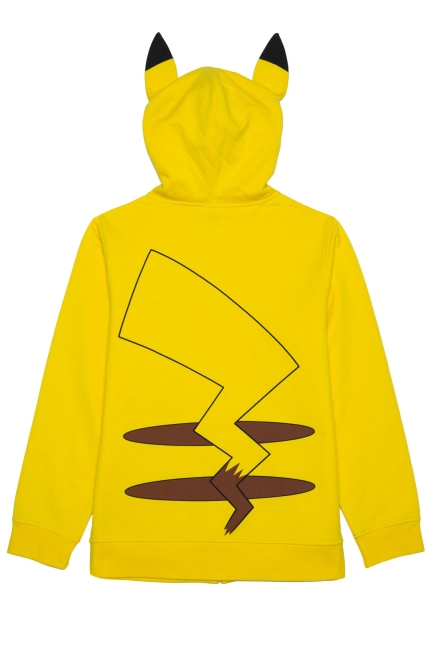
I looked around a lot, but I wasn't loving any of the pre-made Pikachu costumes. I considered adding a hat & tail to some yellow sweatshirt & pants, but I actually couldn't find yellow sweatpants anywhere! Or pretty much any yellow pants. Finally we decided to buy this cute Pikachu hoodie from Target (it was $15 at the time), and for the pants I finally found a set of Minions PJs with plain yellow fleece pants. Best of all, both the jacket & PJs will get a lot of use after Halloween!
The back of the hoodie has a drawn-on tail & stripes, and before Halloween it got a lot of use as-is at Fall Festivals and Halloween parties.
But for Halloween we both agreed that we needed a nice BIG tail! I bought some yellow fleece and some brown felt, and planned on constructing everything a week or so early. But I couldn't find any big cardboard, and I kept forgetting, and suddenly it was the *day of* Halloween and I realized I hadn't made it yet! Oops! In my rush I didn't get a chance to take a lot of nice step-by-step photos, but hopefully you can follow along!
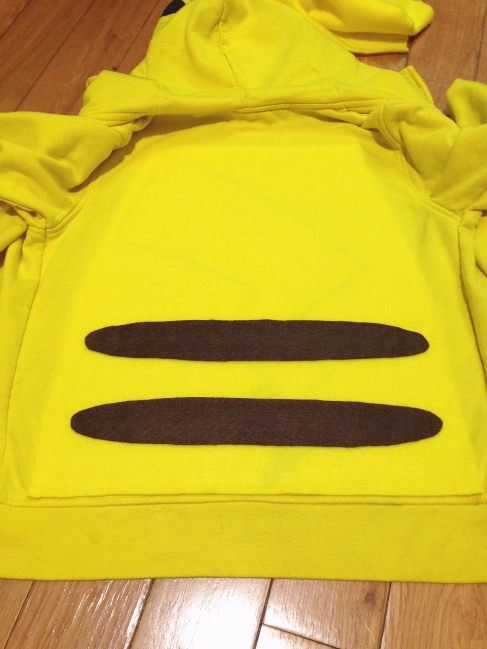
First I wanted to cover the back of the hoodie, since it would be weird to have a big tail sitting on top of a drawn one! I cut a piece of the yellow fleece to cover the back and glued it down with Elmer's (white school glue) so that I could pull it off and wash out the glue afterward. I also added the two brown stripes back on with the brown felt. ~
Then for the new tail ~ I figured out how large I wanted the tail to be, looked up some pics, and sketched it out on a big piece of cardboard. I used some scissors and a knife to cut it out. Then I glued it down on the yellow fleece and cut around it, about 1.5 inch from the cardboard. I'd planned on using hot glue for this, but it wasn't sticking very well, so I switched to Elmer's. Just like with sewing, you'll want to cut in towards an inside corner , and clip off any outside corners, then wrap the fabric around the edge & glue in place ~
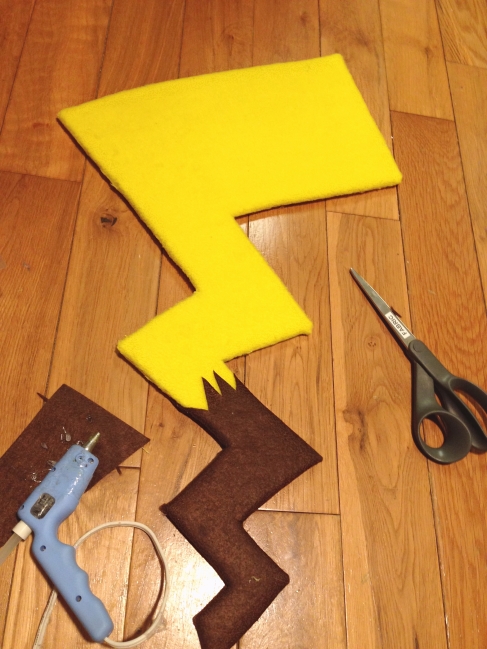
Then I cut some small zig-zags in the brown felt, and glued it to the tail in the same way. It was a little too bulky to fold over the yellow and brown fabric together, so there I cut the yellow flush with the cardboard and only folded the brown fabric over.
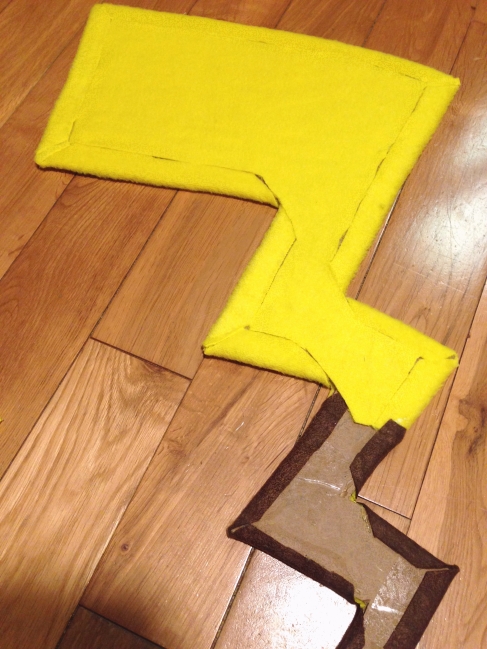
I tried just covering the other side of the cardboard with the yellow fleece, but unfortunately you could clearly see the folded edge through the fabric, both the color and it's thickness. So I cut a piece of yellow to fit in between the folded edges (see above). For that, I just glued down the top corner, then just kind of peeked underneath to see where to cut, and cut & glued as I went until the area was filled. It was a very odd shape, but pretty easy to cut that way.
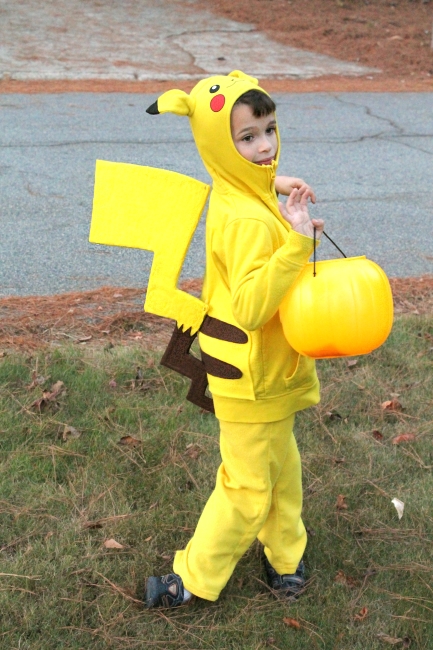
After that, I glued the exposed side down to the yellow fabric and just cut flush with the edge this time (since the edges were already wrapped with fabric), and repeated with the brown at the bottom. The hot glue worked fine for all of this, and any time I was gluing fabric-to-fabric (like the brown on yellow mentioned above). I poked a large safety pin through the top 3 points of the tail, and I was done! Orson was very happy with it ~
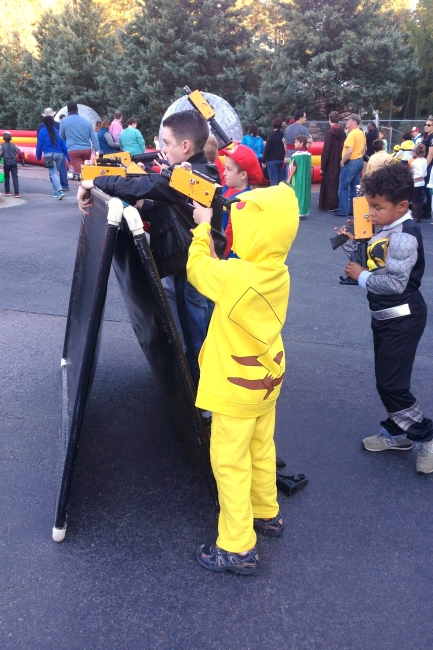
The tail flopped back & forth a bit, but stayed on well until the end of Trick-or-Treating. At the very end the pins had all come open (he was climbing & out of our wagon that night) and could have been re-pinned, but we just left the tail off for the last house. And when we were done, I propped it up on the wall in his room for a decoration!
And here's a better picture of our little Elsa, since she's kind of staring off in the above pic ~
The big tail worked out great, and definitely made it seem more like a 'costume' than just a hoodie & pants. And after Halloween, he couldn't wait to start wearing the Pikachu hoodie every day to school!


3 comments:
Hey, thank you, I’m in exactly the same situation and this tutorial just saved my bacon!! Happy Day-Before-Halloween!! 🧡
Hi, how did you do the alphabet costume? What kind of letters did you use and how did you get them to stick? Thanks!
Hey! They were stick-on foam letters, a pack from the craft store. Just like stickers, nothing permanent, but they held up. (He also wanted "next time won't you sing with me", so I painted that down the arms.)
Post a Comment