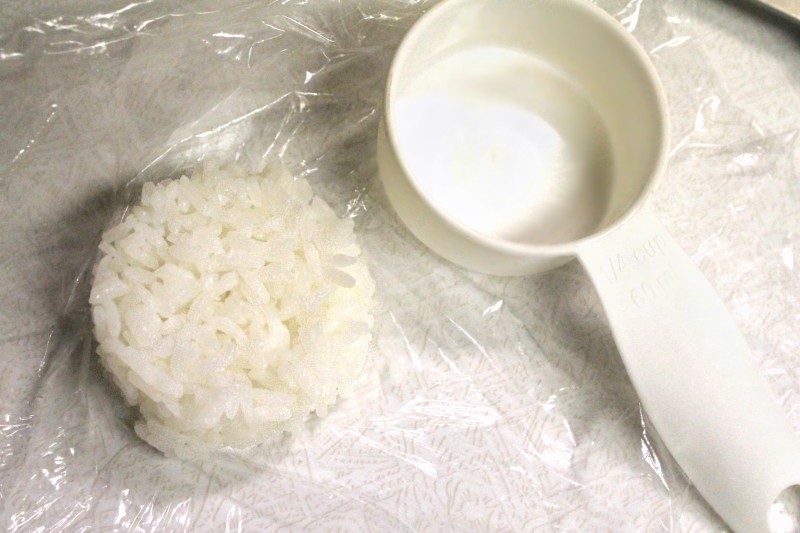
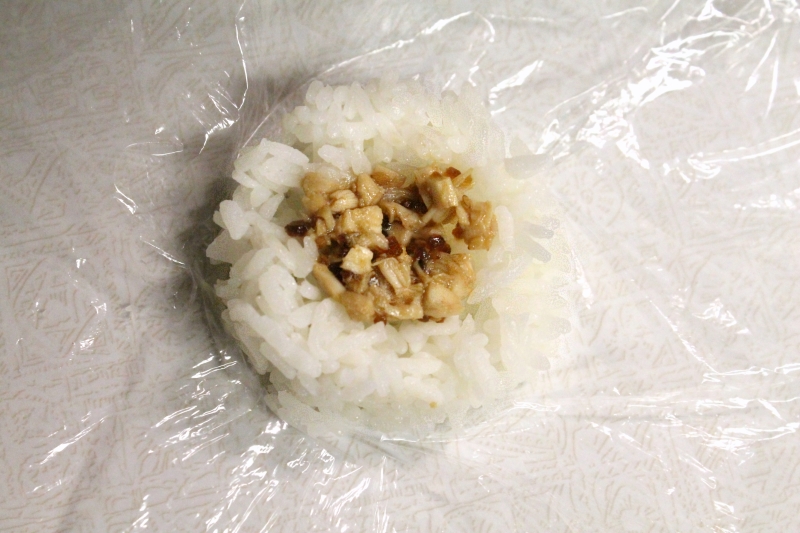
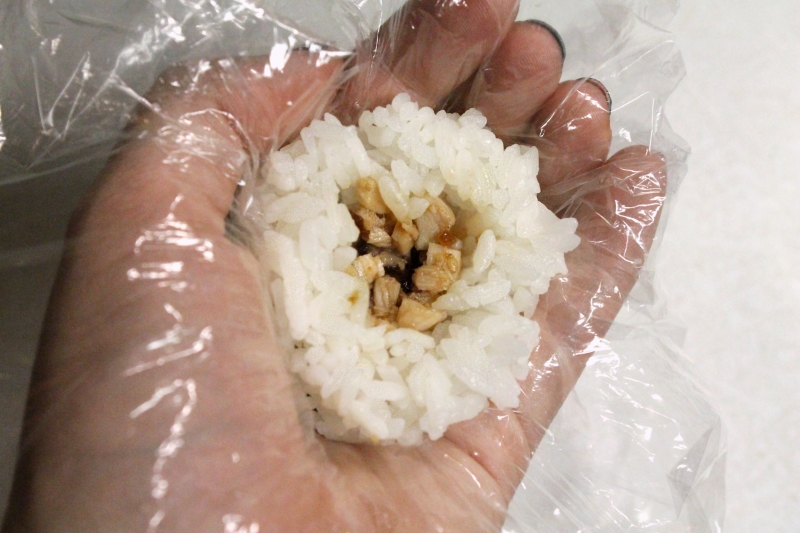
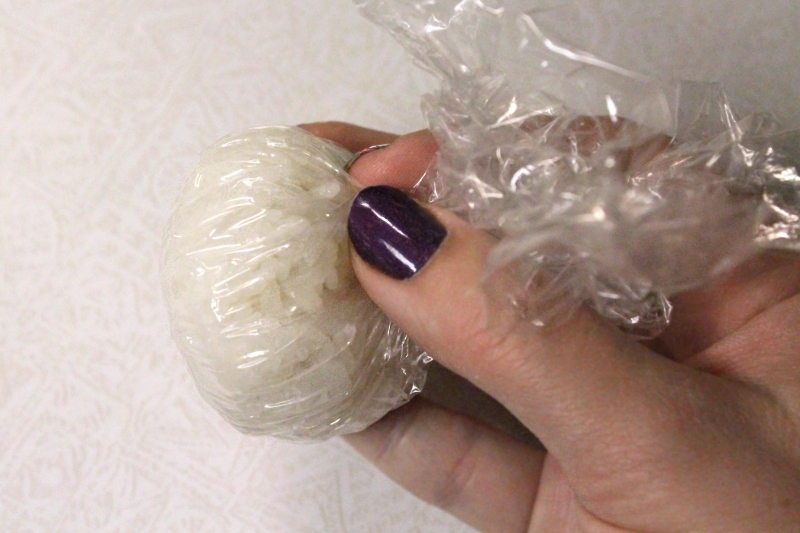
Here are a few more pictures that I've pulled out of the archives of recipes that weren't quite finalized or worthy enough for their own post.
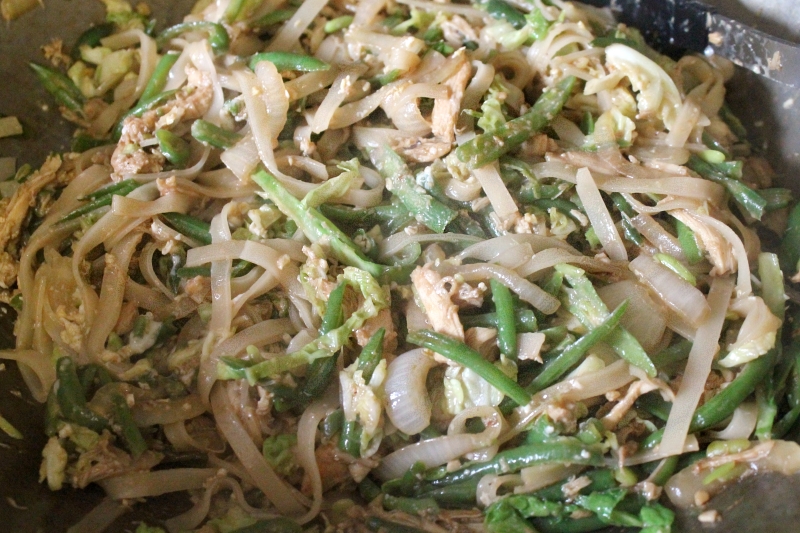
For a while I was trying different
Thai style stir-fry combinations. I would always use some chicken, medium rice noodles, a sliced onion, garlic, egg, and some kind of veggie (french cut green beans here). Then the sauce would be a few tablespoons of oyster sauce with a little brown sugar, soy sauce, and fish sauce. They always turned out tasty!
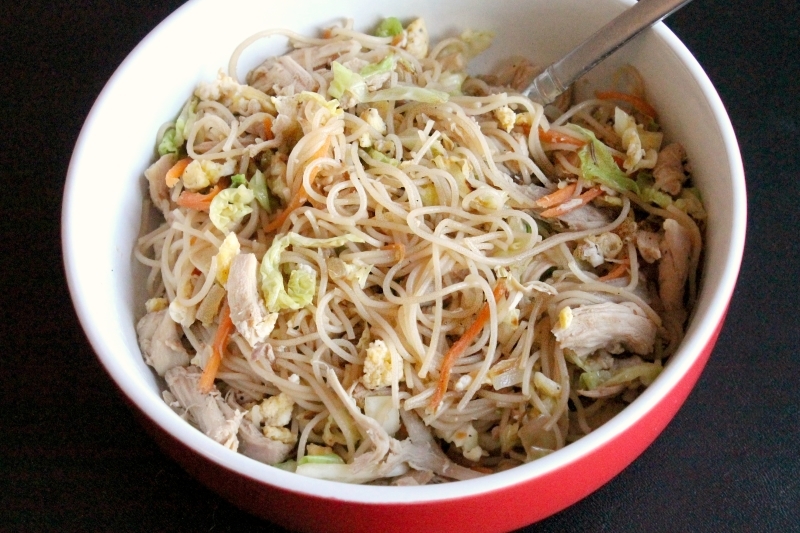
I love getting Mein Fun at Chinese restaurants, filled with chicken and shrimp and all kinds of meat. I worked for a while recreating my own
Chicken Mein Fun at home. I turned out well, but maybe a little dry (I'd probably need to drown it in oil to taste like the restaurant version!). One day I need to test it out again & get the recipe up here.
Sometime I get overly excited about trying a new ingredient, but can't decide on a recipe, so I decide to make mini batches from a few recipes. It actually works out really well, because then I'm not left with a giant portion if the recipe is a flop! One day I grabbed a Spaghetti Squash and made...
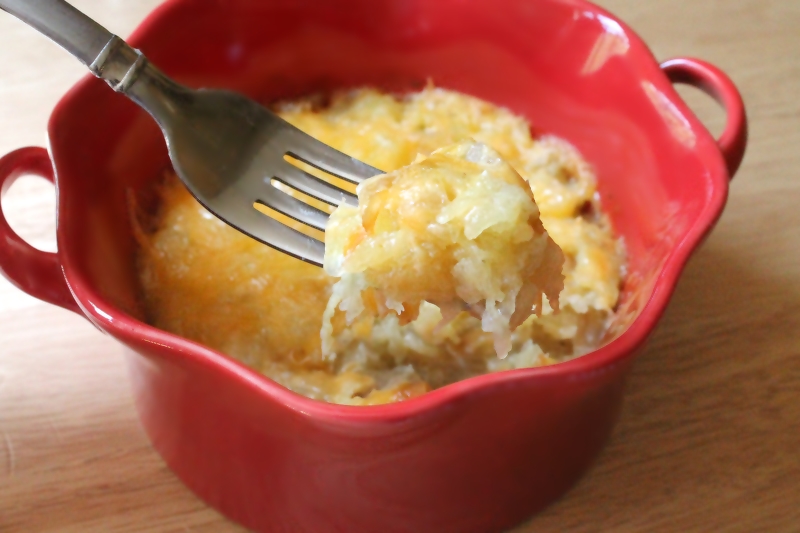 Spaghetti Squash Au Gratin
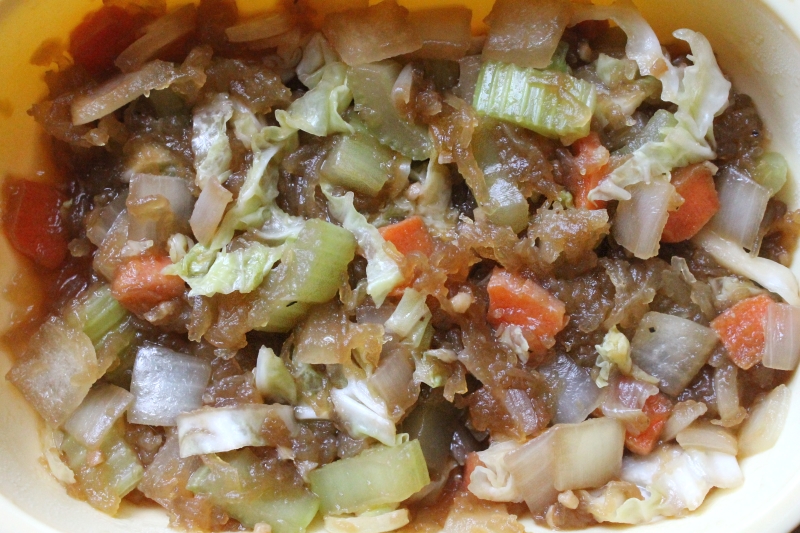 Spaghetti Squash Chow Mein
Spaghetti Squash with this yummy
fake alfredo sauce (from pureed cauliflower) and some bacon.
And then I totally forgot to take pictures of the
Spaghetti Squash Hashbrowns before we ate them! All of the recipes turned out pretty good, better than we expected, but they weren't amazing. I'll probably revisit the spaghetti squash for a diet meal one day, but I don't think it will be a regular side dish for us any time soon. (Btw, I love winter squashes, but not summer squashes. This was a lot closer to yellow squash than butternut.)
We've found that there are so many vegetables that you might not like other ways, but they are absolutely delicious roasted. Our kids will devour roasted kale and Brussels sprouts & ignore the cheesy chicken & noodles on their plate. When one of my friends was raving about
roasted beets, saying she makes some every week to toss on salads & such, I had to give them a try.

The color was soooo gorgeous (this is before roasting), but the finished product ended up tasting like dirt. I haven't had beets any other way, but I'm not sure that I want to try them again!
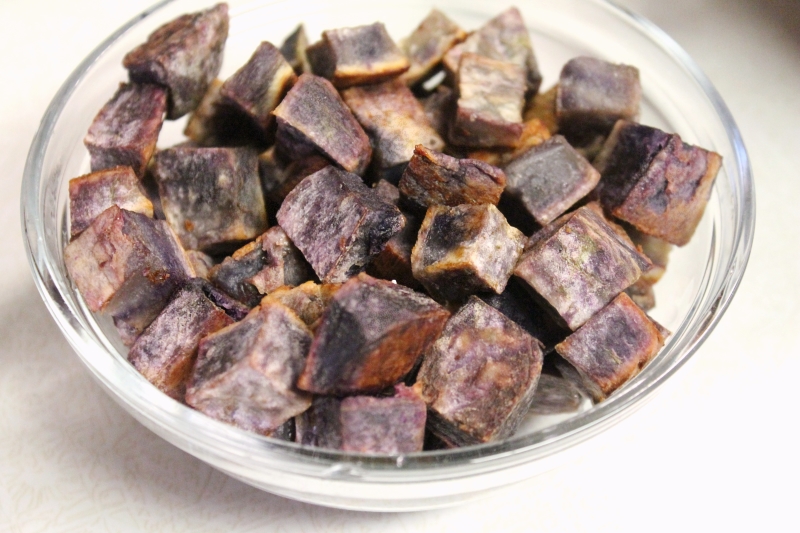
I also roasted some
purple yams at the same time. The color ranged from purple to a purple & white mix, but it all got a little brown after roasting. I didn't like them as much as a normal sweet potato, but it would be a nice way to mix in a little color.
Speaking of roasting, I often try to make 'chips' out of things, with varying success. One day I tried to make
banana chips, because I never know when my kids are going to eat bananas or not & often have to throw out bad ones. Big fail!
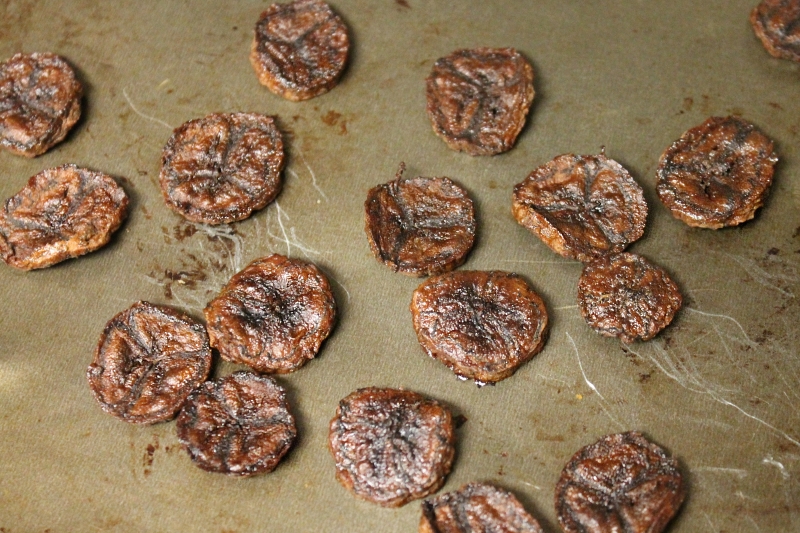
They cooked at a low temperature, and at first I had to pull them out of the oven early to make dinner. They were still chewy, so I put them in for the rest of the time and they came out burn to a crisp! Later I tried another batch and still was never able to get them past the too-chewy point, so now I've got a dehydrator on my Christmas list!
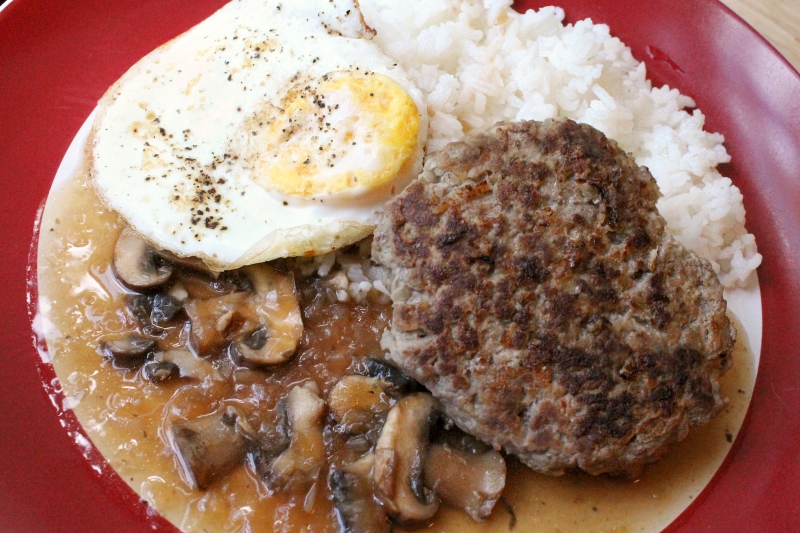
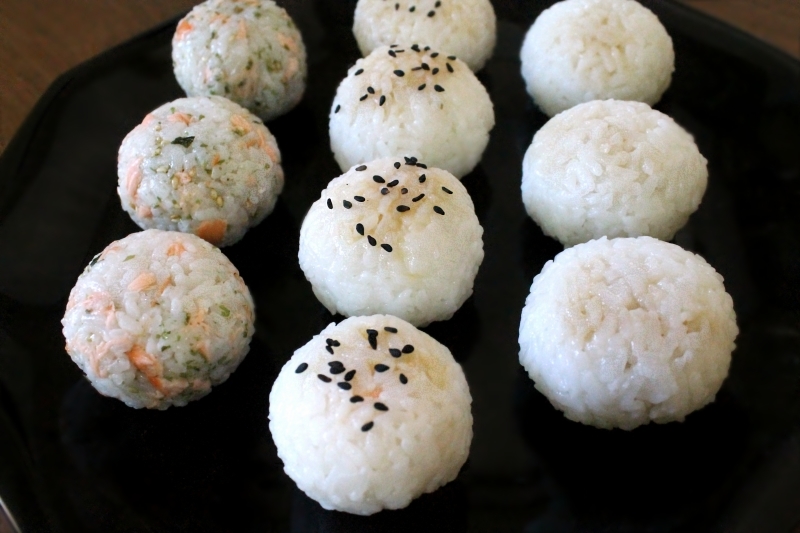
On to something a little nicer! I made this tasty Japanese-Hawaiian dish called
Loco Moco from Just One Cookbook. The recipe turned out well, but the hamburger steak was basically the same as the Japanese style steak we'd cooked before from her site (kind of a Worcestershire sauce instead of a brown gravy). Serving it with the egg on top was a fun addition, but with so many different things to cook for this recipe, it was not really worth it to add another pan & another step. It was nice having rice on the side though!
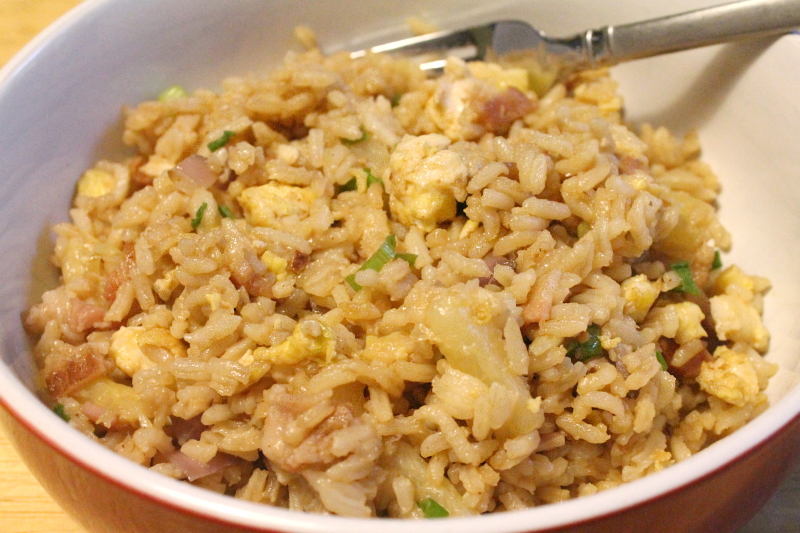
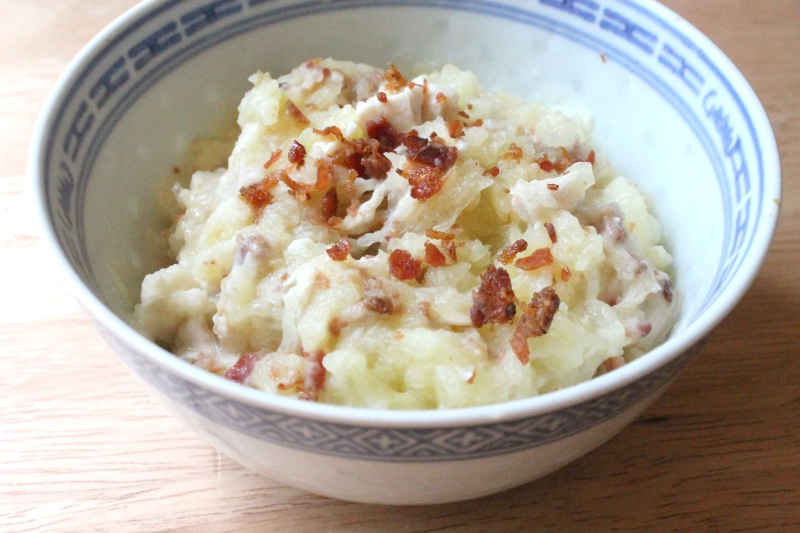
And another Hawaiian style dish,
Hawaiian Fried Breakfast Rice from Our Best Bites. This one also turned out yummy, but if we make it again we'll change the ratios to have a little less rice & a little more of the fillers.
I've still got quite a few more of these pics stored away, but I think that is enough for now!


