First thing, I wanted to point you over to
The Craft Patch, a great blog that I recently discovered. On Mondays she does an awesome
"Pinterest Tested" post, where she tries out a lot of those too-good-to-be-true posts that you've seen pinned again & again to see if they will really work. I came across her blog as I was about to clean my cookie sheets with
hydrogen peroxide + baking soda only to see her & several commenters declare it worthless (with photo evidence). Glad I didn't waste my time!
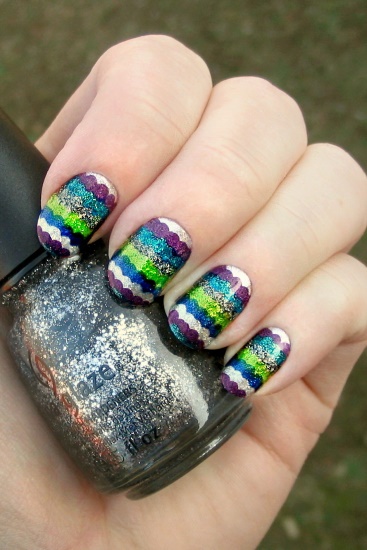
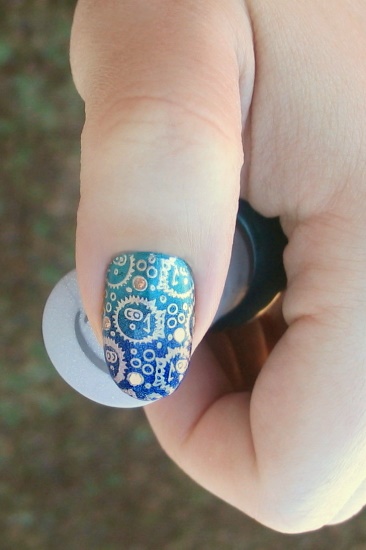
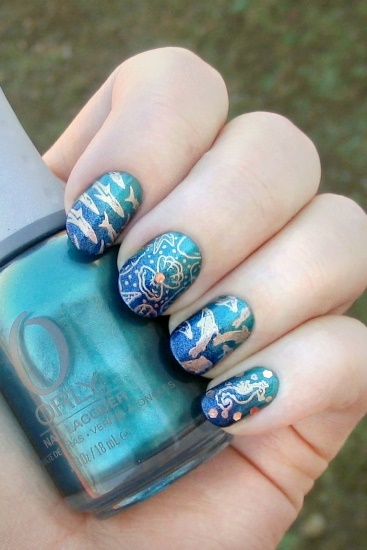
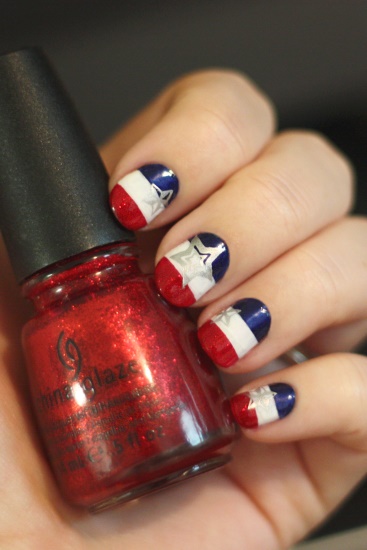
You may or may not have noticed, but I've settled into a nice little schedule over here - posting recipes on Sundays, 'Getting Things Done' on Mondays, manicures on Wednesdays, and any other random post on Friday. Sticking to a schedule like this has helped me keep up with the blog better than ever, and I'm easily able to plan ahead so it is not stressful or rushed.
Well, last week was a productive week! I....
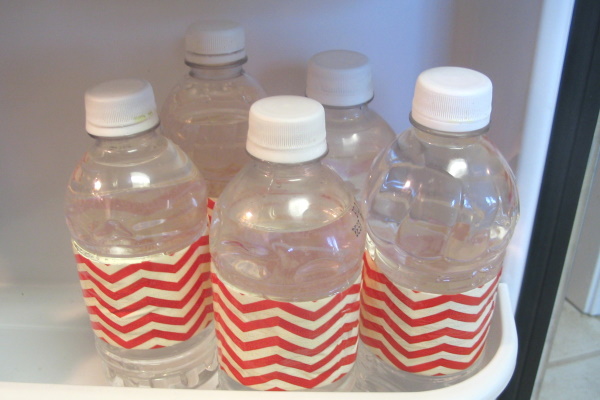
♦ Used
this idea and decorated our water bottles with pretty duct tape (found in the Target $1 section!). Good news: our re-used bottles are easy to tell apart from new waters for guests! Bad news: our waters smell like duct tape. This bothers me, but I'm hoping it will fade in time (Justin doesn't notice it). I would probably not recommend doing this for a party!
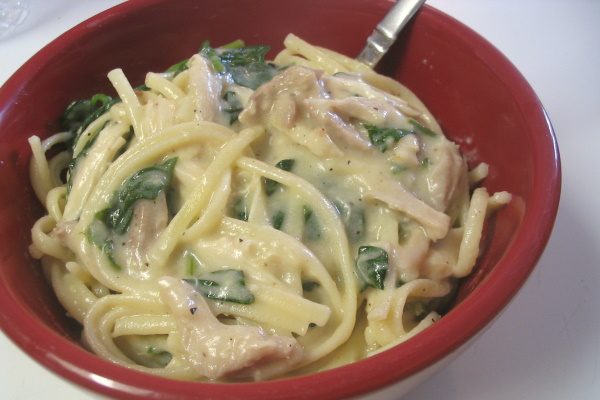
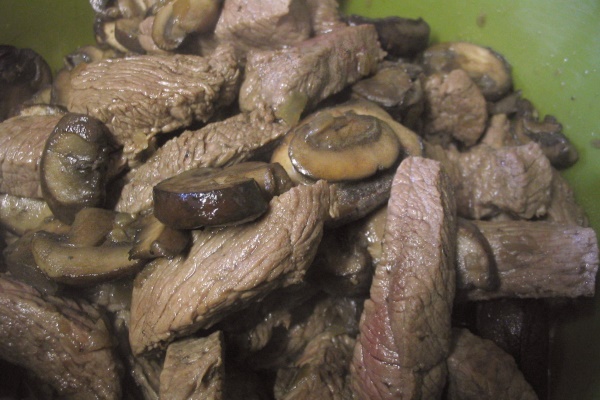
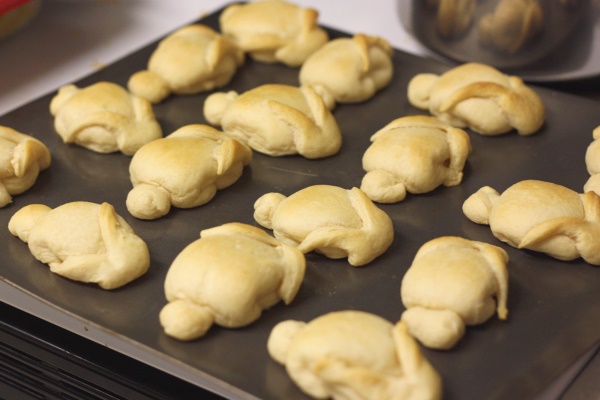
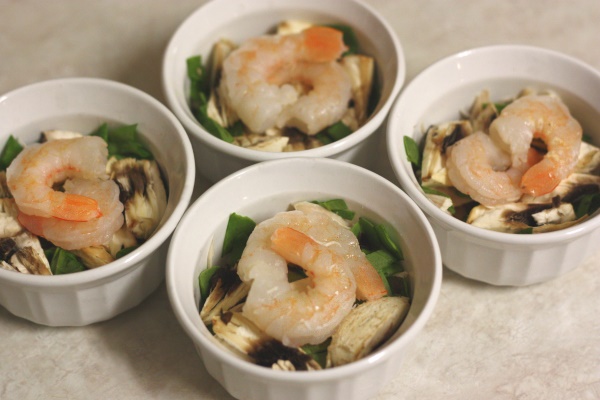
♦ Tried
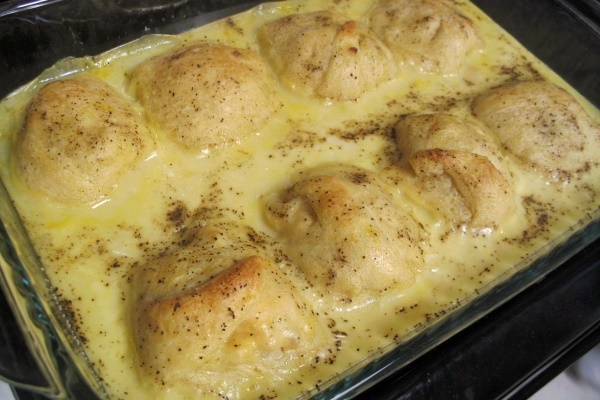
2 new recipes
♦ Backed up my whole computer! I do this every January, burning every photo & file onto DVDR's that I send with Justin to store at work. This way I have back-ups not only in the event of a computer crash, but also for things like fire or theft (where I'd probably loose the computer and the back-up disks). Throughout the year I put a copy of any new pictures/files into a folder and burn that set about every 2 months.
♦ Cleaned out an old binder of our favorite recipes, typing up the few that had not gone digital already.
♦ Cleaned out an accordion file of new recipes, recipes that needed work, etc. Had to type of most of these! (And I thought I'd ditched all of my old recipe binders!)
♦ Added links to our *long* list of favorite recipes (will post about that soon) for easy access
♦ Bought Goo Gone (Target $1 section) and cleaned off the
glitter bottle I made for Orson. Tried to clean his "I Spy" bottle, but he ran off with it & hid it somewhere - haven't spied it yet.
♦ Working on long overdue blog posts, which should be popping up on Fridays
♦ Mixed half blue Dawn soap with half white vinegar, which I've seen toted as a miracle cleaner all over the place lately (good for kitchens & bathrooms). Inspired by this
Pin test, I used it on our shower floor, which has been getting a little dingy. A big improvement, though there was a stubborn area that might need a 2nd treatment. (I did have to use a toothbrush to get down in the crevices, but just wiping it off, no real scrubbing required)
♦ Bought new curtains for the Master bathroom - and even hemmed one set!
♦ Bought some pure acetone to clean off old Cool Whip containers, inspired by
this post. It worked great! I didn't let it soak, just put some on a paper towel and wiped until clean (using a cotton swab dipped in the acetone for stubborn spots). Probably a little more time consuming that soaking, but you can clean one in about 5 minutes that way. I'm doing one a day to keep the fumes minimal & will post pics next week.