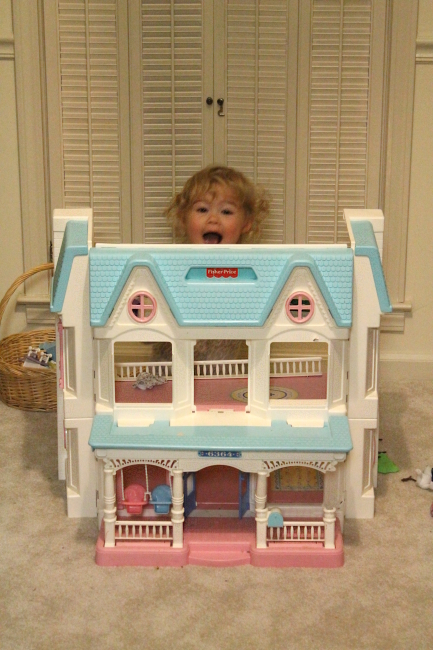
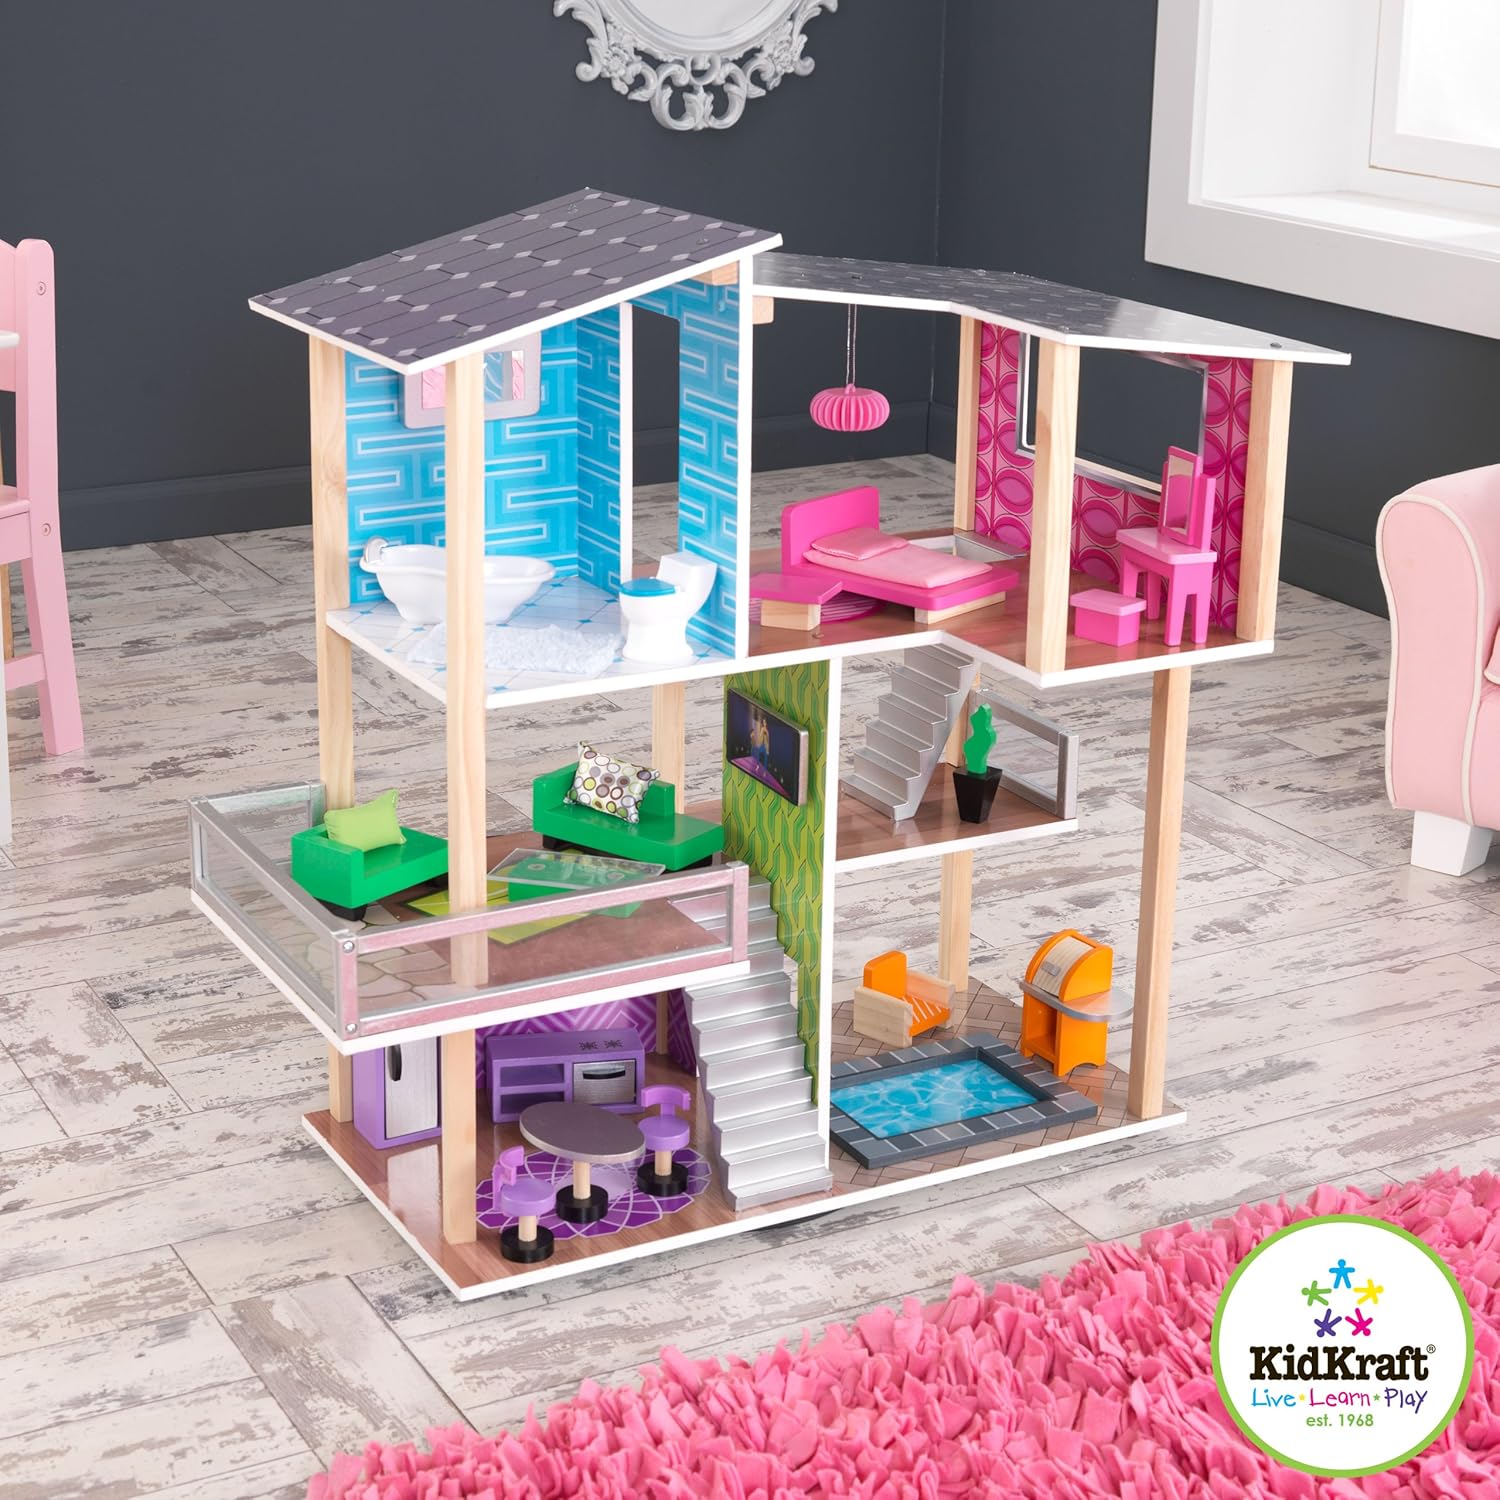
Last year we brought home a dollhouse we found out on the curb, and since then my daughter has played with it *every day*. For her 3rd birthday, we figured it was time for an upgrade, and splurged to buy this furnished modern beauty ~
The only problem ~ some of her favorite things from the old house were the swings and mailbox that opens and closes, and I couldn't find a good replacement for either. The old house was already broken, so we finally decided to just take them off and add them to her new house! With a little updating...
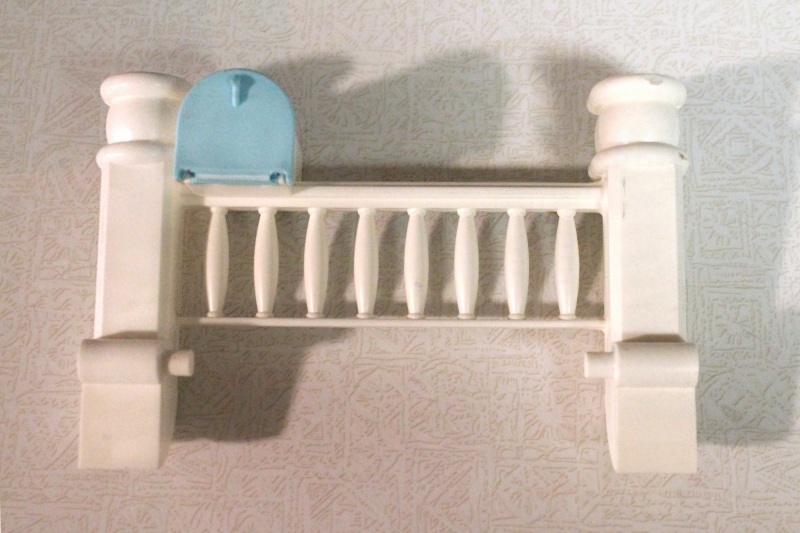
The banisters were already broken right above the mailbox, so we just pulled off this section. I decided to cut the box off and attach it to one of the posts.
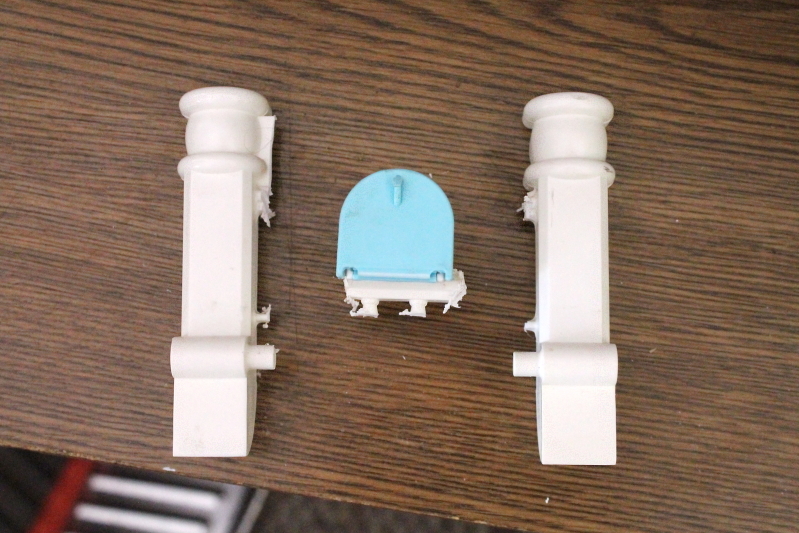
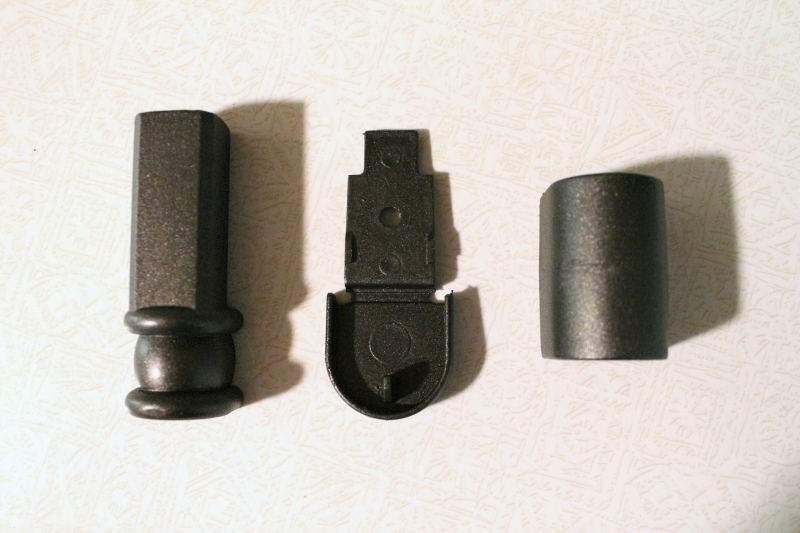
Easier said than done. The box was attached completely along the left side and bottom, and the plastic was very hard. I ended up having to use a cutting wheel on my Dremel to saw the pieces apart, then used a sanding wheel grind it down smooth (finished off with some sandpaper). The plastic was pretty crazy to work with, because it actually melted under the heat from the tools, and the sanded bits balled up instead of falling off.
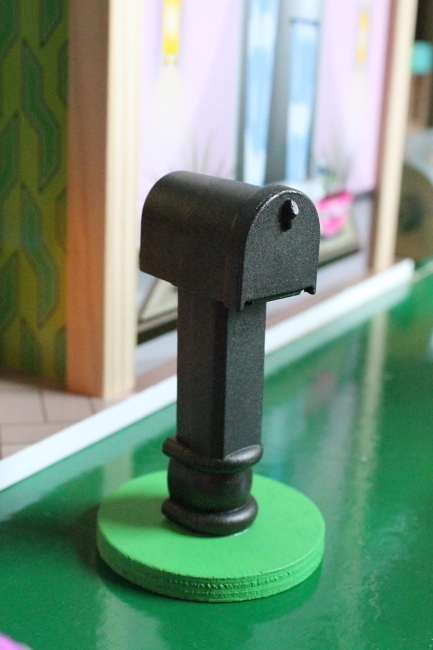
After that was smoothed out, it was time for paint. I had planned on painting both the mailbox and swings part silver and part yellow, but then I realized I was out of my favorite silver spraypaint, and didn't really want to shell out another $8 right then. I did have a can of the Oil Rubbed Bronze color though, which is a dark metallic brown-black, and perfect for a mailbox.
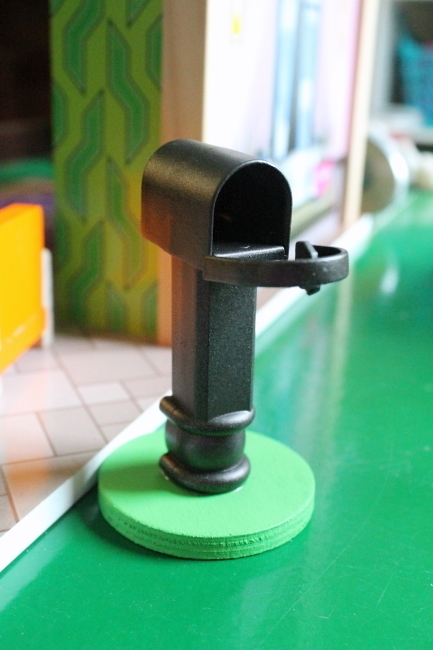
After the paint was dry, I flipped the post over and attached it with a little two-part epoxy. I also found some wooden circles at the craft store, painted one green, and used it as a base. We both love the finished mailbox!
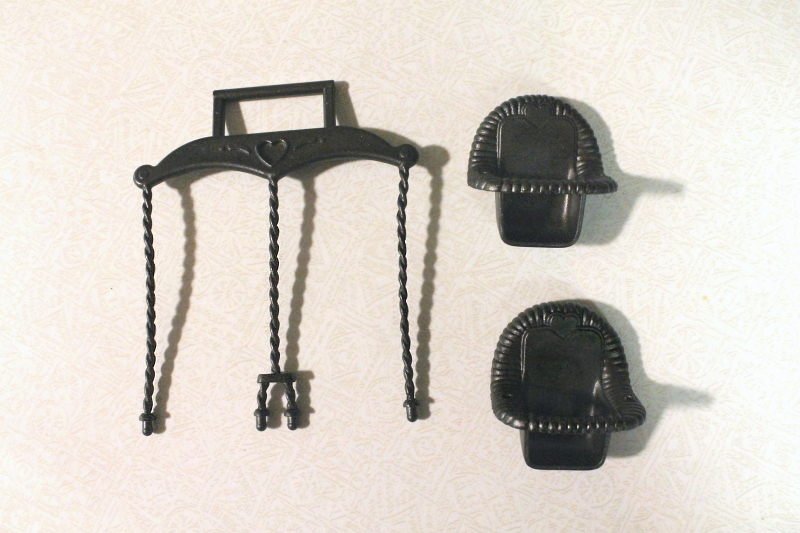
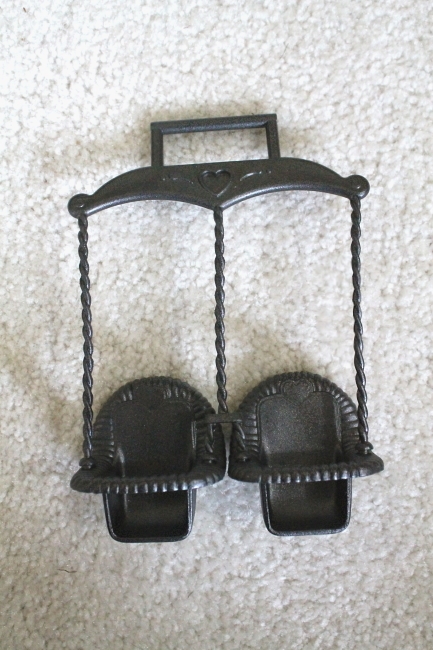
The swings didn't require any sanding, but the paint sure gave me some problems! For some reason I can't find a 'before' picture of the swings, but you can maybe see from the first blog pic that one was pink and one was blue on a white chain. I started painting the seats yellow with the Rust-Oleum 2x paint (Gloss Sun Yellow) that I used on my plastic magazine files. While the yellow paint worked pretty well on the cut out areas of the files, I did have some problems with it cracking on the large, flat areas. I had the same cracking problems on the flat areas of the seats, and one time I guess I forgot to shake the can first and the paint sprayed out super-speed and pooled up in the seat with a darker orange color!
At that point the paint job was ruined, so I ditched the yellow idea and went with the trusty metallic paint. Unfortunately that meant picking off all of the yellow paint, bit by bit, out of all of those little grooves. Towards the end, I tried soaking them in water first, and the paint was much easier to peel off. The metallic paint went on like a dream!
And Re-assembled. I do still think these would look better in the silver, and might end up re-coating them when I have a new bottle on hand.
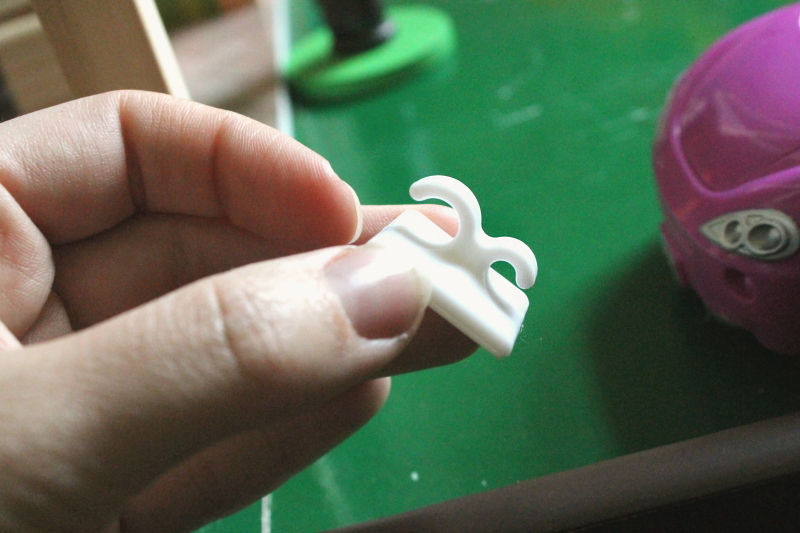
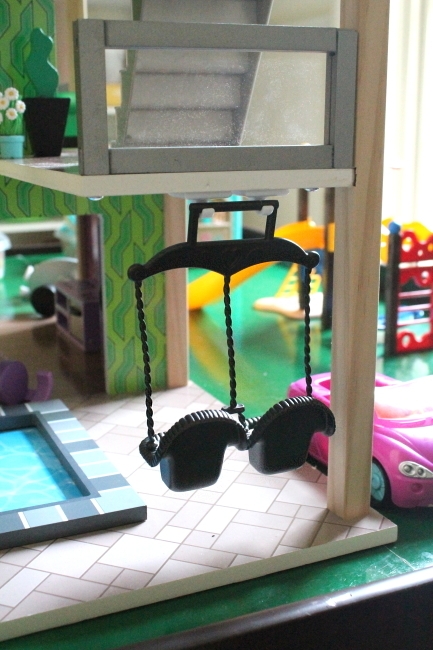
I debated about how to hang the swings, and considered cutting open a thick drinking straw to slip the bar inside. I perused the 3M adhesive hooks, but unfortunately all of the hooks pointed straight up, and I needed something that curved back in a little since I was hanging them horizontally. Luckily I found these adhesive double hooks nearby in the clearance section! I thought the small hooks were a good size, but knew I could use the bigger hooks otherwise (I needed the bigger ones, of course).
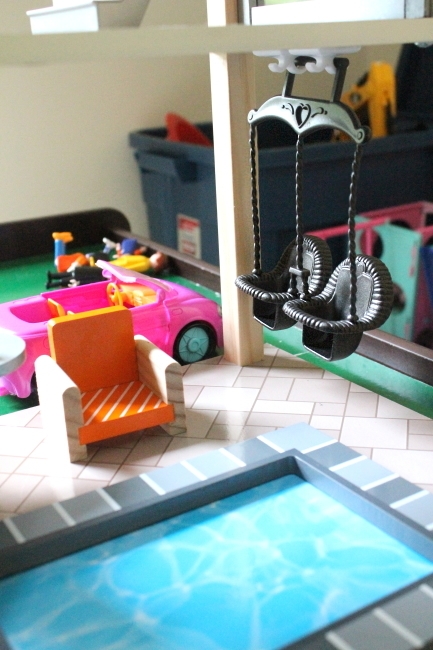
The adhesive hooks were super easy to attach, and the house had the perfect ledge, right out on the patio by the pool ~
My updates ended up taking a lot of unexpected work, but I love the results. I'm so glad I transplanted these!

No comments:
Post a Comment