
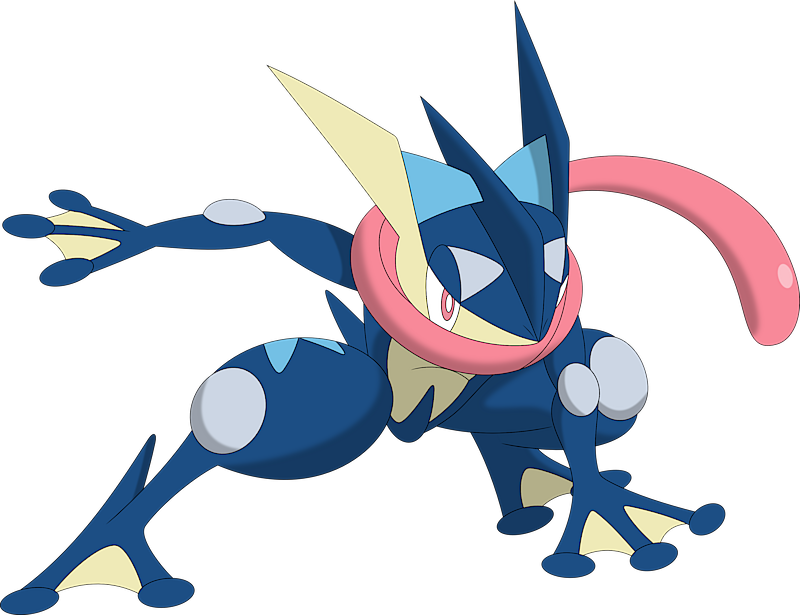
This year my son wants to be a Pokemon for Halloween. Not just any Pokemon - Greninja. Naturally there are no ready-made costumes for that one, so I've had to get creative.
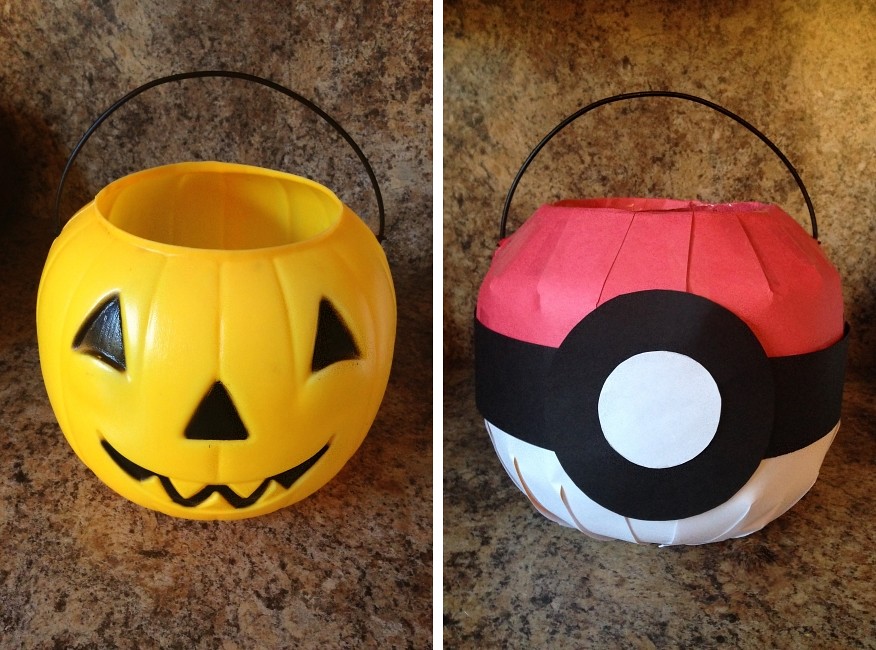
I figure most people will have no clue what he is, so I wanted to give him a Pokeball to hold so they can at least maybe recognize what franchise he is from. I thought about buying a plush ball... then I was all ready to sew a plush ball... and then I realized - why not just decorate his candy bucket? I snapped some step-by-step photos along the way so I could share this easy tutorial with you!
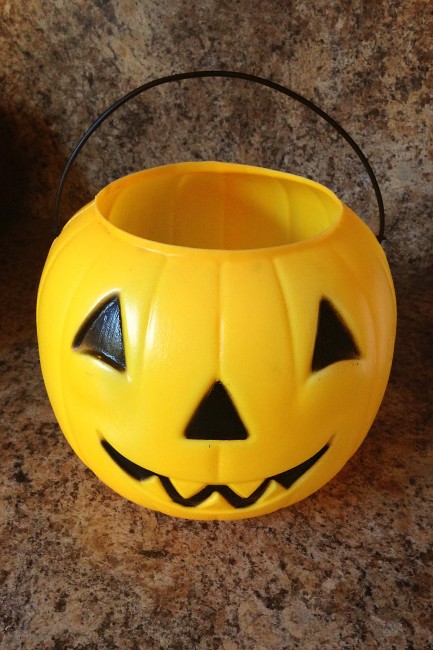
All you will need is a round candy bucket similar to the one below, red and black construction paper, white printer paper, and some scissors and tape. (I highly recommend using Satin tape for this because I started with normal Scotch tape & it got ugly quick. The Satin tape was nearly invisible.)
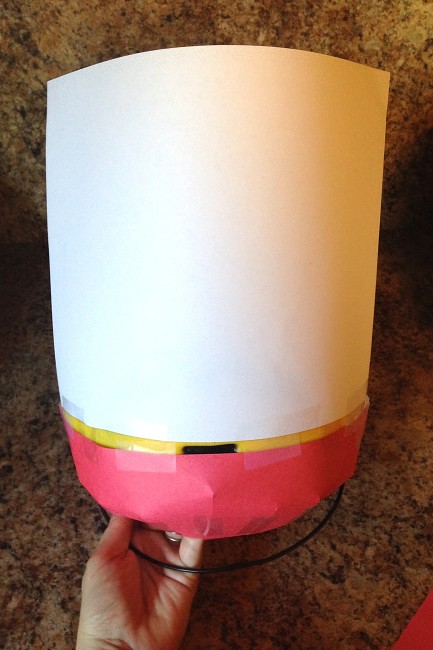
First we'll cover the top half of the bucket with red. I was able to cut my paper in half lengthwise for this, but the size will depend on your bucket (as will any dimensions I list below. Adjust as needed!). My paper would not quite wrap halfway, so I ended up using 3 half-sheets and left a seam along the back. Tape the red paper along the bottom until you've wrapped all the way around the pumpkin.
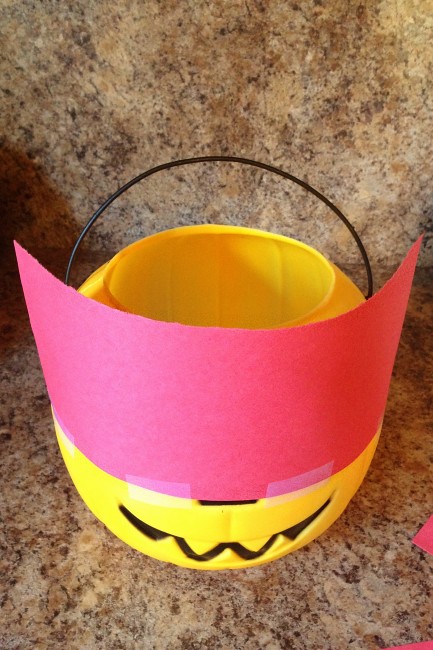
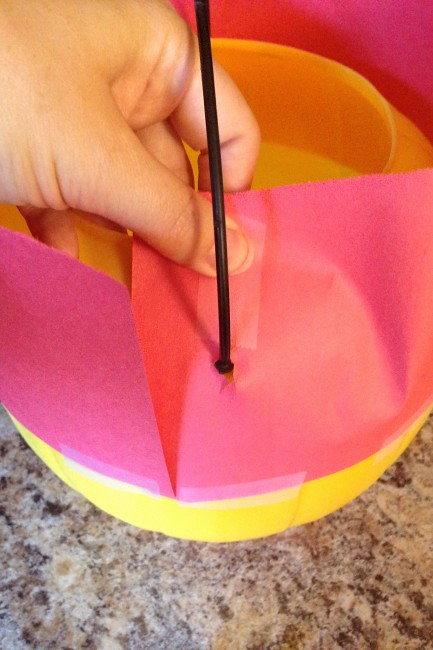
Next you'll want to cut a slit right behind the strap, from the top edge of the paper down to the handle, so we can wrap around it. I also had to cut a little hole out right where it met to fit around the cord. Overlap the paper so that it lies flat along the curve of the bucket and tape together. (Ignore the 'slit' to the left of my hand, that's just where two pages met.)
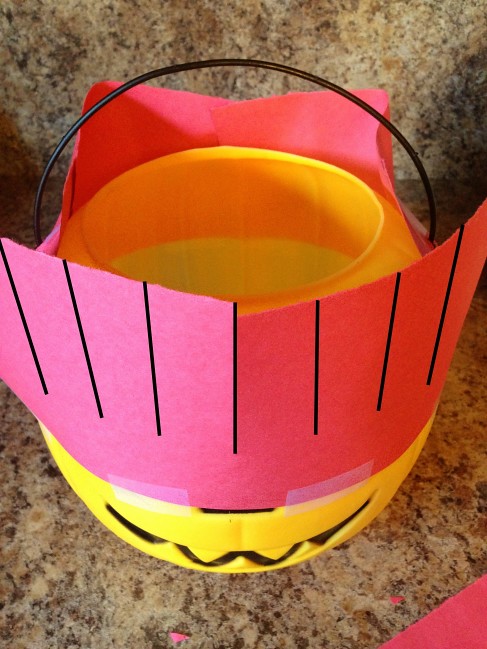
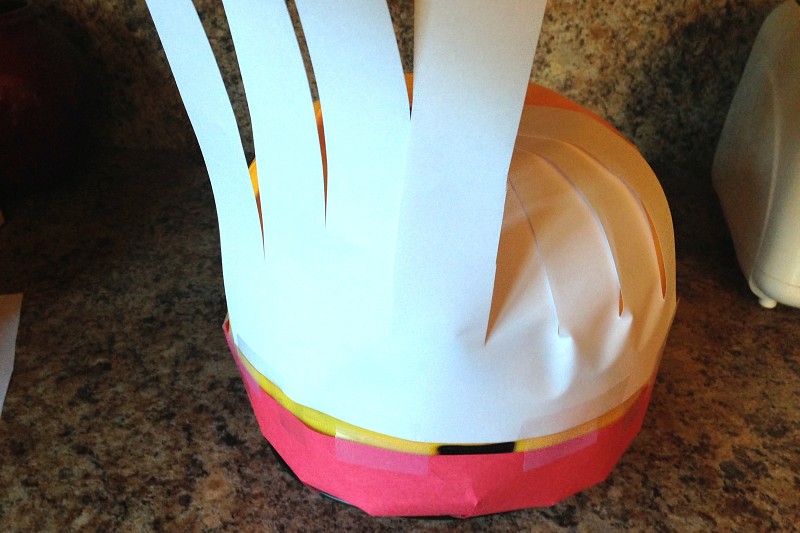
Cut a slit down the front center of the paper, leaving a couple inches at the bottom uncut. Then cut slits halfway between that and the straps, and cut in half again so you have 8 strips.
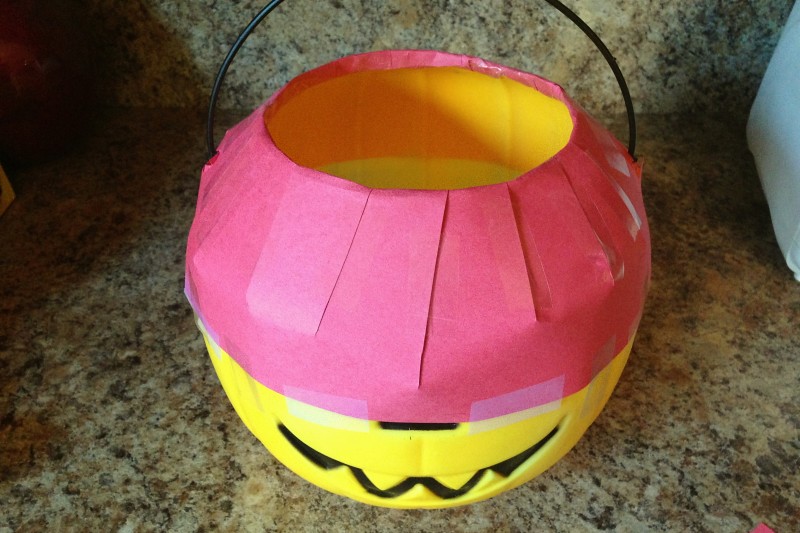
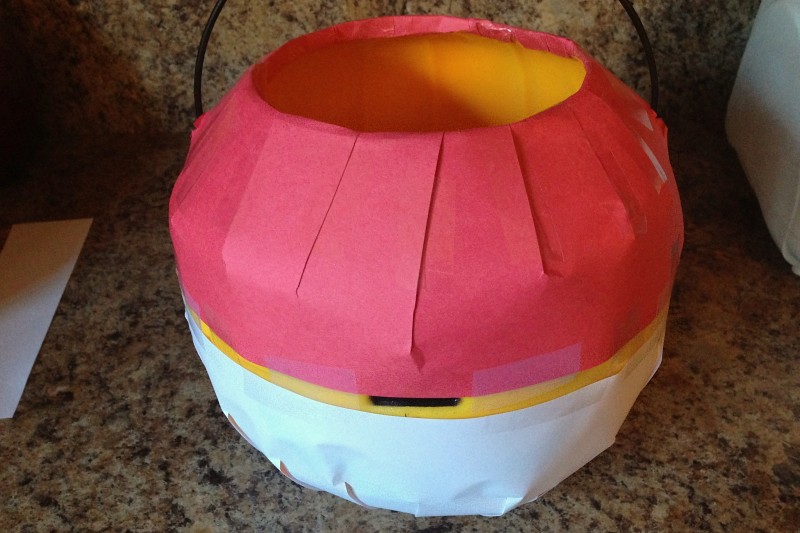
Overlap the strips so that they follow to curve of the bucket and tape in place. Repeat along the back side.
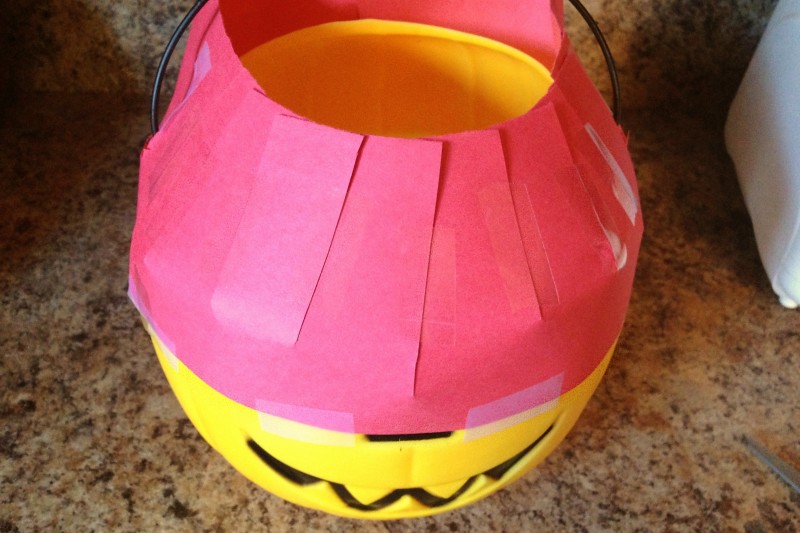
Along the top you can either cut the paper off flush with the edge of the bucket, or fold it over and tape in place. I opted to tape mine.
Now it's time to cover the bottom in white! I wanted to wrap all the way to the bottom so I needed a full sheet of paper this time. You may be able to get away with a half sheet again, just make sure it covers enough. Tape along the bottom edge.
Cut the slits like before and tape into place. I taped these at the end, so all the tape is on the bottom of the bucket. Repeat to cover the back. (This time I just worked one sheet at a time - whatever works!)
And flipped back over...
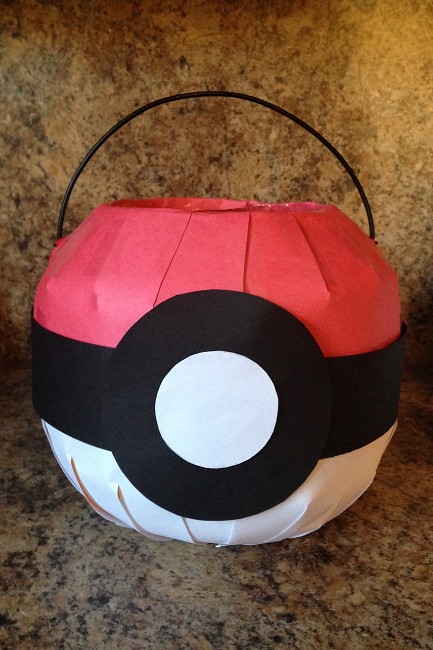
Now you will need two or three long strips of black paper, about 2" wide. (I probably could have gotten away using two by leaving a gap in the front, but I wrapped all the way around.) Tape the strips around the center of the bucket, covering any gaps between the red & white papers. I put my black strip slight above the center line, because it looked a little too low otherwise.
Next, find a large cup or small bowl to trace a circle about 4-4.5" wide from black paper. Tape it on the front, centered on the black strip. Trace & cut a white circle about 2-2.5" wide, tape it in the center, and you are done! Enjoy Trick-or-Treating with your little Pokemon and fill this thing up with some candy!
No comments:
Post a Comment