
I'm generally pretty cheap & was not eager to spend a lot of money on things that were going to be used for just one day. With some thrifty-ness I was able to get the invitations, decorations, paper products, and food for about $100, so I wanted to share a few things I figured out along the way!
I'd originally planned on doing a cat themed party because that is one thing I know our little girl loves. Other than "Hello Kitty" I couldn't find much, so I just went with a pink, purple, & teal color scheme. These 1st Birthday cupcake invitations were perfect & much cheaper than the cat options. (For their true color see my pic below)

I was eyeing this party hat, but decided to make my own. I used a blank party hat, cut a "1" out of construction paper and taped it on the front. The invitations came with lots of cupcake stickers (seals), and I dotted the rest of the hat with the extras.
I could have left it there, but I wanted some kind of pompom on top. I grabbed the crepe streamers and cut 8 pieces about 3" wide, stacking them up. I cut lots of small strips from the sides, keeping the center intact, then twisted the center together tight with a twist tie (if you've ever made a yarn pompom you can probably picture this!). I stuck the twist tie through the top of the hat & taped it in place inside. Along the bottom I used some double sided tape and lightly twisted the streamer, taping it down as I went.
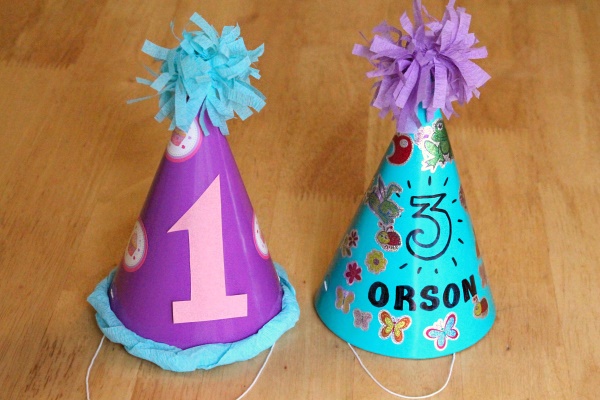
When my son saw me working on the hat he wanted to make his own. I wrote on the front with a Sharpie & he went to town with a sheet of stickers. (And of course he wanted a pompom!) At his next party I think I'll set out blank hats & stickers as an activity for the kids. The hats + stickers probably cost the same as the licensed character hats, but it's a lot more fun to let them personalize them!
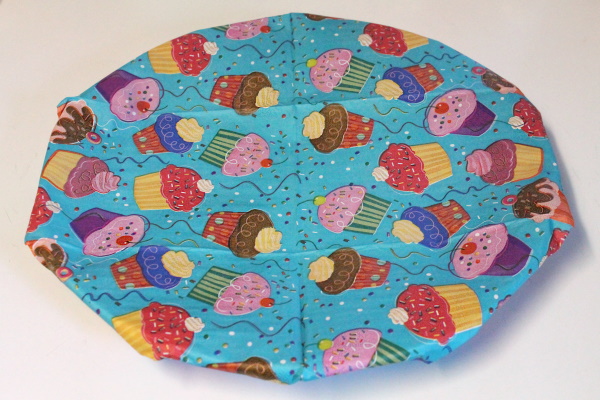
Soon I realized I couldn't put out food on my normal red rimmed plates. They would not work with the girly color scheme, and I didn't find any disposable options at the grocery store. I started racking my brain and realized I could cover a few plates to make do. Luckily the cute cupcake napkins I bought were extra large, so I sacrificed two of them, folded the edges around the back & taped them in place. Not too bad!
Next I needed something to put dip in. I had a large white mug that would work, but it had writing on one side. I realized the invitations were wide enough to cover that up, so I cut the bottom off of an extra and taped it to the front.
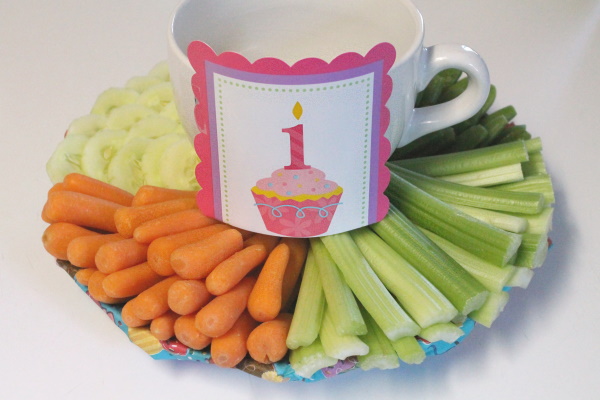
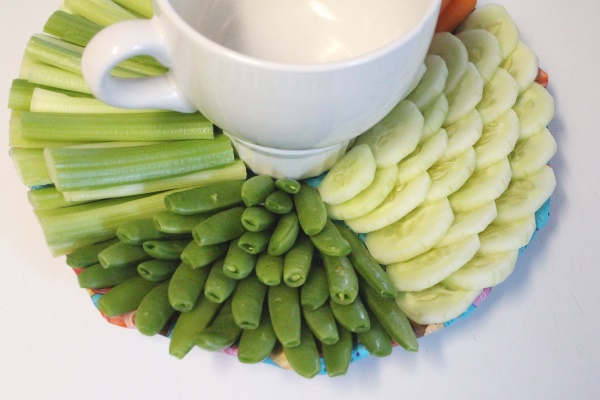
I set the mug on top of a small white ramekin to lift it up a little so it wouldn't be buried in veggies. This also let me store the plate & mug separate without messing up the veggie arrangement.
For the food area I bought two $1 tablecloths and used this idea to create some ruffles along our counter. I cut the tablecloths in half longways to give me lots of length. I started with half of the purple cloth, taping one end to the left edge and the other edge halfway along the counter. Then I taped the center of the cloth to the center of those two points, just eyeballing it, and kept dividing the sections in half & taping until I had some nice gathers. I finished up the right side with the other half of the purple then added a teal layer over that.
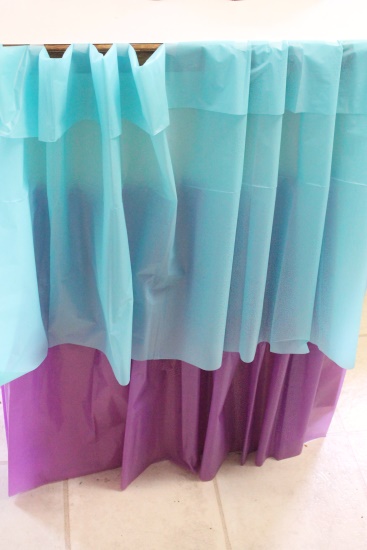
The teal was going to cover too much of the purple on its own, so I flipped the top edge down a little and taped it in place the same way. I decided not to cover the countertop, so to make the teal cloth look a little nicer I folded each section to the side to make a pleat. (See the gathers on the left, pleates on the right) This all took some time and a lot of tape, but it was definitely worth it!
And here you can see it all finished. So pretty!
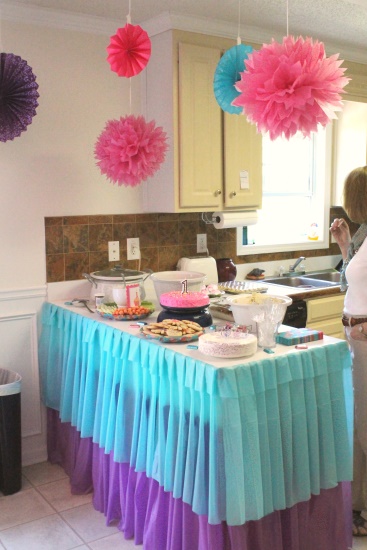
A lot of the hanging decorations I found came in a 12 pack of one color & size, but I wanted a little more variety. So I was thrilled to find this pack of 6 fans with all of my colors in various sizes. (I was prepared to cover those princess centers if needed, but they were optional!) The poofy balls were from here, and I fully intend to hang them in her room afterward! Maybe all of it.
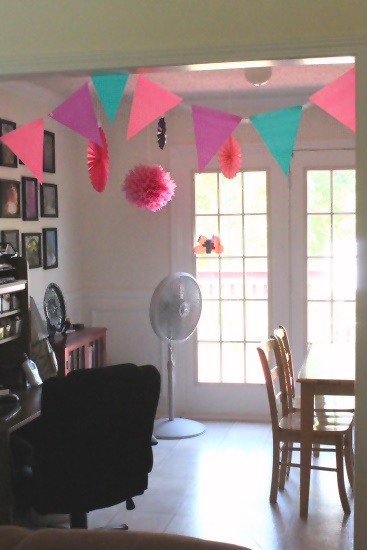
Some more hung in the other corner along with some bunting along the doorway ~
In the next post I'll show you a closer view of the food table & talk about the recipes I made. I cooked way too much food! I've got a few more tips on cheap paper products and food set-up, so check back!
2 comments:
Wow, beautiful decorations! I'm not very artsy and your creative and beautiful decorations are so inspiring! Happy Birthday to Pandora! :)
Okay, your layered tablecloths look amazing! Brilliant idea! The whole party is adorable and I especially love the teal cake.
Post a Comment