
When Born Pretty Store lists new nail stamping plates, they put them at a steep discount for a day or two. I've learned to snatch up any I really want, because it might be a long time before you see them any where near that cheap again! I had to watch for months for this plate to go as low as $3 (50% off), so I jumped at the chance to buy this one for $2 when it was still new.
And then the poor plates sat around for a few months until I finally found some motivation to do nail art again! (And then the photos and blog post sat around for a few more months until I found them again and made the final touches. Yikes!)
I grabbed the 2nd plate & decided to try somethings new - a full nail decal with lots of colors. First I stamped onto a freezer bag (would not recommend) with Konad Special Black polish, then used some dotting tools to fill in each space with color. This will become the back of the design, so you don't have to worry about coloring *on* the lines, just try not to go *over* the lines into the next spot. I was planning on putting decals on 4 nails, so I made a 5th decal just in case. Good thing I did!
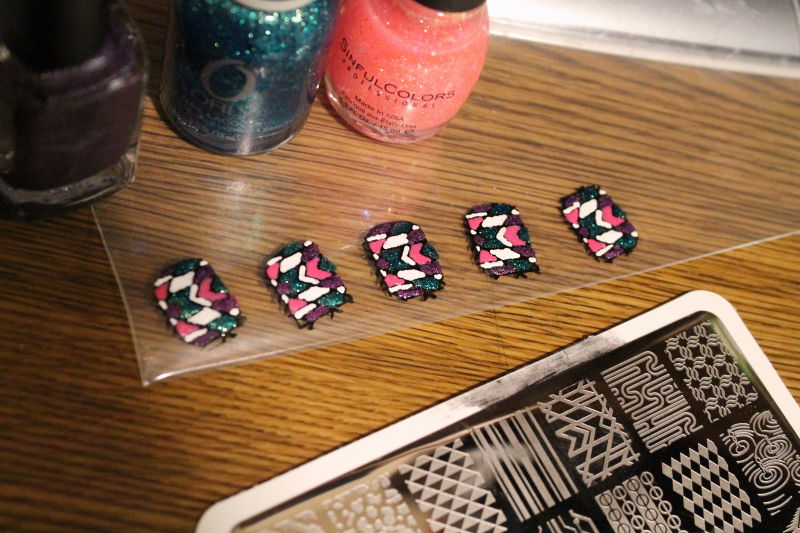
That picture also shows the most accurate colors. I used Milani "White on the Spot", Color Club "Wild at Heart" (purple), ORLY "Halley's Comet (teal), and for the pink I laid down some Sinful Colors "Pinky Glitter" for sparkle (remember, we're working in reverse!) & then used Jessica "Smitten Kitten" (pink).
I covered the whole thing with a coat or two of fast drying top coat & waited quite a while to remove the finished decals. But not long enough.... the decals were very hard to remove, and some areas smeared or ripped off & stayed stuck to the freezer bag! A few hours later I tried again and the decals didn't rip anymore, but they still weren't super easy to remove. In the past I've used the backing paper from stickers and the polish popped right off that, so I'll definitely try using that next time around.
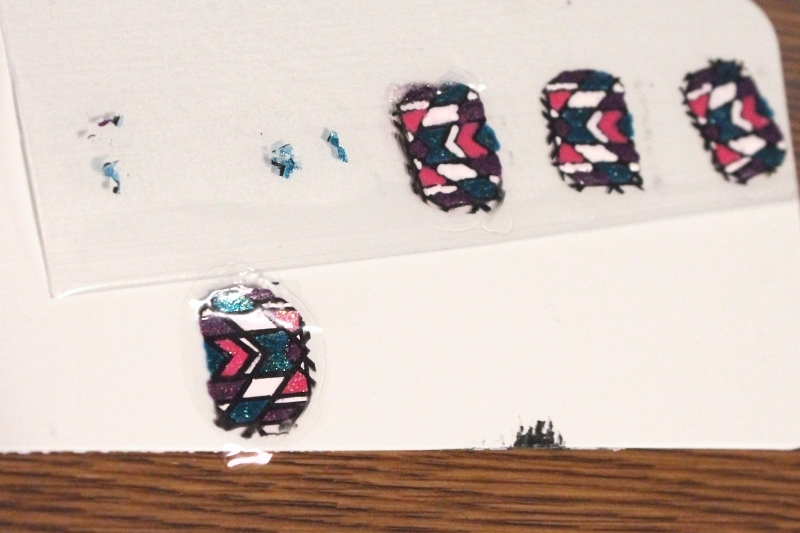
After I removed the decals, I noticed that when I held them up to the light, I could see a few spots where the colors needed a 2nd coat, or hadn't reached all the way to the corners of a section. I did a few touchups & got read to apply them to my nails. I laid down some clear coat polish, pressed down the decal, and cut away some of the excess. Then I used some nail polish remover to get rid of the rest.
Even though I tried to be super careful, the edges of the decals still needed touchups, so I filled in any missing lines & color. And just like stamping, it was very hard to align the designs straight down my nails, so I put them on at random angles so I wouldn't have to worry about that.
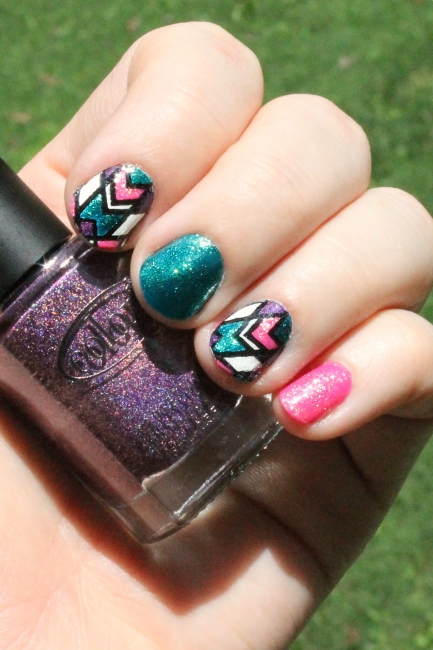
So, in some ways the decals make nail art easier because you can work on them leisurely, and without wet nails. You can also add in much more color detail than normal, and don't have to worry about recreating that detail with your non-dominate hand. But this time around the decals did give me a lot of trouble, and I spent a lot of time on touchups on & off the nail. On top of that, the finished decals ended up being so thick that they kept popping off my nails, so all of that hard work could be lost at any moment (and was, after a couple of days). I'm hoping that my next attempt will go smoother if I ditch the freezer bags & use what I've learned along the way. Of course, as infrequently as I paint my nails these days, it's going to be a while!
No comments:
Post a Comment