
You may remember way back in September I used Miniwax Polyshades to darken some nightstands for our bedroom. I actually bought a dresser at the same time as those, but after my horrible experience with the Polyshades, I was hesitant to start another staining project.
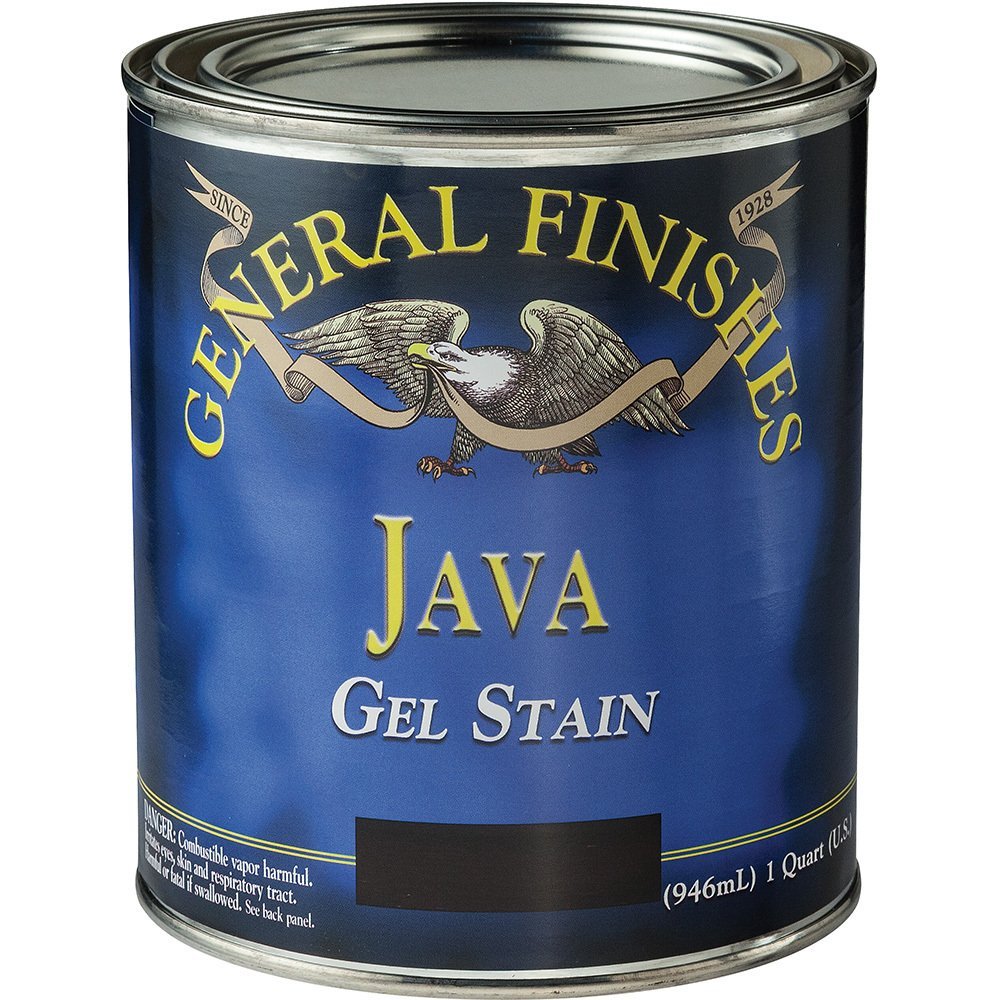
This time I made sure to read lots of reviews and chose to buy General Finishes Gel Stain in Java, satin finish. And for the topcoat, an oil based wipe-on from the same brand, Arm-R-Seal Topcoat. I bought a quart of each, but ended on only using about 1/4, so you could definitely go with smaller size.
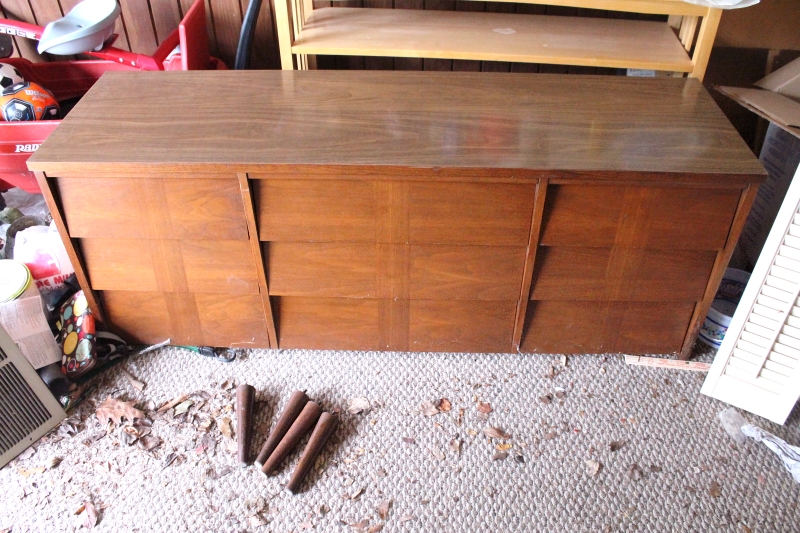
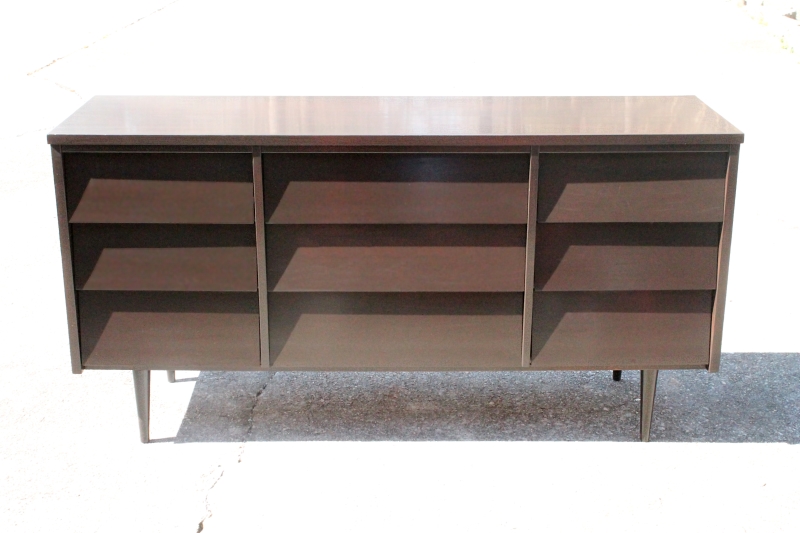
Here is the dresser after sitting untouched in our garage for nearly a year!
I read & re-read this and this tutorial, along with the back of the cans. You'll want to start by giving everything a light sanding with 120-150 grit sandpaper, just enough to rough the surface up a little. Wipe off all of the dust with a cloth.
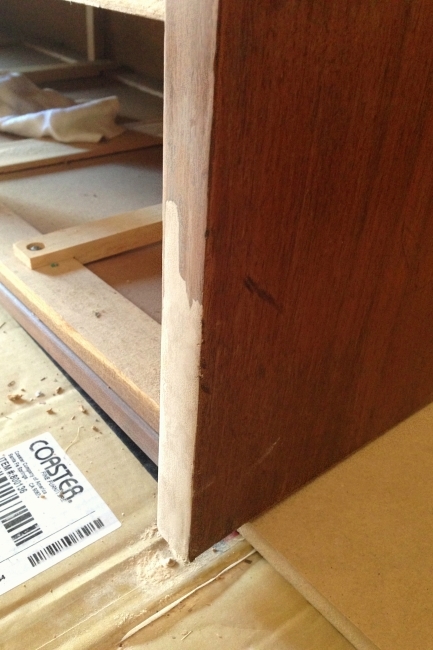
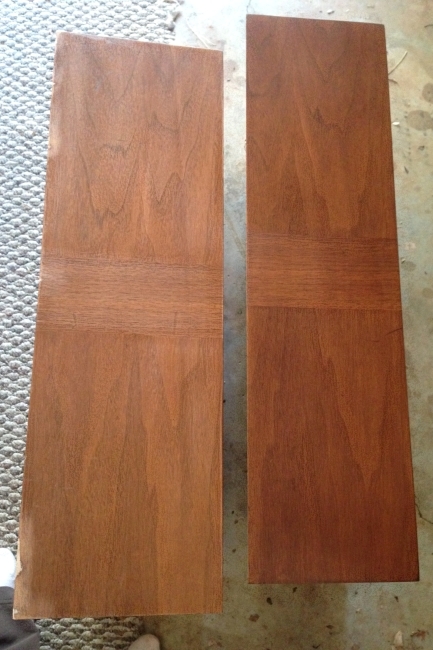
As I was sanding, I realized there were a lot of dings and nicks in the dresser, as well as a few missing chunks. They could probably be ignored, but I decided to do things right and filled them all in with wood putty and sanded them smooth before staining. Naturally this added many hours onto my project! The worst were two sections like this, where the paneling had broken off of an edge and had to be reconstructed ~
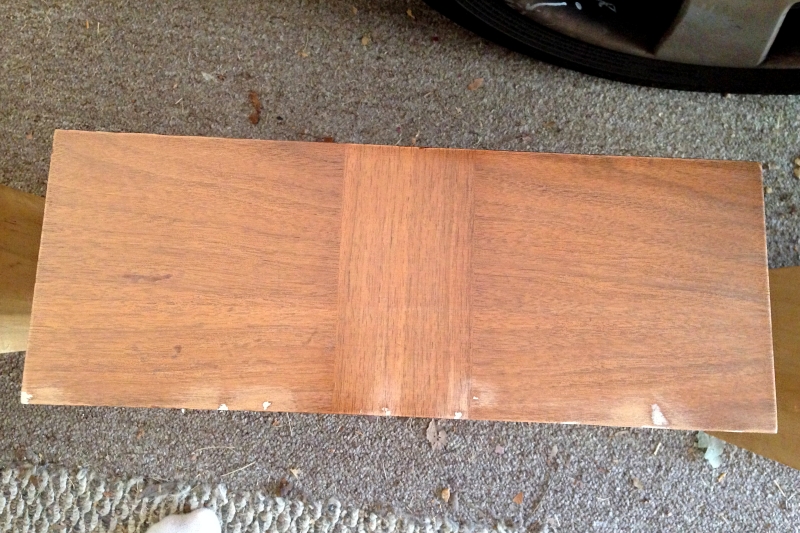
And most of the drawers had small nicks like this along the bottom edge ~
After everything is sanded and wiped clean, you'll want to stir the stain well, put on some gloves, and grab an old sock, t-shirt, or some other clean rag. The tiniest dot of stain will lightly darken the wood and cover your putty like this (stained on the right) ~
I loved how smoothly it went on this way, without any trace of streaking, but after about 4 super light coats (drying 1-2 days in between) I realized I was not making much progress towards the dark, dark brown that I needed. I started dipping my hand in there a bit and slopping on a thicker coat of stain, and after 2 more coats I had that nice espresso color. I put one more thin coat on a couple of drawers that looked lighter and let it dry well for a few days before starting with the topcoat.

The topcoat went on smoothly, but I was unhappy with the light streaking I was seeing when light was reflected off the surface. This video came highly recommended, and he makes it look easy, but I tried out the type of rag that he uses and went back to a sock for the next coat. Supposedly the streaks are caused by going over the top with too much pressure, and in the end I got the best result by slopping on enough to cover the surface well, then wetting my sock/rag again with more topcoat and going over the surface as light as possible in the direction of the grain.

I put on about 4 coats of the topcoat and the sheen on the drawers was fine, but the large top was giving me the most trouble. After two more coats I had one I was happy with, and I didn't mind the extra durability on the top! When the light hits from a certain angle you can still see some light streaking, but that ended up just looking like woodgrain. And honestly, it's dark enough in our bedroom that you would never be able to see that anyway!
The very top of the dresser was covered with some sort of laminate (or maybe something else, we have no idea!), but I'm happy to say the stain covered the wood and laminate wonderfully! The top is also the only spot I bothered lightly sanding between coats of stain or topcoat, just to remove any light bumps from dust that stuck on the surface.
Naturally it was very hard to photo the super dark brown, so here is one washed out shot to show the detail of the dresser ~
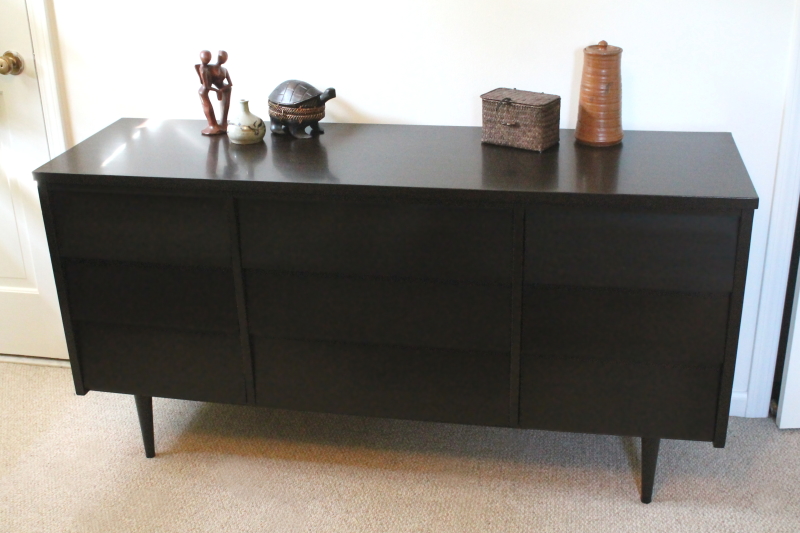
And a shot in our bedroom, with a few random things thrown on top. We definitely need some new knick-knacks!
The stain and topcoat together ended up costing about $55, but I only used about 1/4 of each and have tons left over for other projects. We spent about $170 on the dresser, so we were very happy to add this retro beauty to our bedroom for less that $200. The General Finishes gel stain worked wonderfully, and the Arm-R-Seal was good, but I feel like there has to be something even better out there. In the end we were very pleased with the final results!
No comments:
Post a Comment