
Last month I shared the inspiration pics for my office area makeover, as well as the furniture & supplies that I bought to start the project. And last week I posted about the decor & organizers I picked up for the new shelving. Well, I'm happy to say my pretty office space is all finished, and today I'm sharing a few in-progress pics as well as the final results.
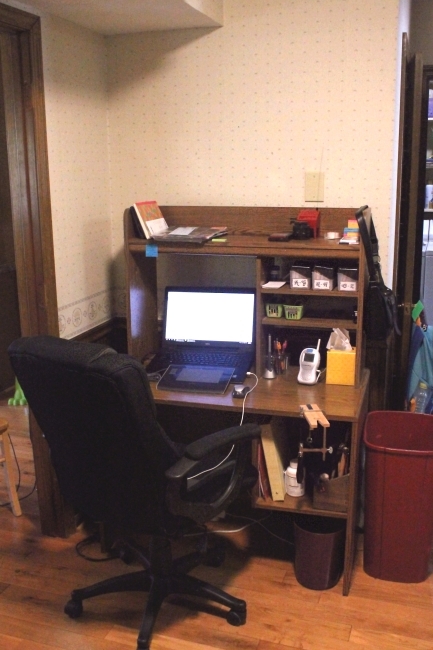
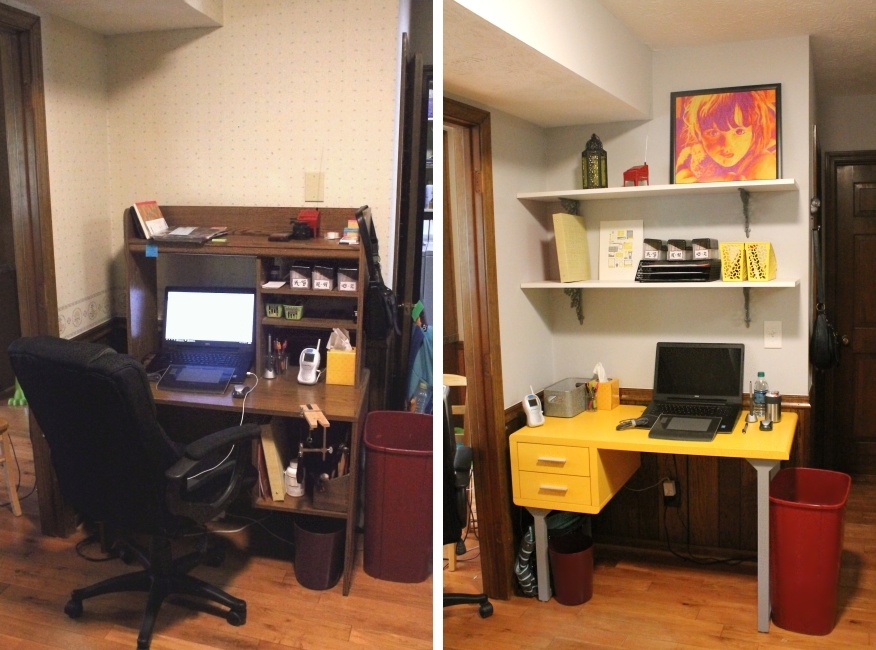
Once again, here is the before shot of my cluttered desk, in front of the old fashioned wallpaper. *shudder* ~
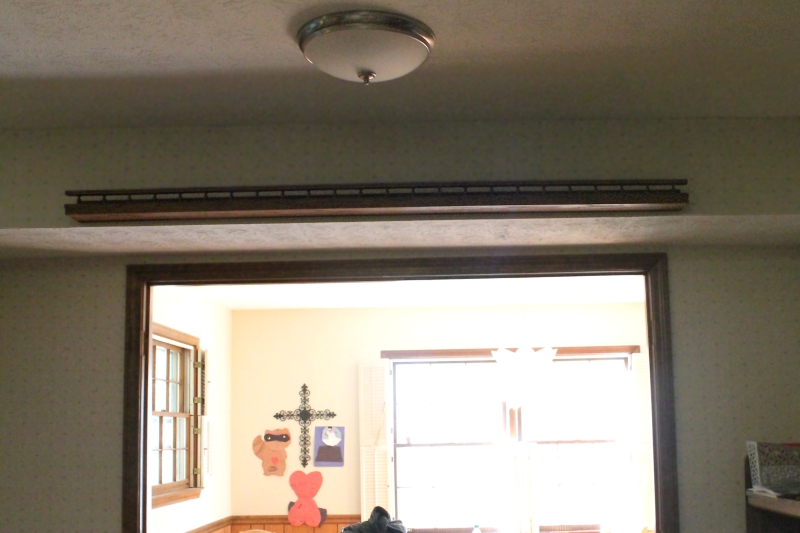
I really wanted to paint the wall before putting up my new shelves, but my husband was hesitant. So naturally I had to rip down the old wallpaper and get things rolling! First though, I had to remove this random long shelf over the dining room entrance. It might have been useful if I could fit serving platters up there, but it's so narrow & short you can only display tiny plates.
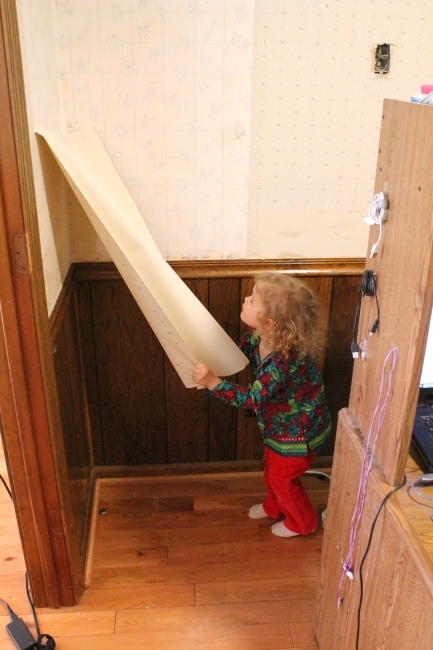
My nearly-3-year-old was very happy to help with the wall paper removal. She loves peeling! ~
And of course pulling down one layer of wallpaper revealed an even uglier wallpaper underneath!
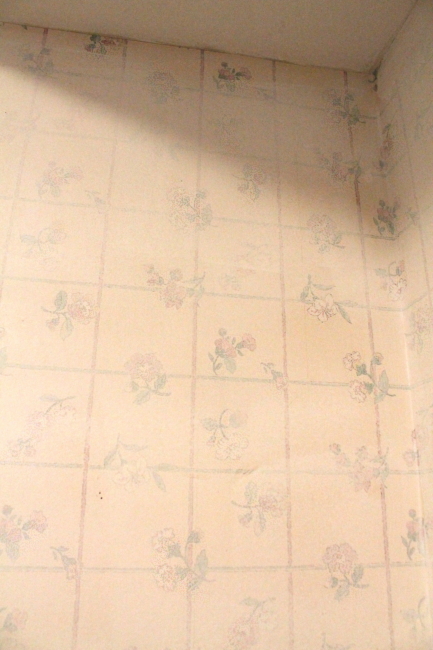
The 2nd layer of wallpaper was apparently impenetrable. I attempted to scrape some off, but to even remove a tiny bit meant completely marring the wall underneath, so I decided this was a case where we just needed to paint over it. I'm usually not a big fan of painting over wallpaper, but this is such a small area (and most of it is just above doorways), that seams are not going to be a big issue.
To show you the area I'm working with, my desk sits between the dining room and kitchen (with a nice view of the living room too). I'm painting around the door of our dining room...
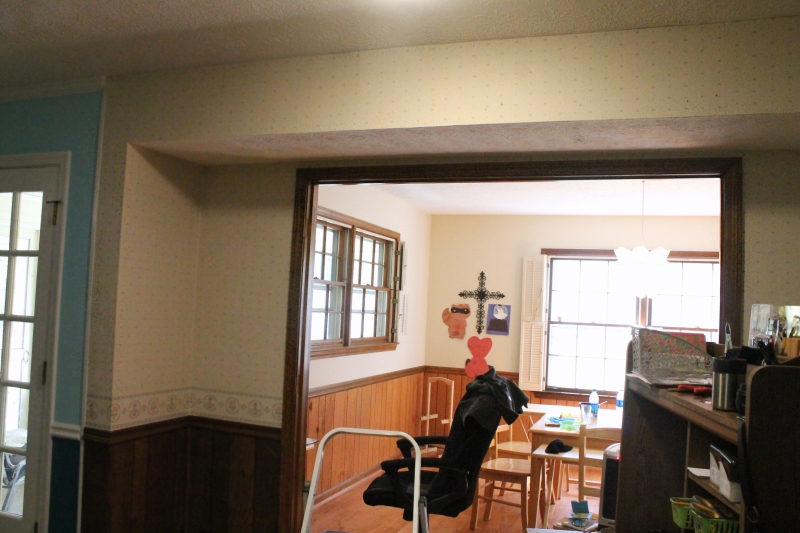
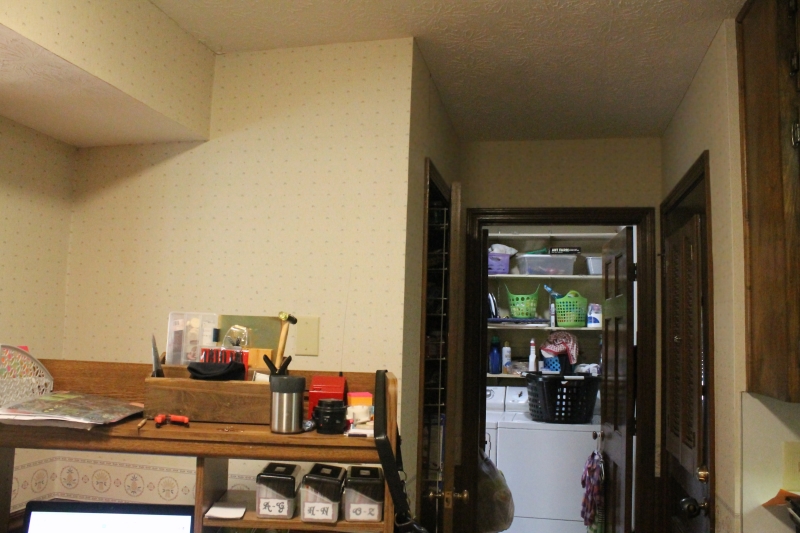
then turn to the right & my desk goes on that left wall, and then you have this little nook with doors going to the pantry, laundry room, and garage. ~
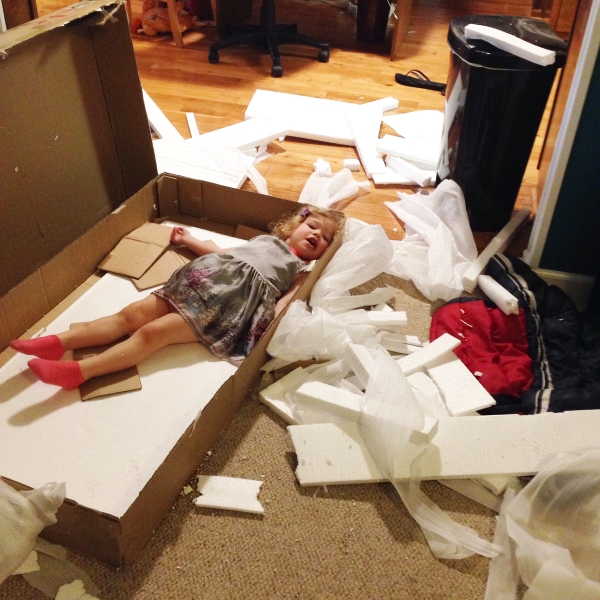
While we working on the walls, my new desk arrived, and the kids had a great time un-packing the box!
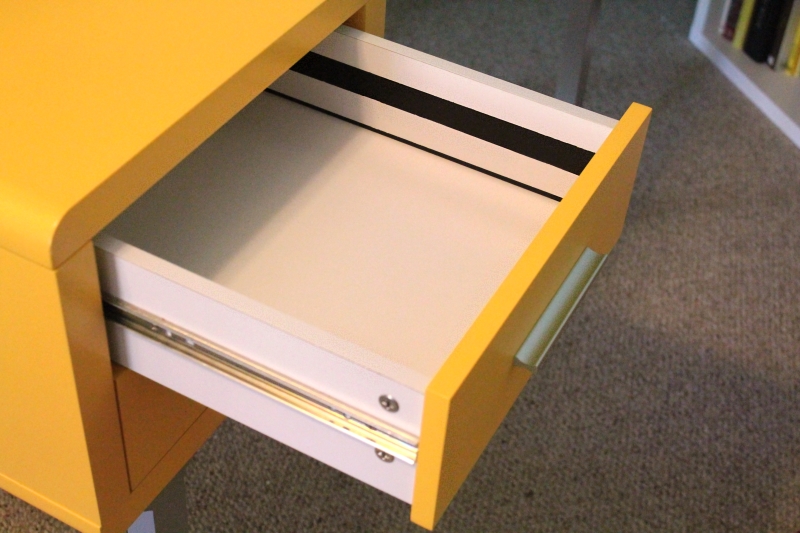
They really wanted to help me assemble it, and we finished everything except the drawers before bed. But that gave me the perfect chance to add a special touch! I fell in love with the picture below and really wanted to add black stripes to the sides of my drawers ~

While they were still in pieces, I measured and taped off my stripes, and painted them in with some black craft paint. Unfortunately it turns out the outsides of those drawers look just like the *inside* of my drawers, so I didn't even realize my mistake until I sat down to assemble them the next day. So dumb!! (Also the outsides of my drawers have giant metal tracks on them, which pretty much throws out the stripe idea. Oh well!)
So, now that our house is covered in styrofoam packing bits, and we have two desks sitting around, let's get back to the walls....
After pulling down the 1st layer of wallpaper I washed the wall to remove the glue residue, puttied & sanded many holes, and then we applied 2 coats of Bullseye 1-2-3 water based primer to make sure the wallpaper pattern was well covered.
For the paint I chose a light gray - "White Metal" by Behr (mixed in the i300 flat base). Which looks nothing like this, of course ~
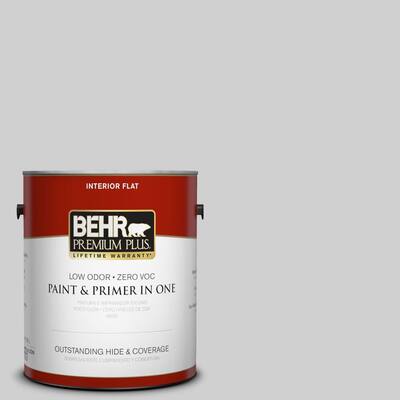
In the end I'm not loving my color choice. It's not terrible, but the gray has a slight purple tint in this room, which isn't great with all of the yellow details, and I wish it was a shade darker to pop more against the white. But it's going to be a long time before we'll have any interest in painting it again!
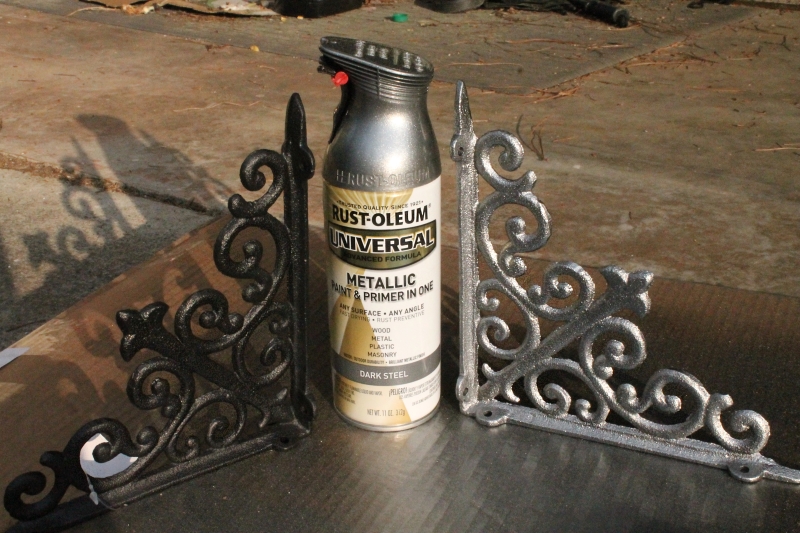
In between coats of paint & touch-ups, I also worked on spray painting some stuff. I had originally planned on painting the brackets yellow, but after a quick photo mock-up, my husband and I definitely agreed that would be too much yellow. Silver looked the best, so I grabbed my trusty Rust-oleum Metallic spray in "Dark Steel". I love this stuff!
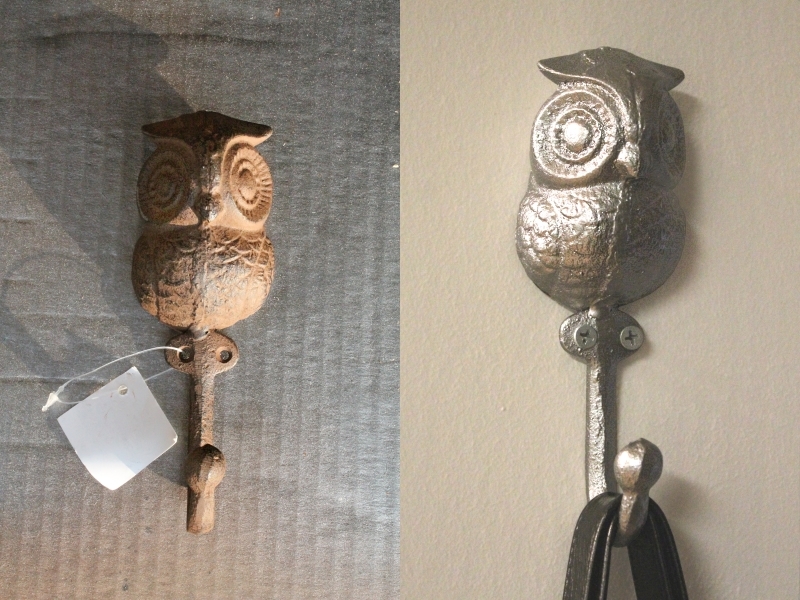
I also picked up an owl hook from Hobby Lobby to hang my purse on, and gave him the silver treatment too ~
And this is the part of the project where we had to visit Home Depot 5 times in one week, and every time I turned around we were spending another $20. Each bracket has 8 holes in it, so Justin had to buy a pack of screws for the bottom holes (deep) and another for the top holes (not so deep). I had to buy another gallon of the primer and another can of silver spray paint. The studs for our shelves were not where we expected them to be at all because that wall is where they built the expansion on the house, so we had to go back for some dry-wall anchors for one side. One of the brackets was a little warped (make sure to eyeball them!), so I picked up a new one. We needed new, white outlet covers and switches. And the original shelves I had delivered to the store were trashed, so I had to return those & buy a new set. Ugghhh!
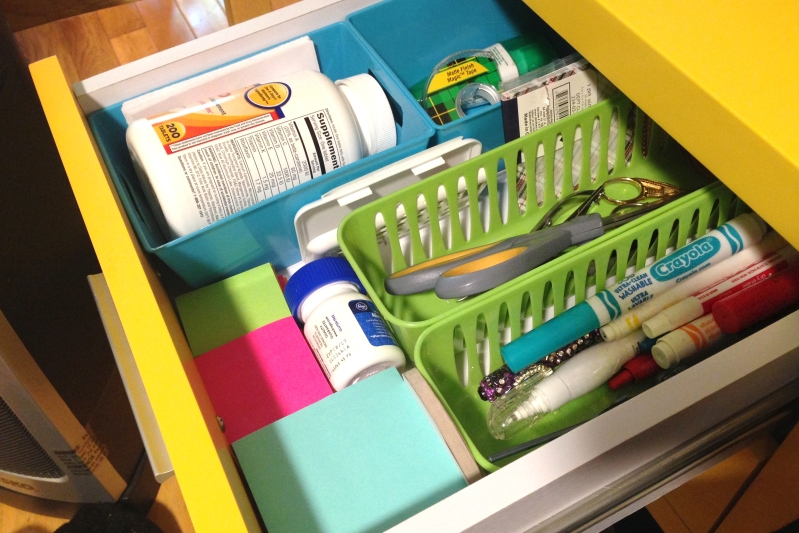
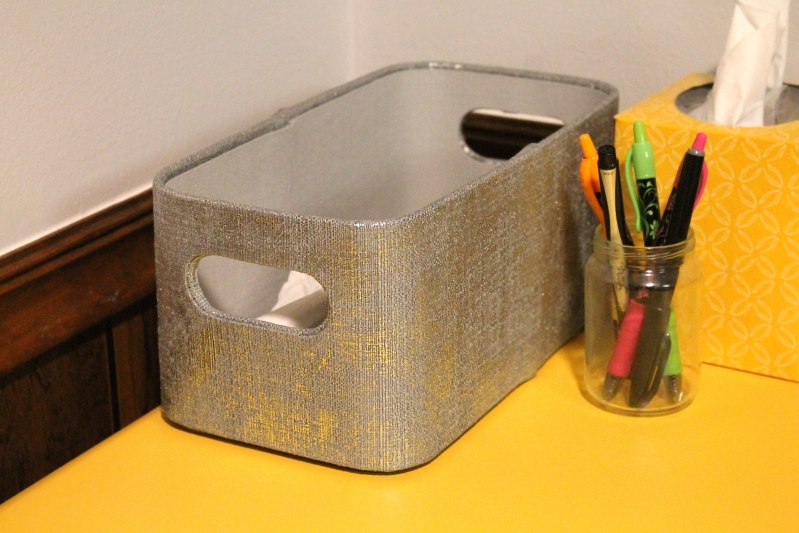
Once the brackets & shelves were *finally* up and the outlets were replaced, I worked on cleaning everything up and getting my desk in place. I arranged my drawers with some small dollar store bins I already had on hand. Not so glamorous, but free ~
With that stuff stored away, we realized the shelves were really, really empty! Time to begrudgingly throw some more money at it. (Details about the stuff I got for my shelves here.)
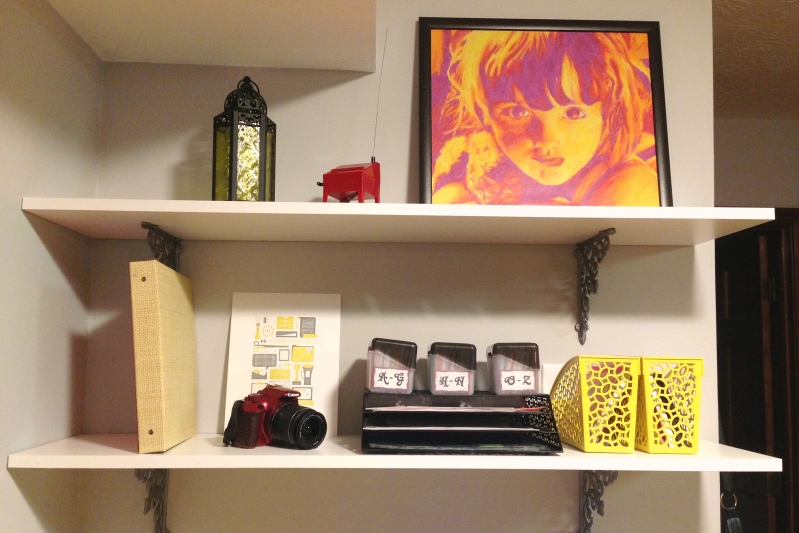
After some more touch-ups and a little caulk, everything was finally finished!
I'm loving my pretty, new office space ~
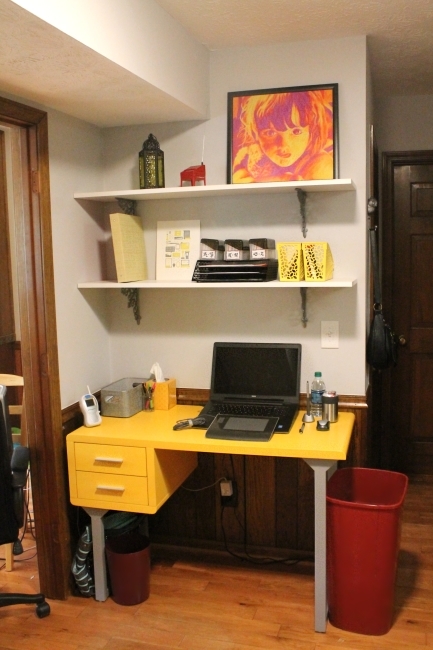
It's amazing how out of hand even a small remodling project can get, and we definitely felt like our house was upside down for a few weeks there. I'm so happy to have a desk again, and now I can even do crazy things, like easily unplugging my laptop, or using the light switch without taking something off the shelf, haha. Of course I still have a few small office items I'd like to add to it soonish, but for now I'm enjoying having a very functional and lovely work space for once!
Finishing off this project has also motivated me to get back into the living room and finally do all of the caulking and touch-ups I've been putting off in that room. The living room has been about 95% finished for months now, so I'm hoping to knock out the rest of those jobs soon and get another nice set of 'after' pictures. I want to paint everything!
And I'll leave you with a side-by-side before & after pic to enjoy!
1 comment:
Very cute! I LOVE the bright pop of yellow. It sure adds some spunk to this little corner.
Post a Comment