
I kept thinking about these lovely crepe paper rose covered balls, but it seemed like the only way those would work as a centerpiece would be as a topiary. Finally I decided to make a wreath to set the vase of flowers inside, and the mom-to-be could hang it in the nursery afterward if it turned out well.
I really didn't want to buy a wreath form, and started thinking that maybe I could make one out of newspaper. Unfortunately, we had just taken our meager stash to be recycled! I almost gave up on the whole project when I found a Lowe's 'creative ideas catalog' in the mail (I think Lowe's would be proud), basically like a magazine. I removed the center staples, twisted the pages & taped them together.
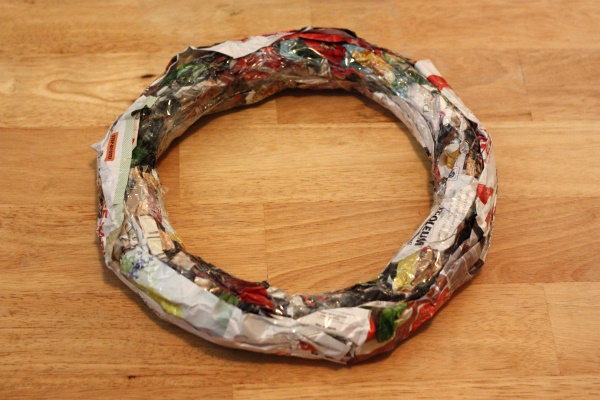
The wreath is the size of three pages taped end-to-end with five layers all taped together. I'm heavily considering making a tutorial for the wreath form because it could come in handy in for many holiday projects & was basically free!
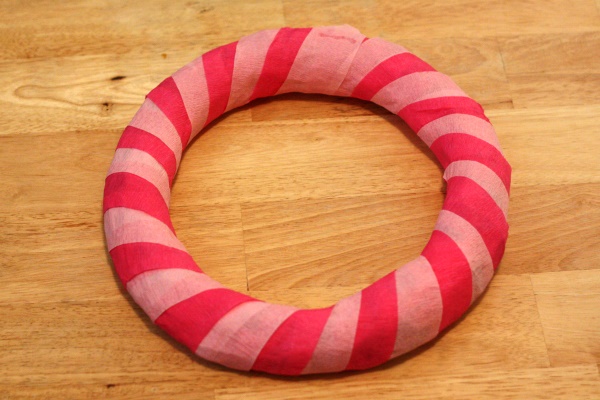
Hobby Lobby only had one roll of light pink crepe streamers left, so I got a roll of a brighter pink as well. I debated for a while & decided to create the roses with both colors twisted together, rather than separate flowers of each. I wrapped the two pinks around the wreath form to keep any magazine from peeking through the flowers.
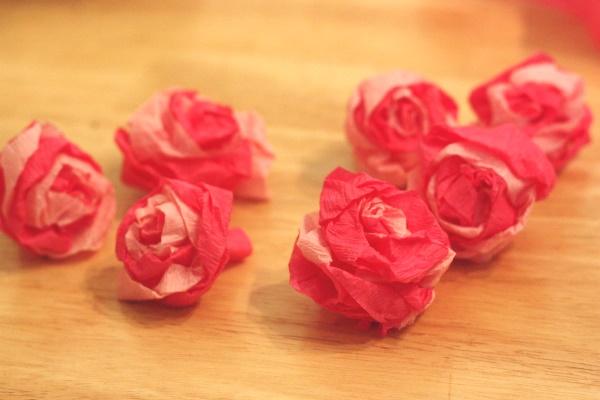
Then I basically followed the directions for the rose balls I mentioned earlier, and they were such a help! At first the roses felt really awkward to roll up, and the early ones were not spectacular, but I knew the overall wreath would still look good. I used 12" of each pink rolled together rather than one 24" strip. Here are some of my first roses ~
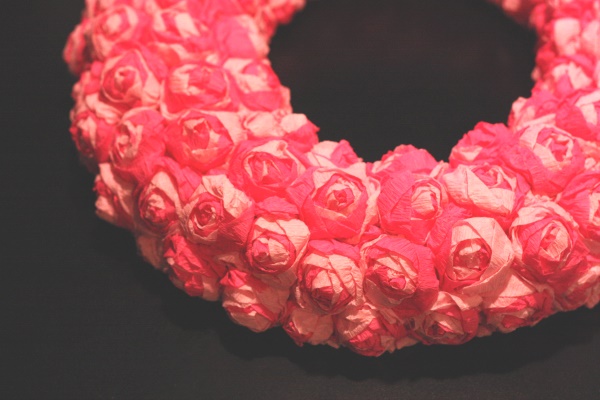
I started hot gluing those along the inside of the wreath, and I got better at wrapping the roses row by row, so they were looking rather pretty by the time I worked my way to the front of the wreath. The one change I made from the directions I linked to was that after starting to roll up the end, I folded the bottom of the roll up 1/3-1/2, which kept me from having to cut the knubs off of the back of the rose afterward. (And then I wrinkled the paper)
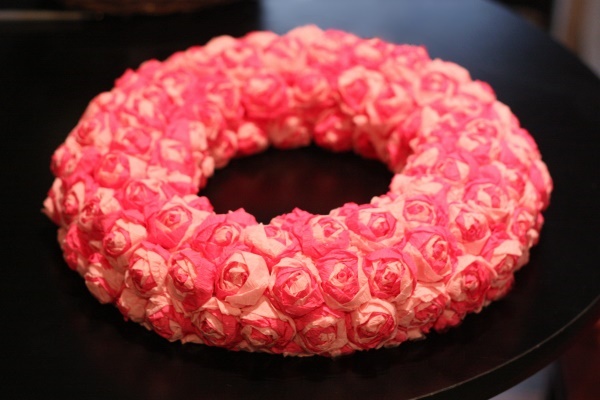
I worked to the outer edge and ended up with some large gaps along the sides. I made a few half-size roses for the larger spaces and filled in the rest with some small twists of the different pinks, so that the roses looked flush against the table or wall. There were also some small gaps throughout the wreath that I filled in with a small twist and I glued all of the sides of the roses together to prevent gaps & keep it sturdy (I should have been doing that all along, rather than just gluing them to the wreath). You can see mine is a lot tighter & more packed together than the linked balls or wreath, but I love the look.
And here is the finished wreath at the shower with the vase of flowers. You can really see the outer edge I was talking about in this shot.
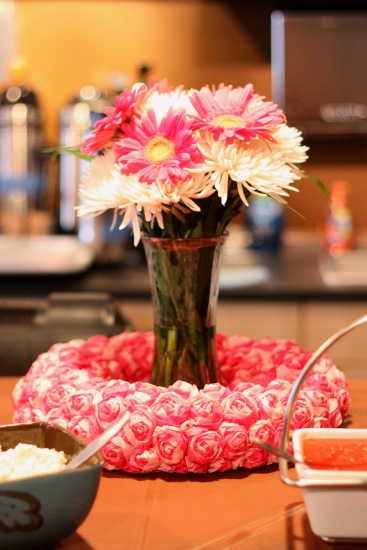
The wreath got a lot of compliments & queries at the shower, and my friend was excited about using it in the nursery. Not too bad for a mostly free project! The wreath did take a lot longer to make than I was expecting, but it was fun enough to work on that I'm tempted to make another.
Two more shower crafts coming soon!!
1 comment:
Yes it was absolutely beautiful! I love it! Thanks for all the hard work.
Post a Comment