The week after my friend Mache's baby shower there was a shower for my cousin Caroline. Her little girl is due the day after Orson's birthday! Before she was pregnant, Caroline had fun making 'robot' sculptures out of vintage bits & sold them on Etsy or in galleries. I thought it would be just perfect to make a plush toy version of one of her robots for the baby!
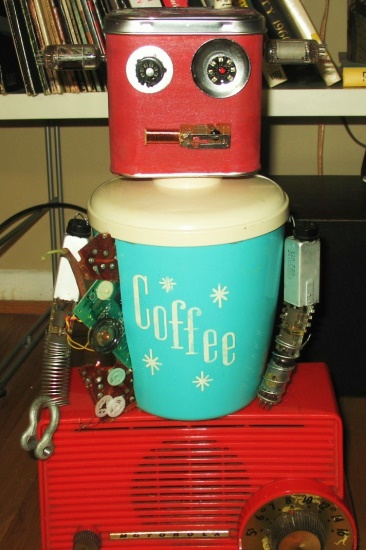
I scrounged around on her Facebook & Etsy sold items for pictures before deciding on this fellow ~
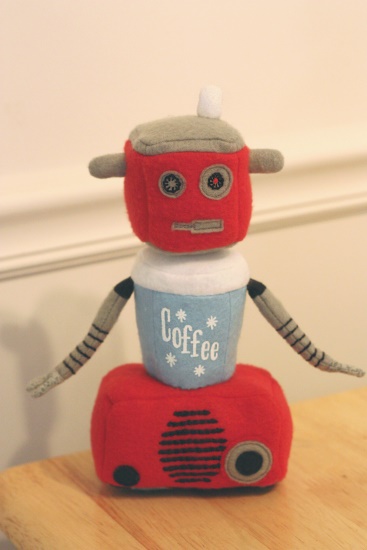
And here we have my plush version, I want to say about 9 inches tall?
I made the red parts fleece for softness and the rest is mostly felt (I wish I could have found a pretty teal, but light blue was as close as I could get). I had to re-make those tiny claws about 5 times because I could not get them to turn inside out! I finally made them out of a calico and then hand-stitched them onto the arms. The rest went together smoothly though!
I embroidered the black details on the eyes, arm stripes, and radio lines. I avoided using buttons because I wanted to make sure everything was baby friendly.
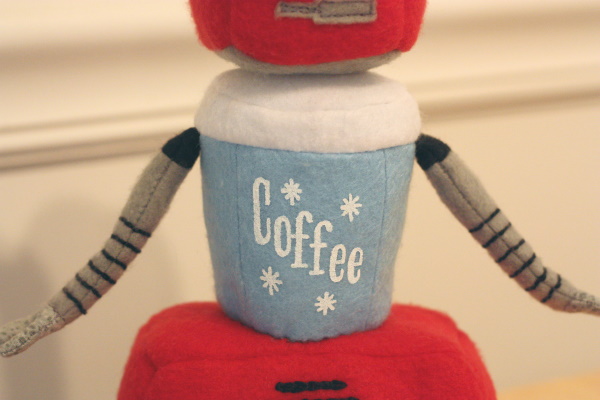
And the white "Coffee" logo was done in acrylic paint and ironed to seal it on the fabric. I thought about embroidering this as well, but figured white thread might get dirty fast! The paint gives it such nice, crisp lines too.
So cute! The robot was a big hit at the shower & I brought a picture of her original robot for the girls to see along with it. I'm not sure if this was more of a gift for the baby or the mother, but I think they'll both appreciate it.
Tuesday, May 31, 2011
Saturday, May 28, 2011
Ambigram Drop
Tuesday, May 24, 2011
Peppermint Pinwheel Cookies
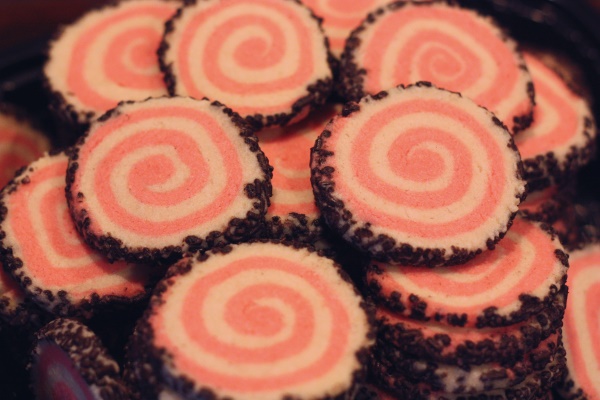
For Mache's shower I knew I wanted to bake something sweet, and I had these cookies on the brain (Recipe here). I had actually bought unsalted butter for the recipe maybe a year ago and procrastinated so long that we finally had to toss the butter out. This was the perfect excuse to try again!
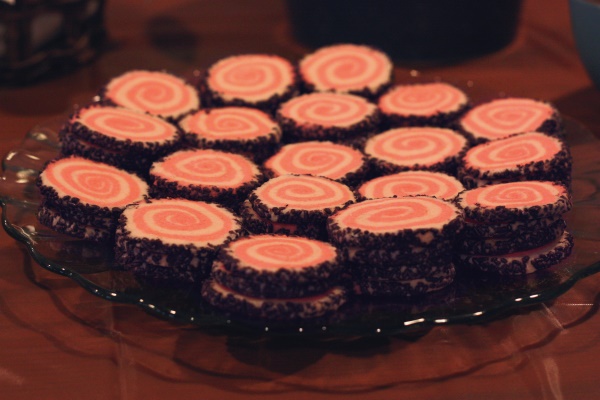
The shower colors were pink & brown, so I ditched the colorful sprinkles in favor of chocolate brown sprinkles. The slight chocolate flavor went well with the peppermint & reminded me of Thin Mints at times. And they didn't take as long to make as I would have expected!
I think these would be fun to make with green and white spirals and Christmas colored sprinkles for the holidays. Or change up the flavoring and you could use any color combination.
The only change I made to the recipe was adding a couple of Tbsp. of water to the dough to help it form together. I was able to get about 3 dozen cookies out of each batch (I made two), but you've got to slice them pretty thin. (They probably were a darker pink that the photos, but they were long gone by the time I was editing the pics for color matching.)
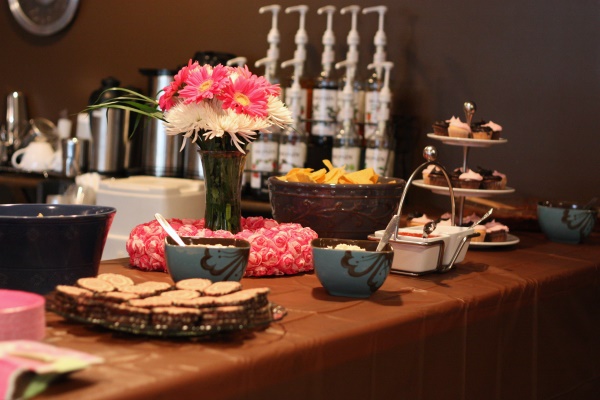
And here you can see part of the table set up with the cookies & rose wreath together ~
Thursday, May 19, 2011
Crepe Paper Rose Wreath
Last weekend two ladies and I co-hosted a shower for a church friend who is having twin girls (hey Mache!). One of the things I was in charge of was bringing some flowers for a centerpiece, but there was something that I wanted to make to go along with them.
I kept thinking about these lovely crepe paper rose covered balls, but it seemed like the only way those would work as a centerpiece would be as a topiary. Finally I decided to make a wreath to set the vase of flowers inside, and the mom-to-be could hang it in the nursery afterward if it turned out well.
I really didn't want to buy a wreath form, and started thinking that maybe I could make one out of newspaper. Unfortunately, we had just taken our meager stash to be recycled! I almost gave up on the whole project when I found a Lowe's 'creative ideas catalog' in the mail (I think Lowe's would be proud), basically like a magazine. I removed the center staples, twisted the pages & taped them together.
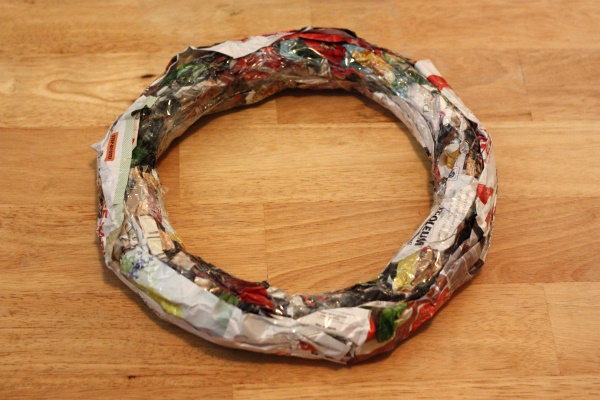
The wreath is the size of three pages taped end-to-end with five layers all taped together. I'm heavily considering making a tutorial for the wreath form because it could come in handy in for many holiday projects & was basically free!
Hobby Lobby only had one roll of light pink crepe streamers left, so I got a roll of a brighter pink as well. I debated for a while & decided to create the roses with both colors twisted together, rather than separate flowers of each. I wrapped the two pinks around the wreath form to keep any magazine from peeking through the flowers.
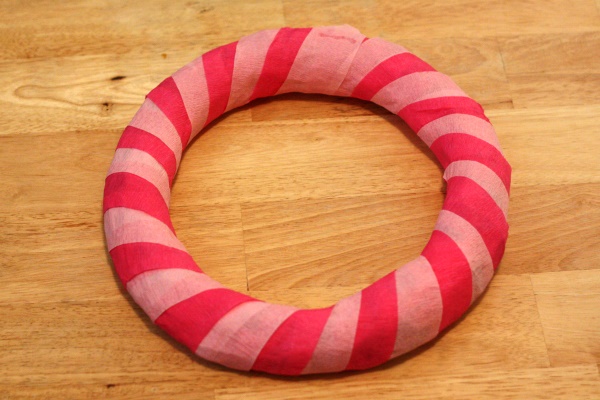
Then I basically followed the directions for the rose balls I mentioned earlier, and they were such a help! At first the roses felt really awkward to roll up, and the early ones were not spectacular, but I knew the overall wreath would still look good. I used 12" of each pink rolled together rather than one 24" strip. Here are some of my first roses ~
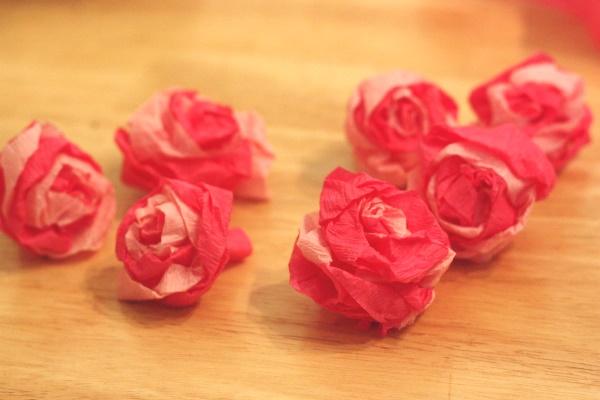
I started hot gluing those along the inside of the wreath, and I got better at wrapping the roses row by row, so they were looking rather pretty by the time I worked my way to the front of the wreath. The one change I made from the directions I linked to was that after starting to roll up the end, I folded the bottom of the roll up 1/3-1/2, which kept me from having to cut the knubs off of the back of the rose afterward. (And then I wrinkled the paper)
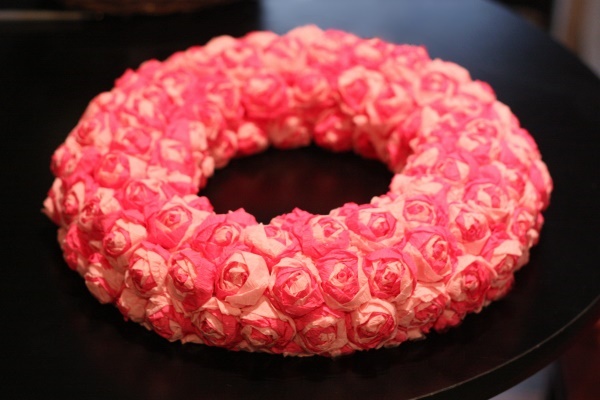
I worked to the outer edge and ended up with some large gaps along the sides. I made a few half-size roses for the larger spaces and filled in the rest with some small twists of the different pinks, so that the roses looked flush against the table or wall. There were also some small gaps throughout the wreath that I filled in with a small twist and I glued all of the sides of the roses together to prevent gaps & keep it sturdy (I should have been doing that all along, rather than just gluing them to the wreath). You can see mine is a lot tighter & more packed together than the linked balls or wreath, but I love the look.
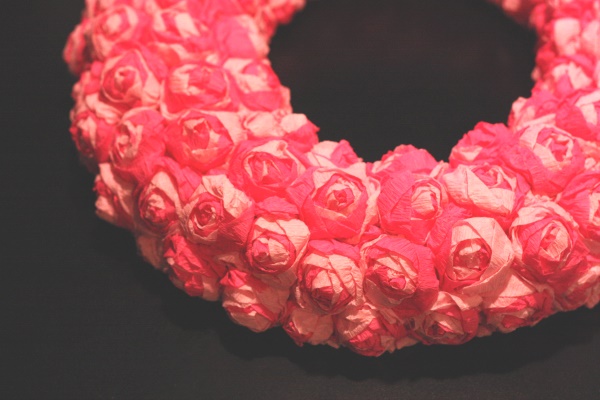
And here is the finished wreath at the shower with the vase of flowers. You can really see the outer edge I was talking about in this shot.
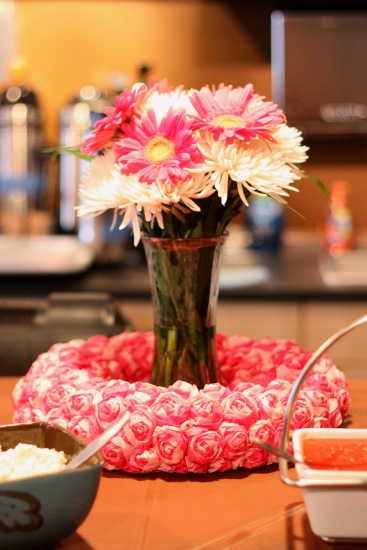
The wreath got a lot of compliments & queries at the shower, and my friend was excited about using it in the nursery. Not too bad for a mostly free project! The wreath did take a lot longer to make than I was expecting, but it was fun enough to work on that I'm tempted to make another.
Two more shower crafts coming soon!!
Tuesday, May 10, 2011
Ambigram Drop
Wednesday, May 4, 2011
Ambigram Ink, and Paint!
I have some more customer pics to share!!
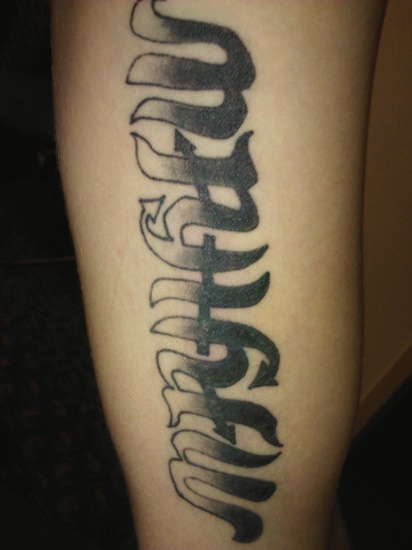
"Mathieu" & "Gods Gift", "Makayla" & "Like God"
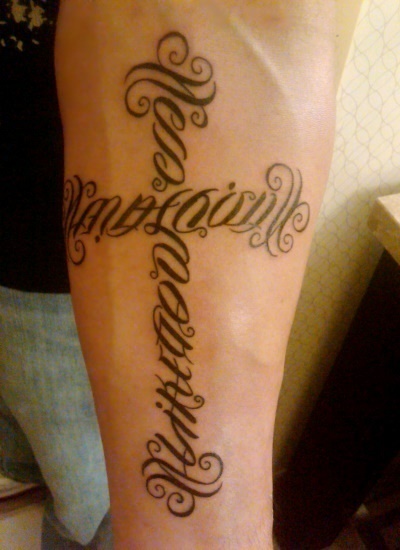
Ambigram Cross Tattoo
(This ambigram as a finished tattoo.)
"Pain" & "Love" Ambigram Tattoo
(This ambigram as a finished tattoo.)
"Matthew" Ambigram Tattoo
(This ambigram as a finished tattoo.)
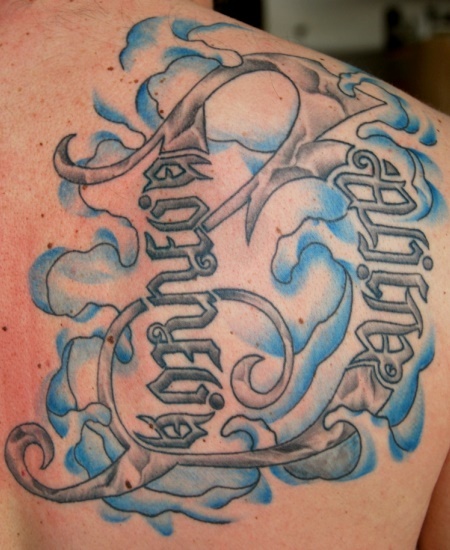
"Kornelia" & "Alicja" Ambigram Tattoo
(This ambigram as a finished tattoo, with quite a few changes!)
And then I have one that hasn't been posted in my gallery yet, so I'll share that first ~
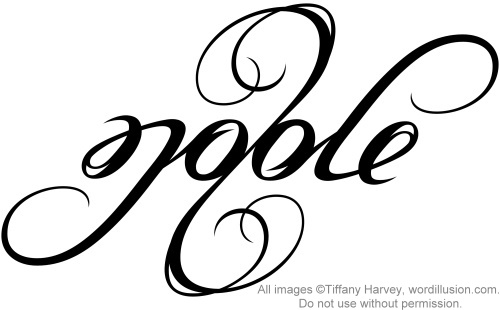
"Noble" Ambigram
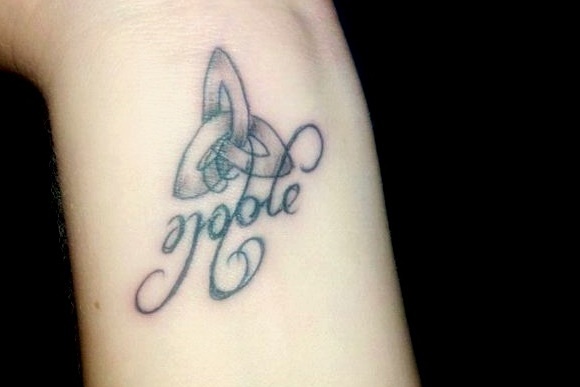
"Noble" Ambigram Tattoo
This one's not an ambigram, but I'm throwing it in there...
"FN" Heart Design Tattoo
(This heart design as a finished tattoo.)
Subscribe to:
Posts (Atom)