
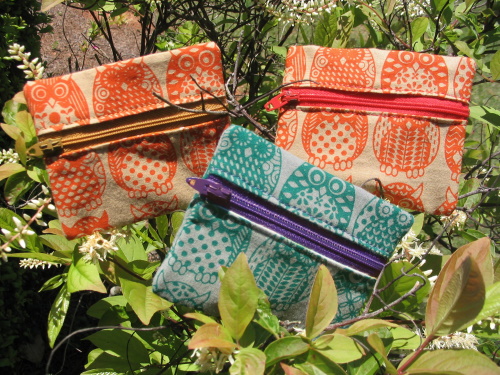
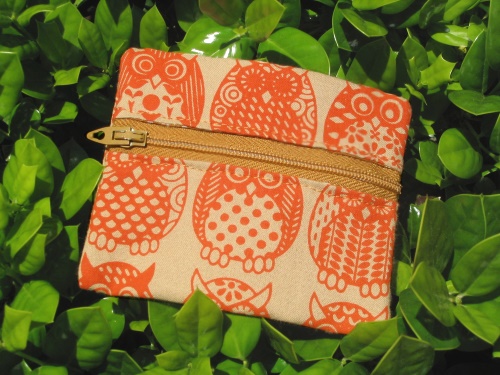
The pattern is something I made up for this project, just a simple way to put together a small zippered pouch. It's nothing fancy, but something you can easily stitch together in about 30 minutes, and a great way to use up those small pieces of fabric. (The finished pouch is about 4" x 3.25")
Let's get started...
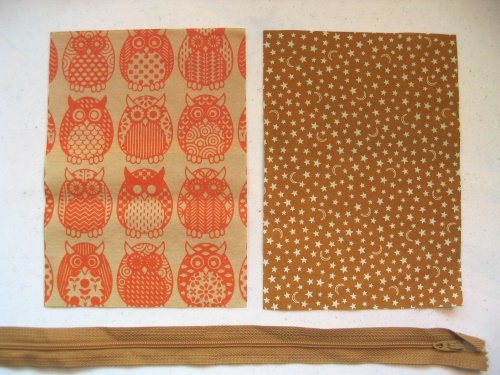
1) You'll want two 5"x7" pieces of fabric and a zipper that is at least 9" long with plastic teeth.
2) Sew the two pieces of fabric together, with right sides facing one another. Leave an open gap about 2" wide on one end and snip off the corners. (If you've ever sewed a pillow, this should sound familiar)

3) Flip the fabric right-side-out and use a chopstick or pencil to poke the corners outward. I like to push all of the seams to the edge and finger-press them nice & flat (running your nails over the seam).

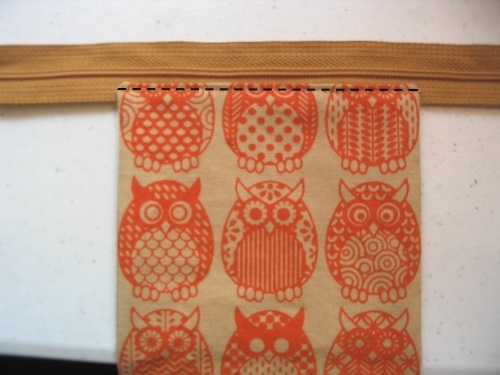
4) Pin one of the narrow ends of the fabric to the zipper, with the fabric you are using for the outside of the pouch facing the front. It should be in the middle of the zipper (but need not be exact), with the edge of the fabric about halfway between the teeth and the edge of the zipper. Top-stitch the fabric in place.
5) Wrap the fabric around the zipper and line up the other end. Pin the edges in place with the zipper closed, then unzip it past the fabric so you can get your hands in there to pin the rest. Top-stitch the fabric in place.
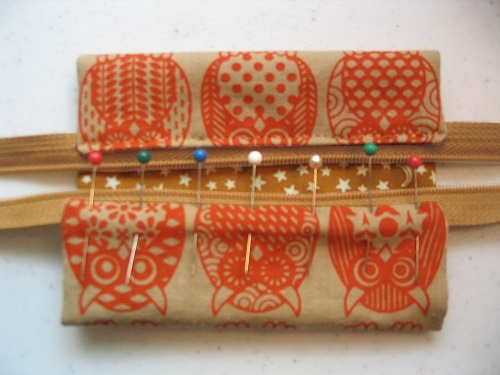
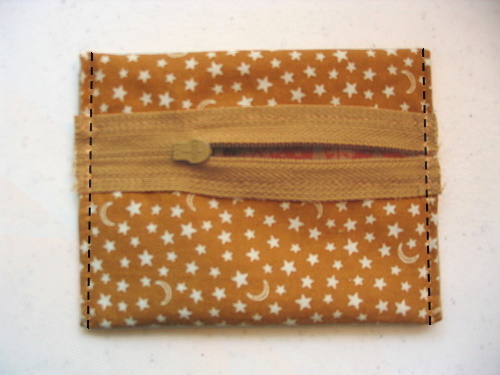
6) With the zipper still open, flip everything around so the lining fabric is now facing outside. Peek at the outside fabric (which is now technically inside) to make sure which side is up, then shift the zipper so the opening is about 1.5" from the top. Pin in place.

7) Top-stitch the edges, sewing several times over the teeth of the zipper. Cut off the excess zipper close to the fabric.
8) Turn the pouch right-side-out. I like to flatten the edge of the pouch at the zipper with some pliers to help it keep it's shape. And now you and your pouch are ready for a night out on the town!
No comments:
Post a Comment