
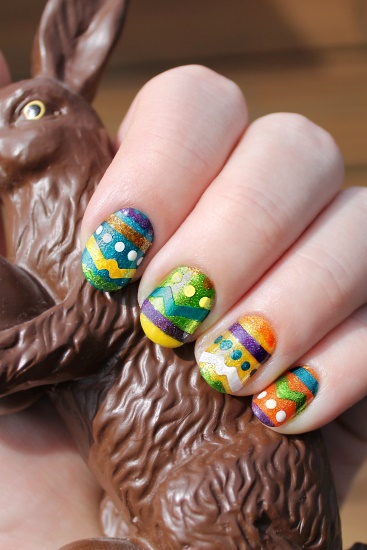
First I painted my nails with Color Club "Wild at Heart", Orly "It’s Up to Blue", Kleancolor "Metallic Green", Color Club "Daisy Does It", and Color Club "Sparkle and Soar" (one color per nail). Everything but the blue had such a nice shimmery finish, so I added a couple of coats of Sinful Colors "Pearl Harbor" to it, a fine glitter topcoat.
The idea behind a ziplock bag manicure is that you paint onto a ziplock bag or some other smooth surface, let the polish dry, and then you can peel it off and apply it to your nails. This can be used to paint a complex design, or you can cut a solid sheet of color into small shapes.
For my smooth surface I like to use the smooth backing paper from a sheet of stickers (Orson goes through a lot of them!). I haven’t tried using a bag yet to compare, but the polish pops off this paper so easily! As I painted my nails I also painted a square of color on the sticker paper, about 2 coats for each. When dry, the color peeled up pretty easily, but it was so thin & fragile, I think I’d use more coats next time for durability.
Later I used some zig-zag & scalloped craft scissors to cut small strips from the sheets of color. I applied a line of topcoat where I wanted the strips and carefully placed them on the nails, trimming the sides where they hung over the edge of the nail. Here I met more problems ~ once the strip touches the topcoat you can’t adjust it, so you’ve got to be careful about the centering and angle from the start. Also, the color sheets I made were a little too small to hold and cut easily, so bigger is better! I added one of these curved strips to each nail along with a straight strip or two and lines of dots with my nails dotters.
No comments:
Post a Comment