
To make the dip I used a chicken & cream cheese recipe we'd made before but subbed the chicken with ham for a nice touch of pink. Microwave an 8 oz. block of cream cheese for 30 seconds so it is soft enough to stir up. Mince an 8 oz. pack of ham lunchmeat in a chopper/food processor and stir into the cheese along with a packet of dry Hidden Valley ranch mix. This was a little thick, so next time I would add in a little sour cream or skim milk. You can also add in a few drops of red food coloring if you like yours brains bright pink, but I liked the color as-is!
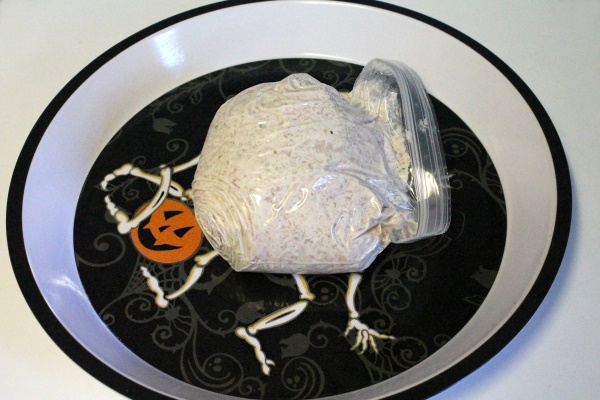
Now we are going to fill a small zip-lock bag with the dip. For an easy, no-mess technique ~ push the bottom of the bag into a small glass (or mug), flipping the top of the bag inside out around the outside of the glass. I wish I had taken a picture of this! Spoon the dip in until the glass is full, then remove the bag & it will stand open on its own on the counter if you need to spoon in a little more. Squeeze out the air, close your bag, and grab a plate or platter.
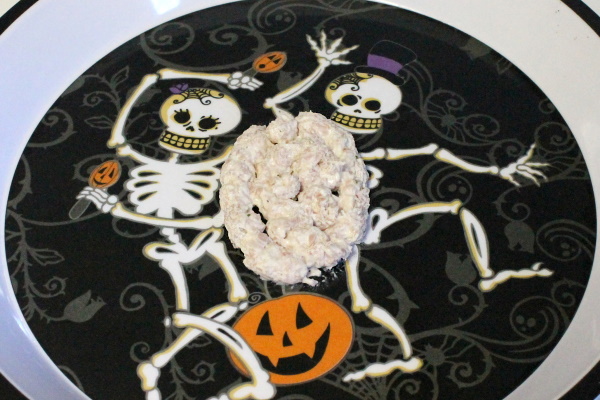
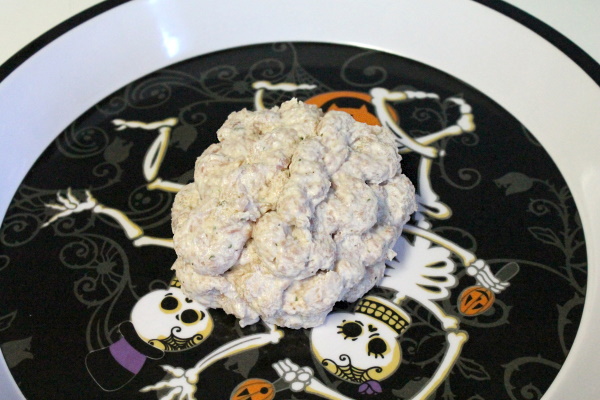
First I squished the dip into an oval shape & laid it on my platter to get an idea of how large the brain needed to be ~
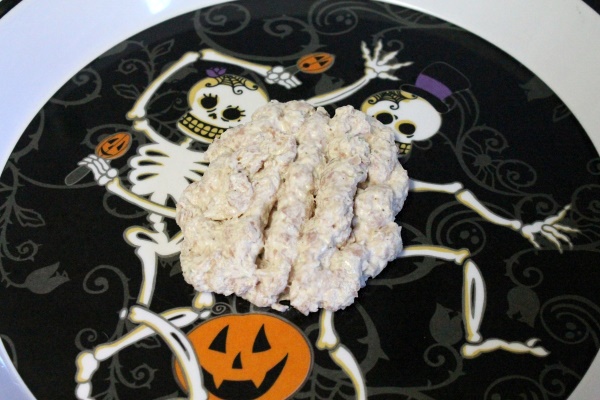
I stored my bag in the fridge for a while so I needed to microwave it about 10 seconds or so to take of the chill & loosen it up (repeat as needed). Now cut off one of the bottom corners of the bag and pipe an oval slightly smaller than the base needs to be. Fill in the center ~ no need to be neat, this just helps us create a domed shape.
For each layer we are going to create a curving zig-zag around the left and right side, stopping at the top & bottom center, and then fill in the space in between. This layer will be larger than the first, the full size of the brain base.
Add another layer the same way & same size.
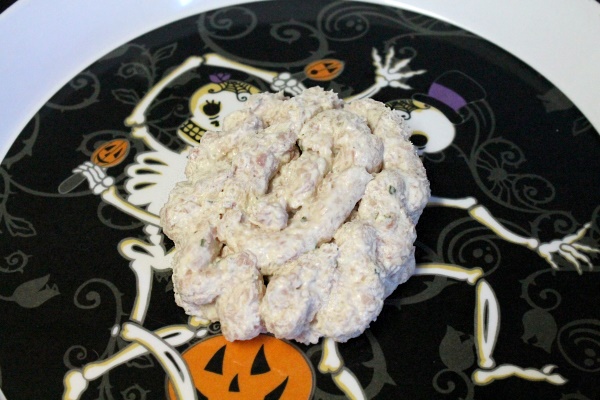
And for the fourth layer I zig-zagged a little further in (closer to the center) and topped that with two rows of zags along the center. Leaving a seam along the center gives it that nice 'double hemisphere' look! If you leave too big of a gap you can gently press it together with your fingers.
Now we could stop there, but I still had about 1/3 of my dip left ~ whoops! I added in some more rows along the top and filled in some on the sides with small blobs (mimicking the look of the zig-zags curving in & out).
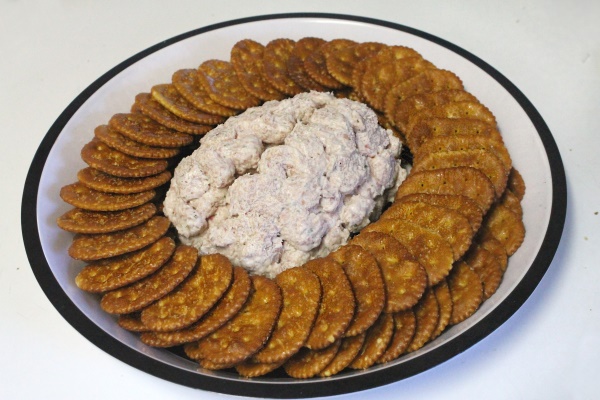
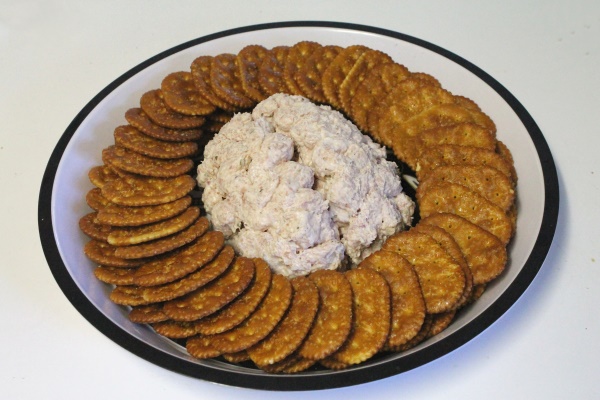
I added some rows of FlipSides pretzel-crackers along the outside of the platter, which was honestly more tedious than piping the brain itself! I would recommend piping on a smaller plate and tossing these in a bowl on the side. Mini pretzel twists taste great too.
Now grab a pretzel and feast on brains zombie-style!
No comments:
Post a Comment