
First I'll point you again to this nice tutorial for filling in color from the back of the image to create a decal. This works best when you have a design that is mostly an outline, like the images in a coloring book. On my image the fries were already filled in, so I had to add a little color from the front as well.
You start by picking up the image on your stamper like normal, but do not apply it to your nails. I used the fry image from CH31 and Konad Special White polish. Since my stamper is double ended (pink on the large end and green on the small end), I went ahead and picked up a stamp on both sides so I could work on one decal for each pinky.
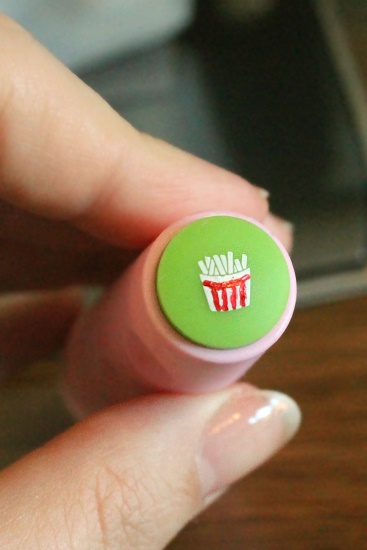
Once that had dried for a minute I used a nail dotter and filled in the lines on the cup with red (No Miss "Palmdale Paprika"). This will be the back of the decal, so it does not have to be very neat. I let that dry, covered everything with one coat of topcoat, and let it dry again.
Next I removed both decals and flipped them over. I found it easiest to slowly run my nail underneath the polish to loosen it rather than trying to peel it off (which resulted in one ripping). I moved them to the large side of the stamper just so I could work on them side-by-side. (It’s hard to see the red I added against the stamper here, but you can see how clean the lines are)
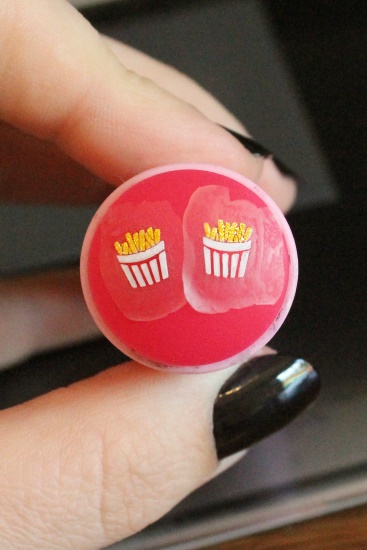
Since the fries are already filled in with polish I have to add the color to the top here, but luckily yellow polishes are usually sheer & often work best over a white base coat anyway. I colored over the white fries with Color Club “Daisy Does It” and a small nail art brush. Luckily the sheerness also helps hide mistakes!
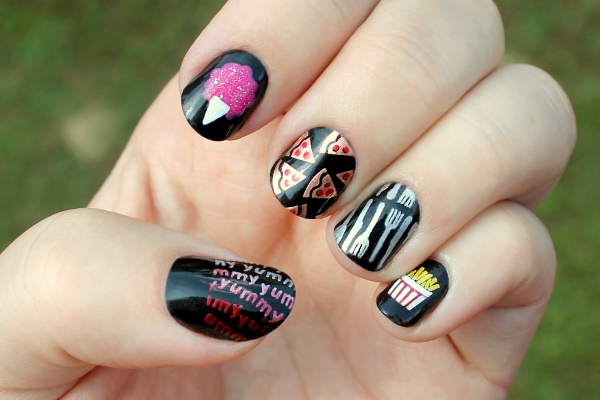
Then I trimmed the decals down a bit, put some clear top coat on my nail and then laid the decal on top of that. It was a little thicker than I had expected & the ends wanted to stick out, but I found a little nail polish remover helped them fall flush against the nail. Top everything with some more top coat & you are done!
I love how I was able to work on these ahead of time, off of the nail. You don't have to worry as much about bumping a wet nail & ruining your work, or trying to recreate detailed work with your 'wrong' hand. I will definitely be making decals again!
No comments:
Post a Comment