
Here's what I started with. Not very fancy, but I liked how thin the cover is, and I can always replace that paper or add a label if I end up with multiple books ~

All you need to do is sew down the center of the page to create 2 pockets. I used a ruler to mark the center line and stopped about 1" before the end of the plastic sleeve (so there was more room at the opening & less risk of tearing). You can see the stitched line clearer on the top page.
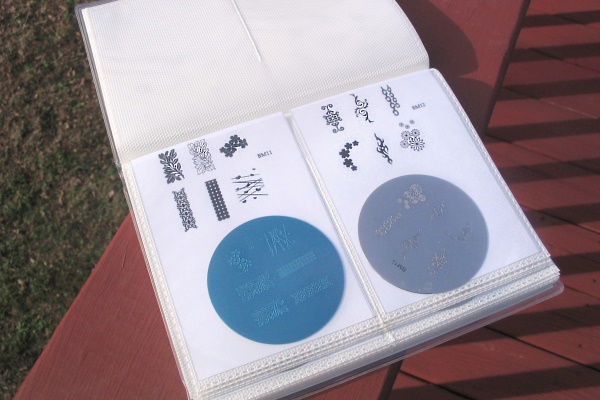
I really wanted some clear samples above the plates so I can flip through the images quickly, and it also helps show where to put the plates back when you are done. I got the samples from the promotional images for the plates & shrank things down to fit, slipping each sample into the pocket with the plate. It took a while to get the sizing right, but I think it was worth the effort.

Other Options ~
Not a sewer? Kyoti has a great tutorial on how to make the dividers with tape. The plates also supposedly fit well into the plastic protector sheets for baseball cards (to be stored in a binder), or you may be able to find a business card holder with large enough pockets. My latest set of plates came in its own cute box which I was happy to use for stoage.
No comments:
Post a Comment